Last updated on February 12th, 2025 at 01:48 am
I love my Tetley tea. Which means I end up with lots of cardboard Tetley tea boxes. These are sturdy, light-weight cardboard boxes with a snug flip-top; other tea brands are also sold in these boxes. I wanted a homemade Valentine mailbox that wasn’t too hard to do and started googling for ideas. I found lots of Valentine mailbox images and many of them are wonderful.
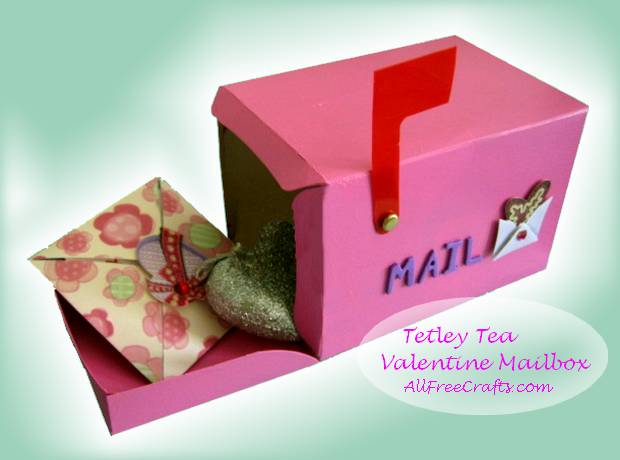
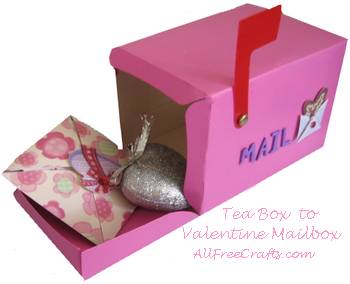
I was thinking of recycling a tissue box for its built-in mail slot in the top, but then I used the last teabag from a box of 72 Tetley teabags – and, well, you can likely guess the rest: a DIY Valentine Mailbox from a Recycled Tea Box.
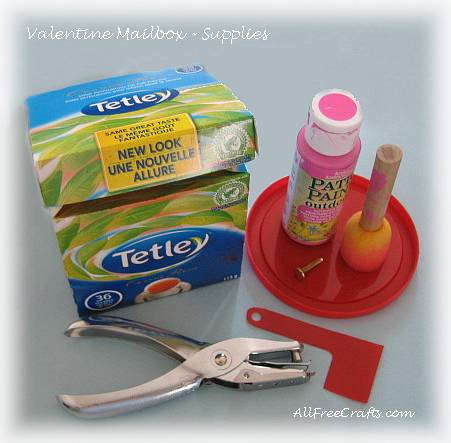
You Will Need:
- cardboard flip-top tea box, 72 teabag size
- craft paint (I used outdoor Patio Paint, but only because it was the only pink paint that I had readily available; regular craft paint is also fine).
- plastic container lid, such as those used on round cardboard containers of nuts, OR a small piece of cereal box cardboard and red craft paint
- brass paper fastener
- Tools: pencil; ruler or straight edge; pointed scissors; hole punch; foam or regular paint brush.
- Optional: self-adhesive, craft foam letters to spell a child’s name or the word: MAIL. Three-dimensional scrapbook sticker or something similar, such as a heart motif mounted on a small piece of double-sided tape.
Project Instructions:
Turn the tea box upside down over the kitchen sink; tap and shake the box to dislodge any tea dust. Dampen a dish cloth and wring out thoroughly before wiping the inside of the tea box to remove any remaining tea residue.
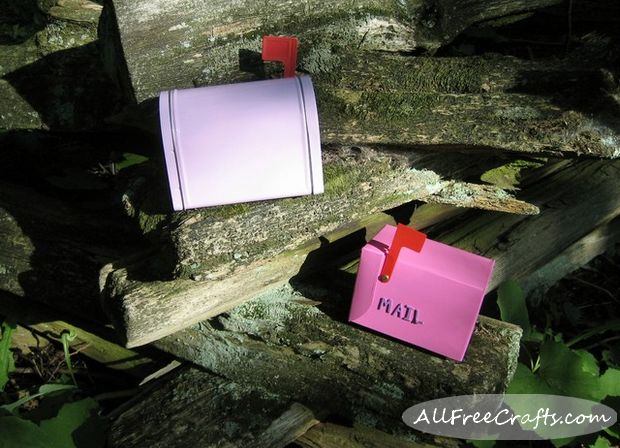
Paint all exterior surfaces of the tea box with your choice of craft paint. I used a foam brush but a regular paint brush of suitable size will work. The paint dries quickly; a good thing, because you must paint all outside surfaces of the box about four or five times each for complete coverage. If you wish, paint the inside of box lid as well. I like the way this looks, plus the thin paint layers on both sides of the lid help maintain a snug fit in the closed position.
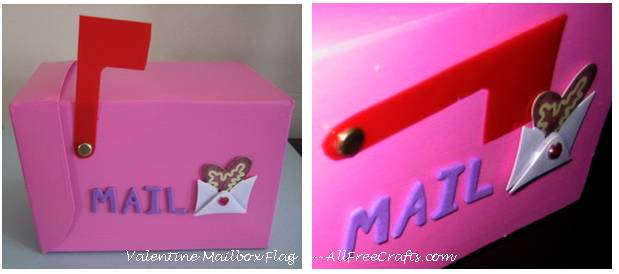
Make a flag to show if there is mail inside. I cut the one shown, which is about three inches long, from the red plastic lid of a peanut container. If you don’t have suitable red plastic, recycle a cereal box or similar cardboard, cutting out and painting the flag red, while making sure the stem of the flag is wide enough to allow the following method of fastening.
Use a paper punch to make a circular hole at the end of the flag. Close the lid of the mailbox and mark a spot on one side, about an inch or so from the top and just in front of the lid. Poke a small hole through this spot with the tip of the scissors.
Place the end of a brass paper fastener (sometimes called a brad), through the hole you punched in the flag, then through the hole in the mailbox. Pry apart the two edges of the fastener and open them so they lay flat against the inside of the tea box, thus holding the flag in place.
You should now be able to position the mailbox flag straight up, indicating mail inside the box, or lying down, indicating the box is currently empty.
Your Valentine mailbox is now fully functional and ready to receive secret messages, little love notes, or romantic notions.
Decorations:
This is a craft project that embraces individual taste. You can leave the homemade Valentine mailbox completely plain and use it as a special place to send or receive little notes from friends. Or you can go all out and embellish every inch of it. And you can use it as part of a Fairy Mail Box to surprise the grandkids when little natural treasures they come to visit.
I added the word: “Mail” which is spelled out in self-adhesive, craft foam letters. I also added a small three-dimensional Valentine scrapbook sticker (of a heart-shaped Valentine being removed from an envelope), placing this in an ideal spot to hold the end of the flag when it is in the lying down position.
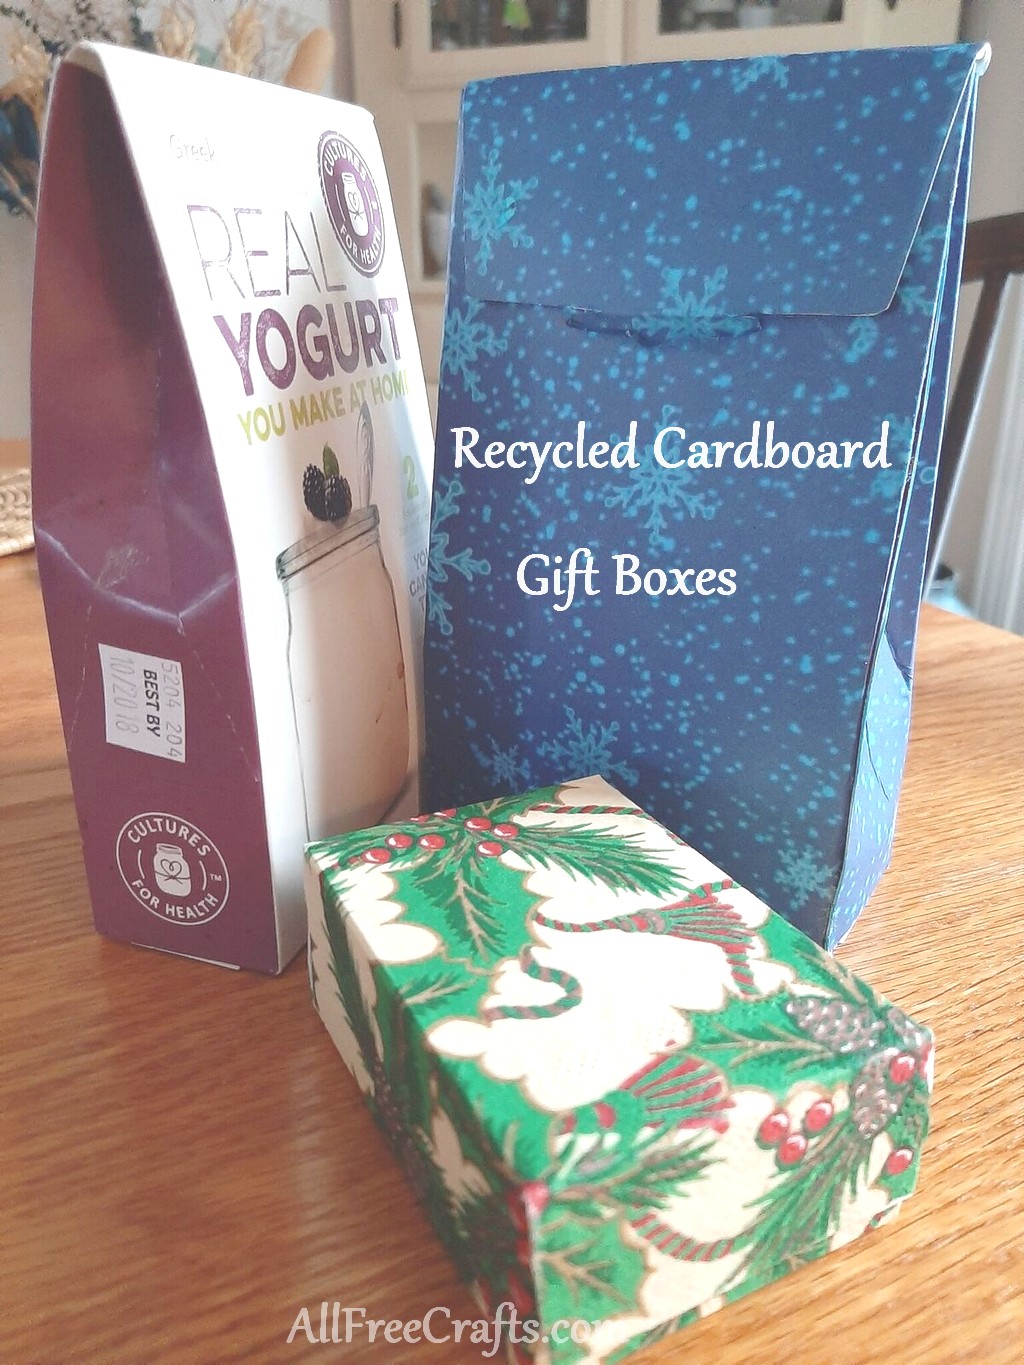
If you find yourself reluctant to throw out other nicely-shaped cardboard boxes, recycle them as gift boxes by recovering with decoupaged paper napkins or pretty wrapping paper.



Leave a Reply