Last updated on February 12th, 2022 at 01:02 am
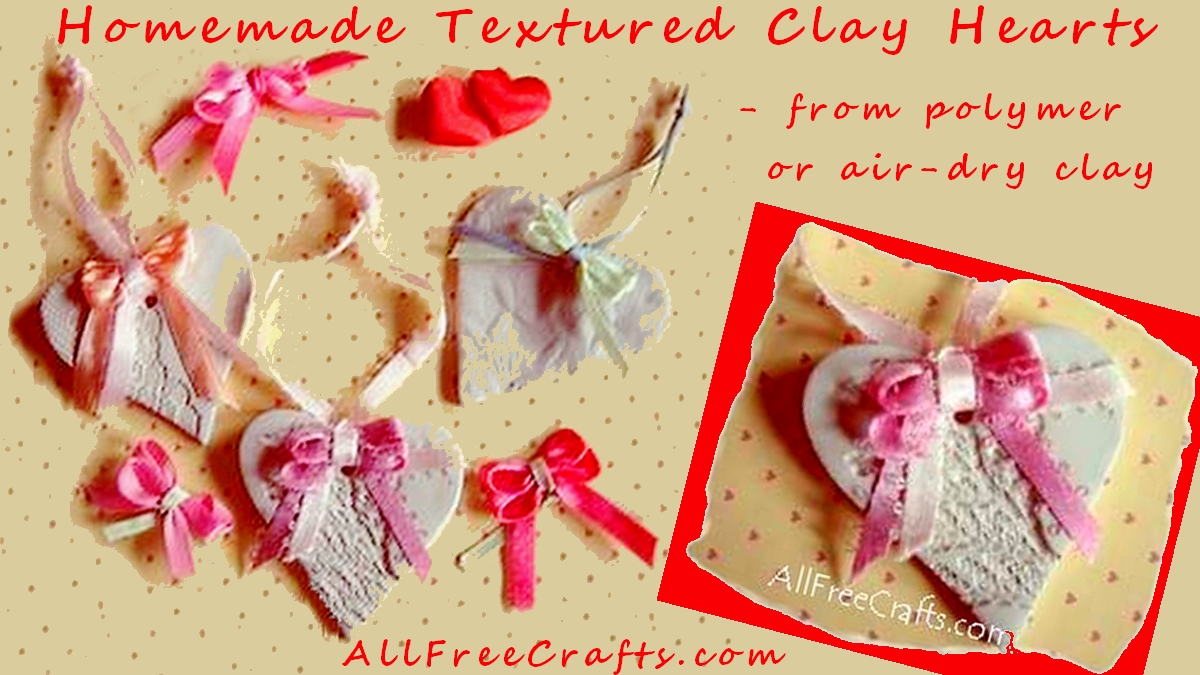
Whether you decide to make these Valentine hearts from polymer clay or air-dried clay, you can adorn either in the same way. Simply use patterns or textures pressed into the clay.
How to Make Air Dry Clay Hearts or Polymer Clay Hearts
by Jane Lake
If you are going to make a heart pendant necklace then I would recommend using polymer clay for durability. But air-dried clay is fine for ornamental hearts that hang from a ribbon or are displayed on a shelf. Painting, or applying a protective finish, strengthens both types of clay.
I added Tiny Ribbon Bows for a pop of color contrasting with the clay color. These are easy to make by weaving narrow ribbon around a dinner fork.
What You Will Need:
- polymer clay such as Sculpey
or air-dry clay, such as Crayola Air Dry Clay 5lb Bucket, White
- rolling pin (in a pinch, use a wine bottle, or an aerosol can)
- heart shaped cookie cutter
- knife
- plate
- wooden skewer
- glass cutting board or ceramic tile
- optional: acrylic paint or varnish; sticky tape and craft sticks
Rolling the Clay
Project Instructions
The smooth, shiny surface of a glass cutting board or ceramic tile makes an ideal surface for rolling your clay but, if you don’t have either of these handy, try taping down a sheet of tracing paper instead and roll the clay on it.
There are special rolling tools for clay, but a rolling pin, aerosol can or an empty wine bottle will also work well.
Take a lump of clay and knead it a little with your fingers to make it pliable. If the air dry clay is too dry, you may add a few drops of water. Flatten the clay with your fingers and place it on your work surface for rolling.
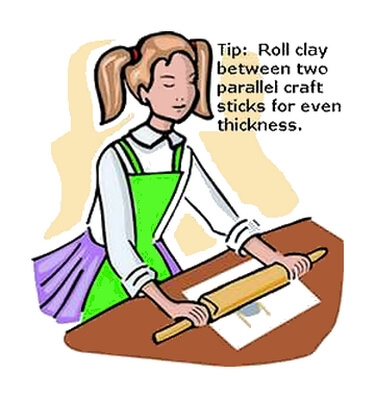
For clay hearts that are very flat and even, you can, if you wish, roll the clay between two wooden sticks of the right thickness. Tape the sticks down on your work surface in two parallel lines and roll the clay between them, running the rolling pin over the sticks until the clay is rolled out.
Cutting Out Hearts
One of the easiest ways to make a heart shape is to use a pre-made heart-shaped cookie cutter. These may be metal or plastic. Just press the cookie cutter into the flattened clay right down to the work surface. Keep a finger on the cookie cutter to prevent it from moving around as you peel away the excess clay around the shape.
You can also make a heart-shaped template from light cardboard (cereal box cardboard would be fine). Place the template onto the rolled clay then lightly trace around it with a toothpick. Remove the template and cut out the shape with a sharp knife.
Applying Texture or Adding Details
There are all kinds of materials around your home that can be used to imprint texture onto your clay hearts. I used a piece of lace, a sprig of cedar, and a crystal drinking glass with a cut design. Try toothpicks or corncob skewers for making lines of indented dots. Look around and see what else you can find to make interesting designs. You can add texture to just a part of the heart, or all over it. Just press in the object, and roll it if necessary, to stamp your design in the clay.
Letter stamps from a bargain store (I found some in the toy section for $1) are fun to use on clay. You can spell out LOVE, HUGS or KISS for Valentine’s Day, or anything else you like. Check out other rubber stamps, with designs such as hearts and flowers, as well.
If you are going to hang the hearts then you must make a hole for it. This can be centered just below the cleft of the heart or added just below one of the shoulders of the heart so that it will hang on an angle. Poke the hole straight through the clay with a toothpick, skewer or a small straw, making sure that the hole is large enough for your hanger.
Curing the Clay
Set aside hearts made from air dry clay and let them harden for a few days until the clay lightens in color, keeps its shape, and is fully dried.
Follow the manufacturer’s directions for polymer clay. Usually you will bake them in a preheated oven or toaster oven, on a cookie sheet, ceramic tile, or aluminum tray. Polymer does give off some fumes as it bakes, so read any warnings on the package, and do not cook food in the oven at the same time. The minimum recommended baking time is generally 30 minutes per 1/4″ of thickness at the temperature suggested on the package. Temperatures vary by brand, ranging between 215°F and 325°F.
Polymer Tutorials has some good ground rules for beginners and detailed advice on working with polymer clay, including Polymer Clay Safety.
Painting and Decorating
When the clay hearts are fully cured you are ready to paint or decorate.
Natural clay has an appealing look left as it is, but all kinds of effects are possible using acrylic paint, glitter, mod podge, varnish and glazes.
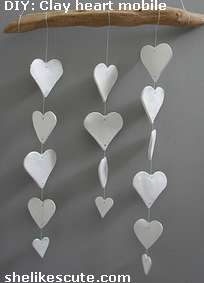
SheLikesCute.com shows how charming the natural effect can be with a DIY: Clay Heart Mobile tutorial.
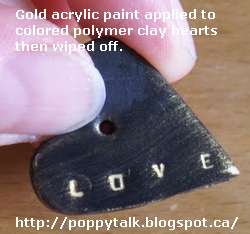
If you have stamped on letters or another design, try brushing on a base coat of acrylic paint then wiping the paint off with a paper towel. The letters or texture will be colored by the paint, making them stand out more clearly. The Poppytalk blog demonstrates this technique while making Polymer Gift Tags.
At KitchenandKids.com, see what a mom and her kids can do Creating Glitter Hearts with a watercolor wash.
For more inspiration, take a look at Google’s Clay Hearts image search or Pinterest’s Clay Heart Pins.



Leave a Reply