Last updated on February 18th, 2025 at 11:18 pm
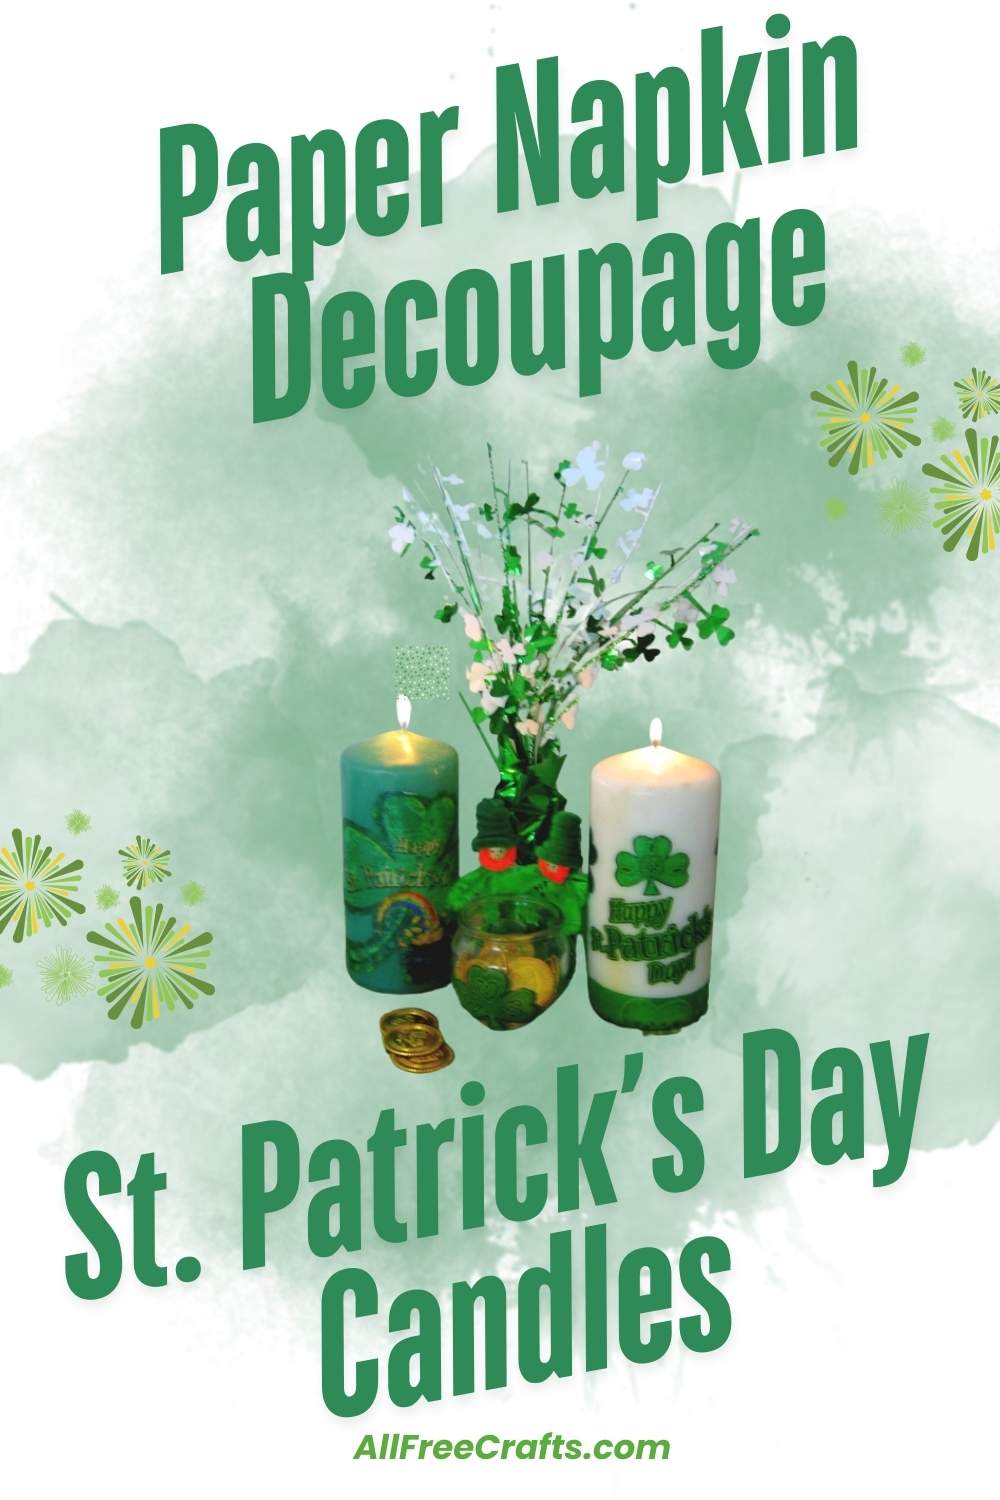
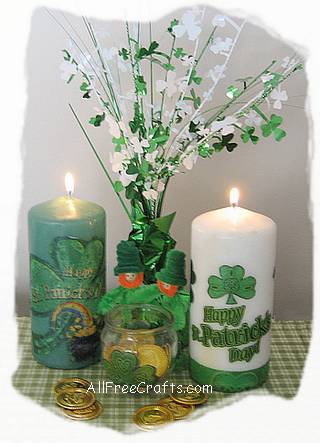
Grab a couple of pillar candles, plus a package of pretty paper napkins, and decoupage your way to a unique, eye-catching candle display for St. Patrick’s Day.

Bottom line: decorating pillar candles for St. Patrick’s Day, or any celebration day, is easy to do when you use paper napkins to provide the decoupaged motifs.
You Will Need:
- pillar candles (white or green)
- mod podge
- paper napkins printed with St. Patrick’s Day motifs
- small, sharp, pointed scissors
- foam paint brush
Project Instructions:
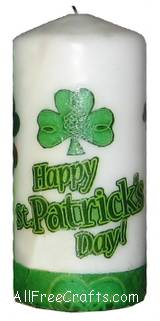
Carefully cut out the desired motifs from paper napkins. If you want a border to go around the bottom of a candle, as I did, just cut it from one side of the paper napkin then do a test fitting and cut the length to suit. You can easily overlap borders, or other elements, as required.

If you’re cutting out words, such as “Happy St. Patrick’s Day” it is much easier to cut around each complete word, or the complete phrase, rather than cutting individual letters.
Once you have all the pieces cut out, you need to carefully separate the paper layers. You will be gluing down only the printed top layer, so discard the remaining back pieces.
Use a foam brush to apply mod podge to the first area of the candle that you wish to decoupage. A thin layer is sufficient.
Important Tips: Pick up the first motif with your fingertips, holding it firmly on one edge. Bring it toward the mod podged area of the candle, holding it in the position that you wish it to have when it is glued down.
Allow a small part of the paper to touch one small spot of the candle and double-check the position. If it is not quite right, you can pull the piece away and try again.
Once the glue is holding the piece where you want it, gently begin smoothing it down with your fingertips or the end of the foam brush, working away from the secured spot toward the edge of the paper.
Don’t worry about minor wrinkles. Most of them will flatten out as the mod podge dries and won’t detract from the overall effect.
Once all the decoupaged pieces are in place, apply another layer of mod podge over the top of each piece. If desired, you can use a damp cloth to wipe away any excess mod podge on the candle, but avoid touching the paper pieces.
Let the decoupaged St. Patrick’s Day candle dry completely before lighting.
If you love decoupage crafts, but aren’t sure where to start, check out all my free decoupage projects. My personal favourite is this Postage Stamp Tin Box which I made about eight years ago. It still looks as if it was made yesterday and I love it. Every time I handle this box, I’m in love, because of the way it looks, the care that I took in making it, and how well it stood the test of time. I know that postage stamps aren’t as easy to come by as they once were, but that’s part of the extra-special attraction of this project. Start saving the stamps that come your way and make your own decoupage heirloom!


Leave a Reply