Last updated on August 20th, 2014 at 11:17 pm
Learn How to Sew a Sock Monkey
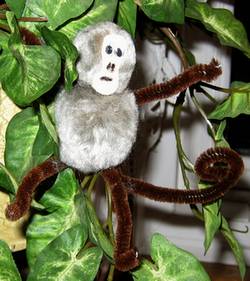
Generations of children have fallen in love with their sock monkeys – they are cuddly and lovable, and you can make one yourself from a couple of socks, some stuffing, a little yarn and a couple of buttons.
On this page, you’ll find complete instructions and step-by-step photos to help you bring a sock monkey to life for your own child.
Craft Supplies:
- 2 long, clean socks
- 2 buttons for the eyes (not to be used for a toy given to young children)
- fibrefill stuffing
- ruler
- pen or marker
- needle and strong thread (embroidery floss or yarn in colors to match your doll)
- sewing machine
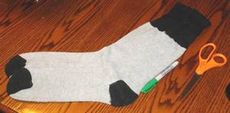
- scissors
Assembly Instructions
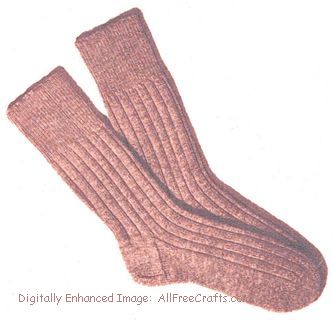
As you see from the photo, the best socks for monkey making are those with a heel and toe in contrasting colors to the sock body.
You will use one sock to form the head, body and legs for your monkey, and use the other one to make its arms, tail, mouth and ears.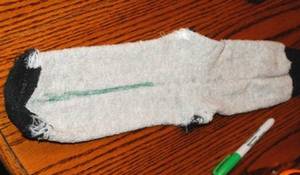
To begin, turn both socks inside out.
Lay one sock with the heel flat and facing down.
With a pen or marker, mark the center line of the foot from the toe to about one inch away from the colored part of the heel.
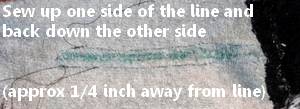
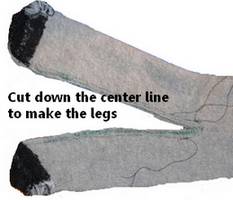 Leaving the sock folded flat, sew along one side of the marked center line and then back down the other side. Leave about a quarter inch between the center line and your seam line.
Carefully cut along the center line, between the two seam lines, to make the legs.
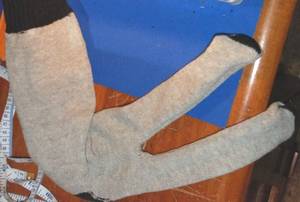
Turn the sock right side out, and pack with fibrefill stuffing. Throughout the stuffing process, use small amounts of fibrefill to avoid lumps and distortions.
Now you need to decide where the neck will be, then sew all around this neck line with strong thread, using quarter inch stitches.
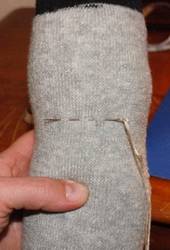
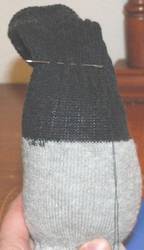
Begin and end the neckline stitching at the back. When you have stitched all around, pull the ends to cinch the neck to the size that you want. Knot the ends of the thread securely.
Stuff the area above the neck to a nice round shape to form the head.
Stitch the top opening of the sock closed.
Note: If the top of your sock (the opening) is the same color as the sock body, just stuff the head and close the top with a few hand stitches. If, however, the sock opening is a contrasting color, you can either cut off the contrasting area, making the monkey body shorter, or use the contrasting area to make a hat for your monkey.
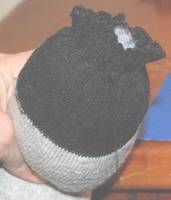
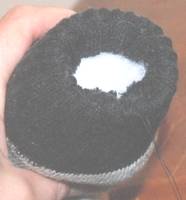
If you choose to make a hat, here’s how:
Hand sew near the top edge, going all around as you did on the neck, pulling the ends of the thread together to start closing up the opening.
Fold the saw edges to the center and tuck inside.
Sew the top of the hat opening closed.
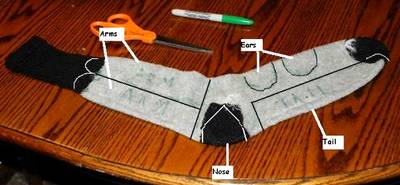
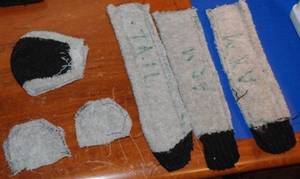
Cut out the arms, ears, tail and nose pieces from the second sock, using the photos shown here as a guide for your pattern.
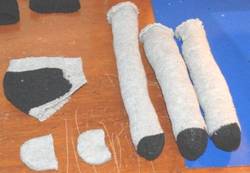
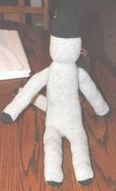
Sew up the seams of each piece, turn right side out, and stuff.
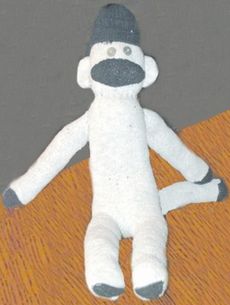
Hand sew the arms into place on either side of the monkey’s upper body.
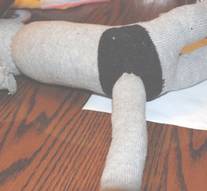
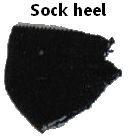
Hand sew the base of the monkey’s tail to the rump, as shown here.
Use the heel of the second sock to make the monkey’s nose.
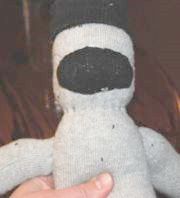
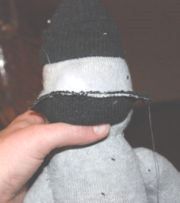
 Place the right side of the heel against the monkey’s face, and hand sew the bottom edge securely in place.
Fold the nose up and add stuffing.
Tuck the raw edge under and sew top half of nose in place.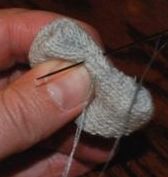
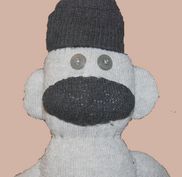
Next, turn the ears right side out, turn in the raw edge, and hand sew the opening closed. Hand sew the ears to either side of the monkey’s head.
Finally, sew on two button eyes (or embroider eyes for a younger child) and your sock monkey is complete.
Adapted from How to Make a Sock Monkey on WikiHow. Creative Commons license 2.5.


Lois says
I’m amused. These are the original pictures from the wikiHow article that I wrote. WikiHow has since “upgraded” the photos on their site… but… here mine are… being put to use again.
Jane Lake says
Lois, I appreciate your sentiment more than you know. It wasn’t as easy to produce How-to photos then, as I know well since I’ve been writing and designing crafts for this site since 2002. Your original photos, and this project, continue to be sought out and used with great results. You have my thanks for your generosity in sharing and for your wonderful creative work that has benefited countless children!