Last updated on March 25th, 2025 at 10:10 pm
Recycle a discarded computer keyboard to make a picture frame that would be ideal as a DIY gift for the computer-savvy men in your life.
by Jane Lake
So what do you do with a computer keyboard that drowned in a sea of coffee? Unplug it, pull out the keys, wash off the coffee and make a homemade keyboard picture frame!
There are no bows, frills, pastels or girly stuff involved in this recycling project. It looks as practical as it is, is really easy to put together, and would look great in any office.
You Will Need:
- discarded computer keyboard

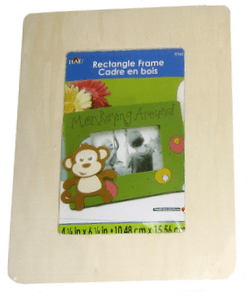
- wood picture frame – choose a frame with flat sides that are wide enough to contain one or two rows of keyboard keys consistently all around
- tacky glue and Q-tips (or a hot glue gun and glue sticks)
- fine sandpaper
- screwdriver
- acrylic paint in the same color as your keyboard keys
- paint brush
How to:
The wooden picture frame that I used holds a picture that is just slightly larger than 4 inches by six inches. The outside frame was large enough to take two rows of keys side by side and I had lots of keys left over.
Lightly sand the wooden frame so all edges are smooth, then paint it with craft paint. I used black acrylic paint and I only needed one coat, with just a few little spaces that needed touching up. Let the paint dry.
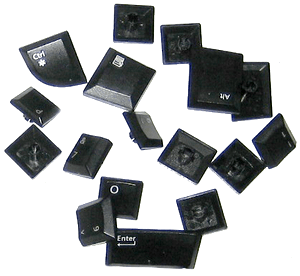
There are two ways that you can remove the keys from the keyboard. You can use a screwdriver to unfasten the screws at the back of the keyboard then push the keys out with the end of the screwdriver, working from the back to the front.
Or you can do what I did, which is pry off the keys by sliding the end of a flat screwdriver under each key and twisting it up to lever off the key. Whichever way you choose, the keys should pop off quite easily.
Wash the keys in some soapy water to remove the grime from underneath and any fingermarks on the top. I clean my keyboards regularly so I was surprised by the amount of dust and crumbs still hidden beneath the keys. Yuck. Dry the keys with a paper towel then set them on another towel to air dry for a little while.
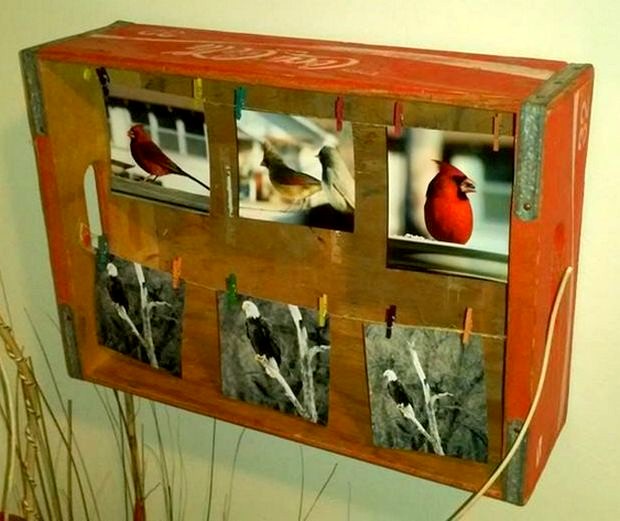
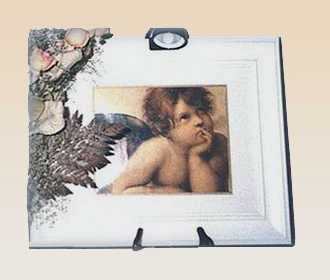
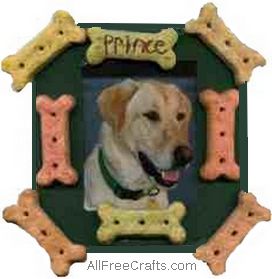
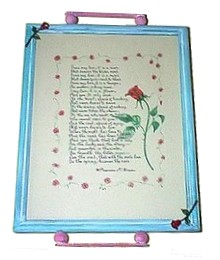
Take a look at some more crafty picture frames: Coca-Cola Crate Photo Frame, Pet Dog Photo Frame, Crackled Finish Picture Frame. Document Tray, Frugal Wall Art, Winter Windows.
Make a Trial Run
Set the painted wooden frame down flat on a table. Then play with different arrangements of keys. You might only use the letter and number keys, but I chose a few oddly shaped keys as well, such as the Alt and Ctrl keys. I also put the Shift bar on the top edge. All of this is completely up to you. You can spell out a few words if you wish. I put LOVE across the top and JOY down the left side. If you’re making the picture frame as a gift for Father’s Day, you could spell DAD somewhere along the line. Or even #1Dad, with the appropriate keys.
Consider whether you will want the picture frame to stand up tall, or be set out widthwise, because this will affect how you orient the keys. The letters and numbers on my keys are readable when the frame is standing tall although I did use some keys sideways because they fit better that way.
Start gluing the keys in place. Mine were attached by a stem in the middle of each key, so I dipped a Q-tip in tacky glue then smeared it generously all over the end of each stem. I then held the key in place for a few seconds until the tacky glue began to hold the key itself.
Work quickly if you are using hot glue. Just apply hot glue to the stem of each key and put it in place immediately.
Once all the keys are glued into position, let the glue dry or set.
Once the keys are secure, insert a picture into the opening and stand up the frame.
Suggestion:
» For Valentine’s day, make a small picture frame surrounded by one row of recycled computer keys, then hang an old-fashioned door key in the middle of the photo area. Or mount a photo of a Victorian style brass key. Use Word or another software program to print the words: “You hold the key to my heart” on paper that will fit as a mat in your frame.

Leave a Reply