Last updated on February 17th, 2018 at 02:26 am
Continuing the Recycled Jeans Skirt Pattern
This is Page 2 of a two-page photo tutorial.
To view the preceding instructions, please See Page One of How to Recycle Jeans into a Skirt.
THE FRONT
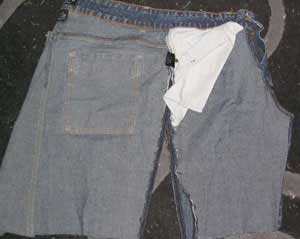
Step 13a: Lay the skirt with the sides together.
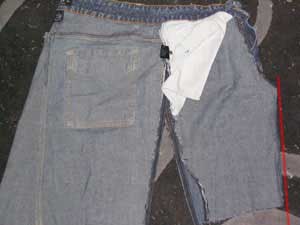
Step 13b:Cut the excess fabric out by cutting on a line from 2″ below the zipper to the hem.
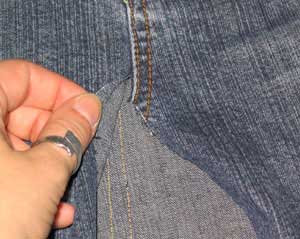
Step 14: Make a 1/2″ cut along the seam on the bottom layer of fabric (if the pants don’t have a flat-felled seam, rip the seam up 1/2″)
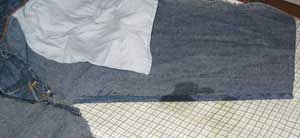
Step 15: Press the seam allowance in for both sides. (note: at this point I spilled distilled water filling up my iron, so you will notice a wet splotch in all the subsequent pictures)
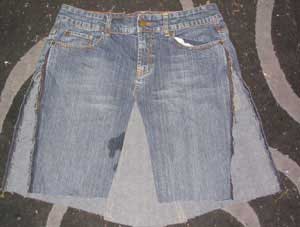
Step 16a: Lay the skirt down on the working surface as shown.
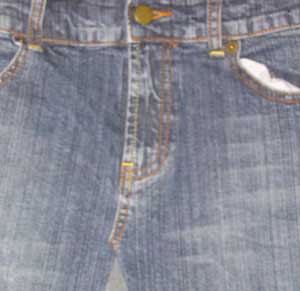
Step 16b:Give the seam a slight twist and tug so the two edges overlap by 1/2″. This will give the seam a slight curve to it.
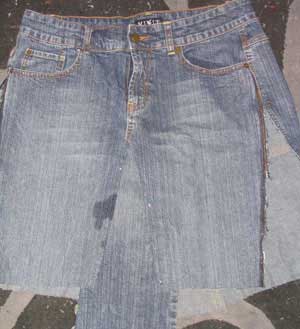
Step 17: Lay another leg panel underneath and pin in place.
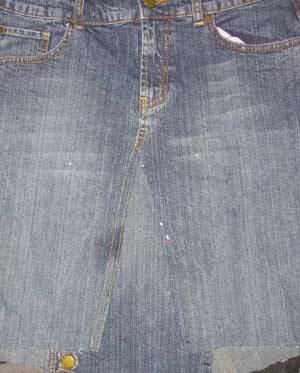
Step 18: Sew up the “underlap” side first, so those stitching ends are hidden under the seam allowance of the other edge.
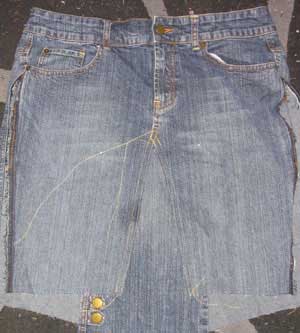
Step 19a: Sew up the other edge. When you get to the seam, pivot with the needle and then stitch over the existing seam. See the next picture for details.
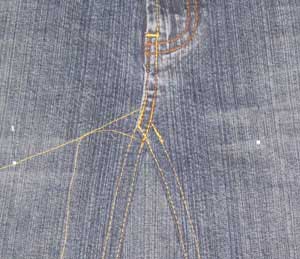
Step 19b: Detail of the front stitching.
THE SIDE
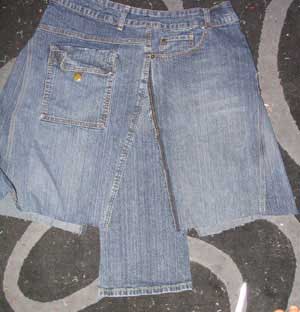
Step 20: Lay the skirt down with sides together and lay a leg panel underneath one side. One side should have the seam allowance tucked under (the back), and the other side will have the seam allowance straight out. If this isn’t hte case, take your iron and make it so.
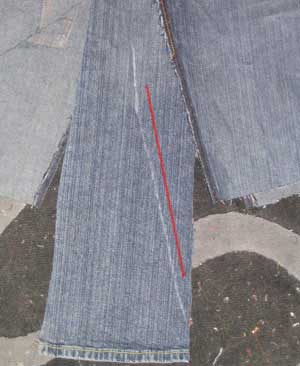 Step 21: Take a washable fabric marker or pencil and trace the edge of the front seam allowance. The piece is pulled out here to show you the markings. Now, this line is the final seam. So cut 1/2″ away from this line to you have a seam allowance (the red line shows the approx. cut line).
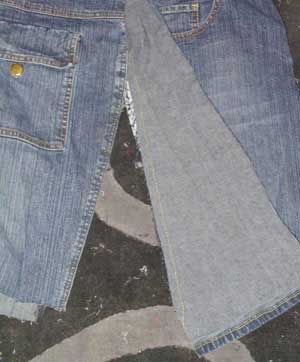
Step 22: Line up the panel with the seam allowance of the skirt and stitch along the stitching line up to as far as you ripped out the stitching.
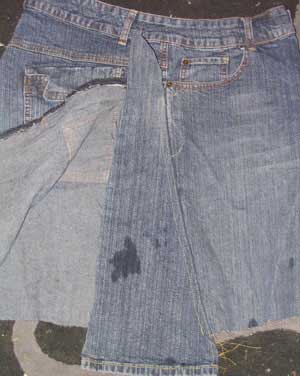
Step 23a: Press the panel back over the stitching line and the seam allowances and edgestitch and topstitch so it matches the other seams.
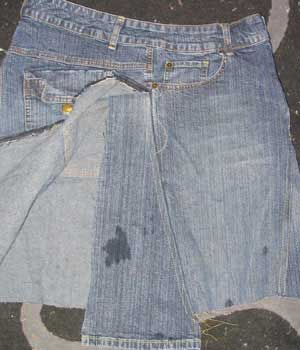
Step 23b:Trim off the excess panel at the top.
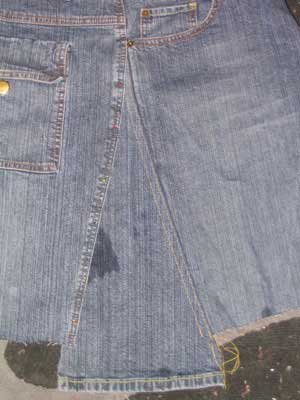
Step 24: Place the other side over the panel and pin in place.
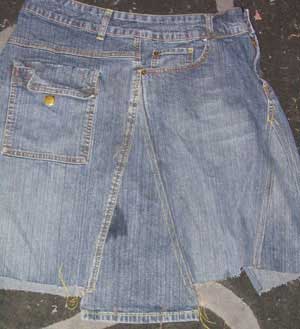
Step 25a: Edgestitch and topstitch in place.
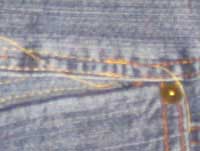
Step 25a: Be sure to anchor the stitches at the top where the two seams overlap.
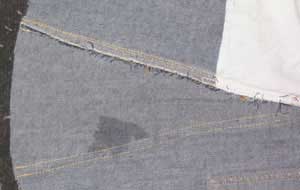
Step 26: Turn inside out and trim off the excess panel fabric.
Repeat steps 20-26 for the other side of the skirt.
FINISHING
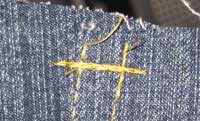
Step 27: Hem your skirt, or leave it frayed. If you do leave the skirt frayed, do a simple bar tack across the ends of the seams so that they don’t start to unravel, too.
PICTURES OF THE FINISHED SKIRT
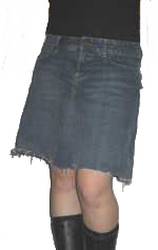
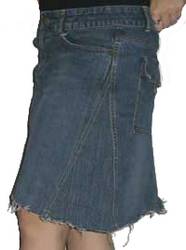
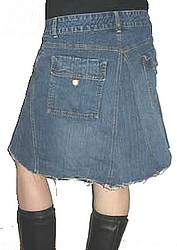
THE TWO-PANEL METHOD
This skirt can easily be made with only the front and back panels. Just omit step 3 and proceed with the rest of the front and back directions. I prefer the four-panel method because it gives the skirt more of an A-line, particular if your jeans have a very shaped thigh or seat. However if the pants have a loose thigh, or you want less of an A-line, the 2-panel method works fine.

Copyright 2004-2005 Savvyseams.com Some rights reserved.
Return to Page One of How to Recycle Jeans into a Skirt




Leave a Reply