Last updated on March 10th, 2023 at 11:38 pm
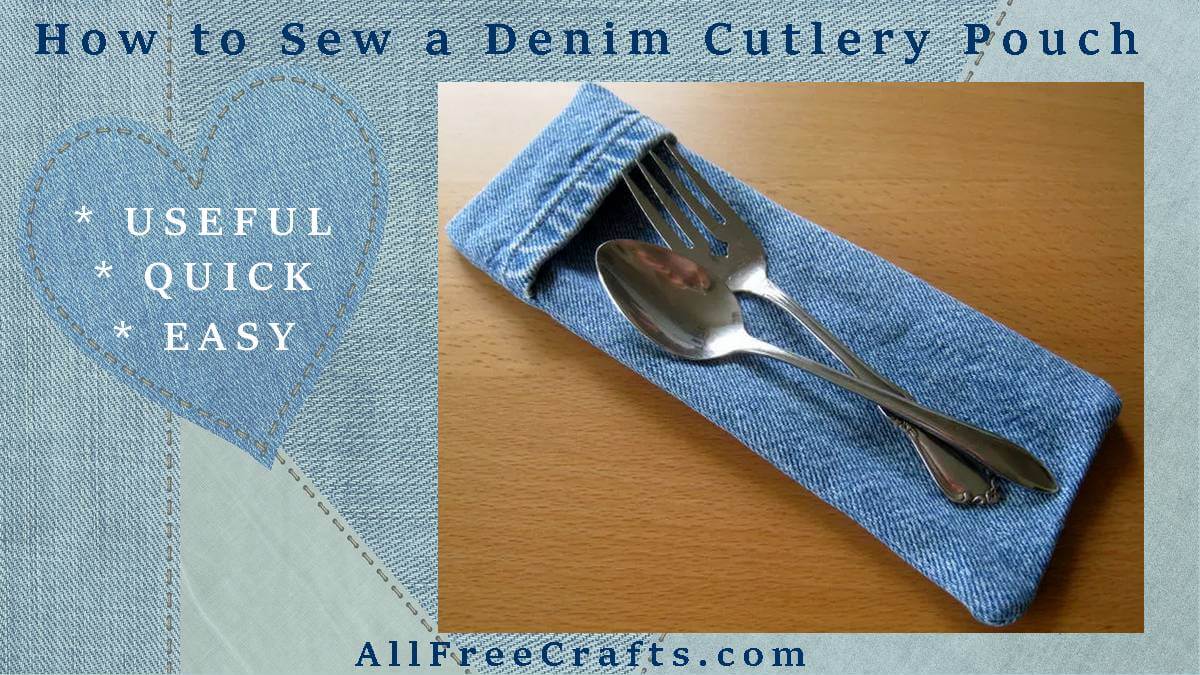
How to Sew a Simple Denim Cutlery Pouch
In less than an hour, you can make a cutlery pouch – very handy for storing eating utensils in your lunch pack – from recycled denim or other washable fabric.
This sample is cut from the leg of a old pair of blue jeans but other strong scrap fabric, such as a fabric napkin or dish towel, would also work well.
The opening is a simple fold-over flap, easy to sew, and less fiddly to open and close than a button or velcro tab.
We also have a similar Cutlery Roll pattern made from a tea towel.
Materials List:
Denim scraps or other washable fabric, paper, pencil, ruler, scissors, pins, sewing machine, sewing thread.
Make a Rectangular Pattern
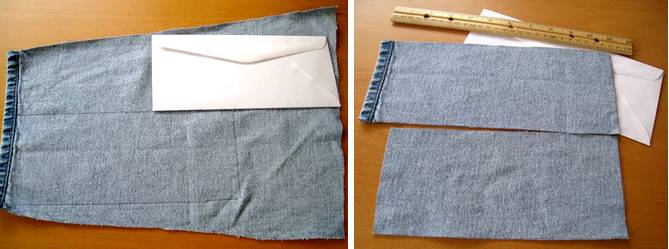
First, make a simple, rectangular paper pattern. You will need two pattern pieces, one a little longer than the other.
A standard business envelop that is 4¼ inches x 9½ inches long was used here. You can easily adjust the pattern dimensions to fit your needs but do not forget to add a seam allowance.
Lay the long side of your paper pattern along the grain of the fabric and draw around it to make two rectangles. One rectangle must be longer than the other to allow for the fold-over closure.
Make the smallest pattern piece at least one inch longer than the longest item that you will place inside it.
Make the larger rectangle about two inches longer than the smaller one to make the fold top. However, if the end is already hemmed (such as the hem on the bottom of a pair of jeans) then some of your work is done. In that case, you’ll only need to make the longer pattern piece about one inch longer than the smaller one.
Sew a Hem
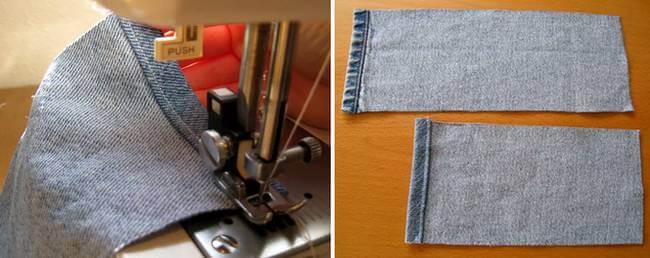
If the fabric already has a hem on one end then allow an extra inch (2.5cm) on the hemmed piece. If the fabric does not have an existing hem, allow an extra two inches (5cm).
Hem one end of each rectangle of fabric. Fold the fabric over and sew a straight hem.
Please Note: As explained, If the denim piece already has a hem, just skip this step.
Align Denim Sections and Sew Them Together
Place the fabric right sides together and align the ends without the hems. One hem should extend an inch or more past the other hem.
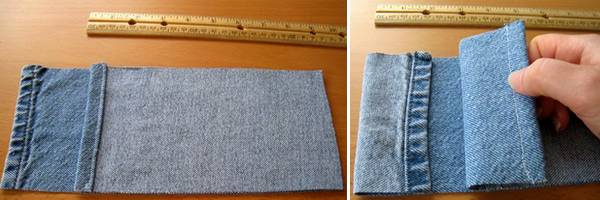
Lift the shorter piece and fold the longer piece over as shown. This is the beginning of the flap fold closure. Set the shorter piece back down on top.
Important: Check the photo below and you’ll see that the hem of the longer piece should beyond the hem of the shorter piece so the folds are staggered. You do not want the folded hems directly on top of each other because the multiple layers of denim are often too much for home sewing machines to handle.
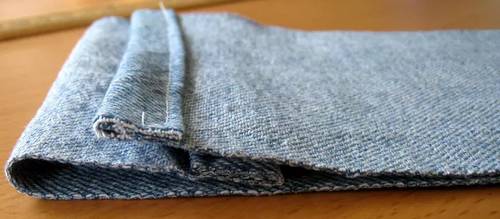
You can trim the opposite ends (the ends without the hem) at this point if you need to adjust the length a little bit.
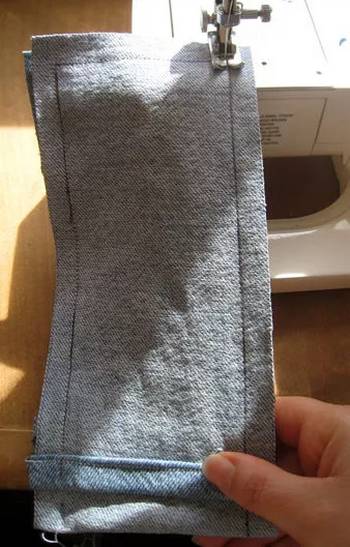
Sew the Denim Pieces Together

Stitch around the three sides that are not folded.
This is a seam allowance of about 1/2 inch.

The dark pen line is to show the location of the stitching in the photo.
It is not necessary to draw the guide line if you do not need it.
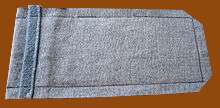
Trim the corners, as shown, so that the fabric doesn’t bunch up when you turn it right side out.
Final Steps
Turn the large end of the pouch right side out. The end of a knitting needle, the closed tip of scissors or the eraser end of a pencil are helpful when pushing out the corners of your new denim cutlery pouch.
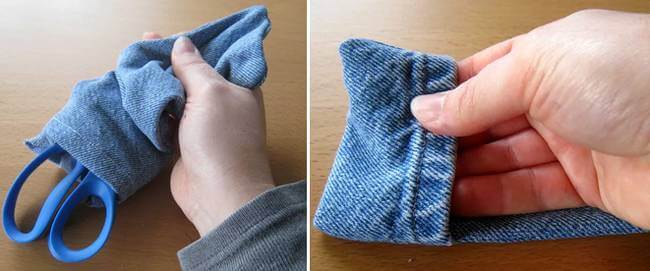
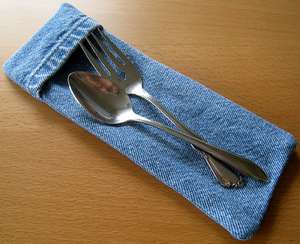
Finally, turn out the small sandwich-bag style folded end to complete your project.
Your finished denim pouch is durable, washable and ideal for a set of lunch cutlery. However, you can easily adjust the measurements of the rectangle pieces to hold other items such as crochet hooks, knitting needles, small tools or pencils.
Adapted from the WikiHow article, How to Sew a Cutlery Pouch for a Lunchbox, under Creative Commons License 2.5


This would be helpful to carry your reusable straws.
Excellent idea! I’m glad I thought of that, lol. Thank you for the suggestion – anything that gets us reusing straws instead of adding to plastic pollution has my vote!