Last updated on November 13th, 2021 at 03:00 am
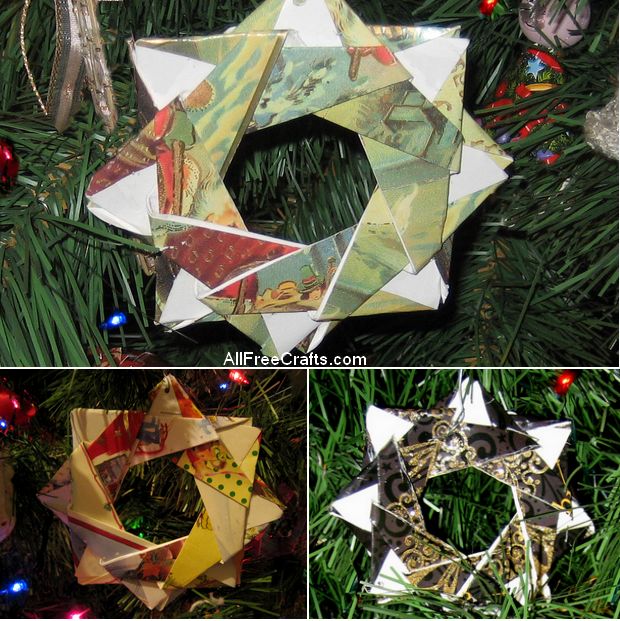
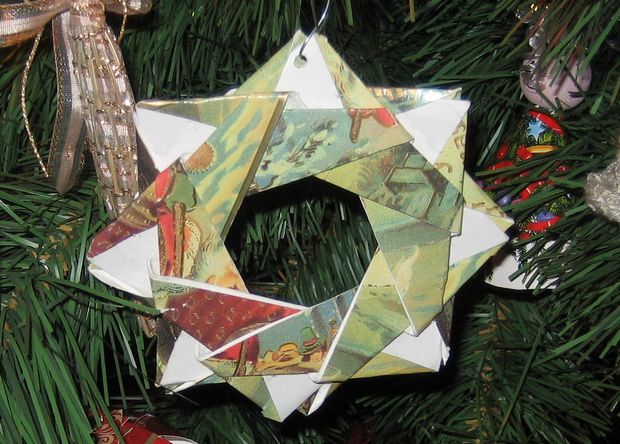
Recycle your most colorful greeting cards to make origami Christmas card stars.
Eight-Pointed Christmas Card Stars
by Jane Lake
You will need lots of used Christmas cards for this project as each modular star is made from eight segments, each one being at least 3-1/2 inches square.
Now, I don’t know about you, but I buy new cards for family and friends every year, usually leaving me with lots of partially used boxes. If you’re the same, get out those boxes and start making coordinated star ornaments for Christmas.
Craft Supplies:
» Christmas cards (note: use only those made from thin card or stiff paper as thick card doesn’t fold well)
» Thread for hanging
» Optional: craft glue or staples and stapler
» Tools: scissors, ruler, pencil and paper punch
Instructions:
Refer to the step-by-step photo below as you proceed through the origami folds required to make each segment of the stars.
You will need to make eight, equal-sized, segments for each star.
- Measure and cut a base square from the front of a Christmas card. Until you are familiar with the process, it’s best to start with squares of 4 inches or larger for easier folding.
- Turn the square, decorated side up, so that it looks like a diamond shape, then fold the top point down to cover the bottom point creating a center line fold. Reopen the square.
- Take the top point once again and fold it down toward the right until it meets the center line fold.
- Fold up the bottom half of the card along the center line fold. Bring the top point of this section down to the center line fold and crease firmly.
- Fold the small white triangle on the left in half as shown, bringing the colored edge forward to meet the colored edge of the right triangle.
- and 7. To complete the segment, take the top point on the right and fold it underneath, effectively folding this small triangle in half, just as you did on the left in Step 5. When complete, this folded triangle will have a small point extended beyond the bottom line.
Make 8 identical segments.
Now it’s time to assemble the segments together to make an eight-pointed star. This is much easier to show than it is to explain, so I am sharing this video, from Origimi Modular Star Wreath Instructions to help you along. If any of the folding instructions explained above are unclear, you can also view this star wreath tutorial.
Because Christmas cards are usually thicker than origami paper, the segments will not be as flat as the video shows when assembled into the star. Of course, you could try recycling Christmas wrapping paper for a flatter version.
If your star feels a little loose, or the pieces shift too much, apply several spots of glue to secure the layers at the back. Alternatively, you could staple the points together.
Finally, use a paper punch to punch a hole at the top of your star. Fasten a loop of thread through the hole and tie off. Use the thread to hang your Christmas card star on the Christmas tree.







Leave a Reply