Last updated on September 22nd, 2015 at 11:29 pm
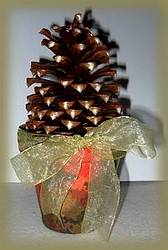
Cover a styrofoam tree form with pine cones and embellish in a variety of ways to make this pine cone Christmas tree decoration.
by Jane Lake
Craft Supplies:
- styrofoam cone
- assorted pine cones
- hot glue gun and glue
- optional: spray paint and/or embellishments
Craft Instructions:
Pick a nicely-shaped pine cone for the top of the tree. If it makes attachment easier, flatten the top of the styrofoam cone in some manner before gluing on the top pine cone. This allows the top cone to create the shape for the very top of the tree.
Now begin gluing pine cones to the entire cone area, beginning at the bottom with some of your largest cones, and gradually moving upwards in rows, keeping the pine cones as close together as possible.
.
Variations:
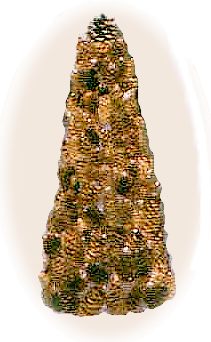
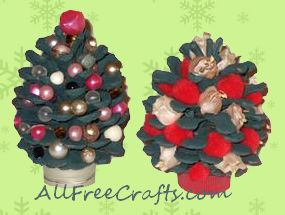
Leave your pine cone tree natural, or embellish as desired.
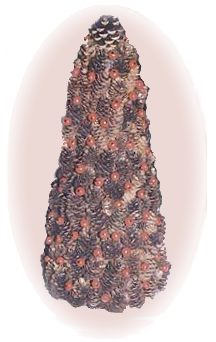
 If you’re adding artificial berries, as shown on in the photo at left, simply use the berries to fill in any spaces between pine cones.
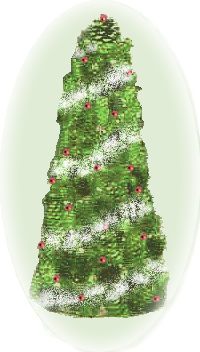
Another decorating option is spray paint, artificial snow, or a combination of both.
Tip:
The number of cones, berries, and embellishments that you need will depend on the size of the styrofoam cone.
If you are a little short on pine cones, spray paint the cone first with brown paint (use a paint that won’t dissolve styrofoam; some paints won’t be suitable for this purpose, so do a little test first on the bottom of the tree).

Leave a Reply