Last updated on January 17th, 2015 at 11:04 pm
How to Make Tea Stained Paper
With some heavy-weight paper, and a few ordinary tea bags, you can make your own tea stained paper.
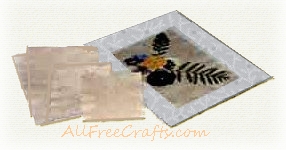
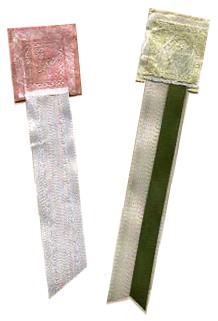
This treatment lightly dyes the paper, creating a softened antique effect that is perfect for all kinds of paper crafts, picture matting, card making, decoupage or even just to write a special letter. 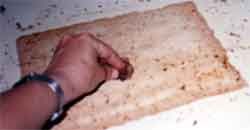
Begin by soaking about three tea bags in 2 cups of warm (not hot) water. Take one soaking wet tea bag and completely saturate a sheet of paper with the stained water. Once your paper is completely saturated, rub the tea bag over the paper, keeping the tea bag wet and allowing the tea bag to break, leaving little bits of tea on the paper.
You may need to use all three tea bags for this step, but don’t worry, it’s just a little more mess to clean up later! 
Using a fork, gently pull away tiny bits of paper around the entire outside edge of the paper. This will leave a nice uneven edge, making the paper appear more old and worn. During this process, the paper must remain wet. If it begins to dry, just add a little more tea stained water.
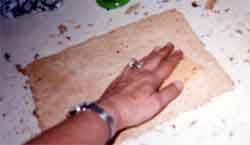 With a sponge, press against the paper, removing all the excess water from the paper. Continue pressing with the sponge until there is no more of the tea-stained water being removed.
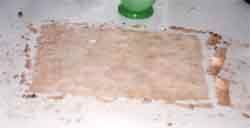 Place a sheet of glass on top of your paper (glass from an old picture frame works great) and add a couple of books for extra weight on top of the glass. This helps to keep the paper from developing buckled edges. Allow the paper to dry overnight. When the paper is dry, peel it from the working surface and gently brush off any loose tea. Some tea will remain embedded in the paper, adding to the soft, antiqued look that you are trying to achieve.
Copyright © 1999-2014 Susan Spatone All rights reserved. Published with permission from CraftAtHome.com
Video Instructions: Tea Stained Paper
Here is a video tutorial on how to make tea stained, vintage-look paper for journals, photo mats or other uses. Run time: 4 minutes, 32 seconds.


Leave a Reply