Last updated on April 4th, 2025 at 01:28 pm
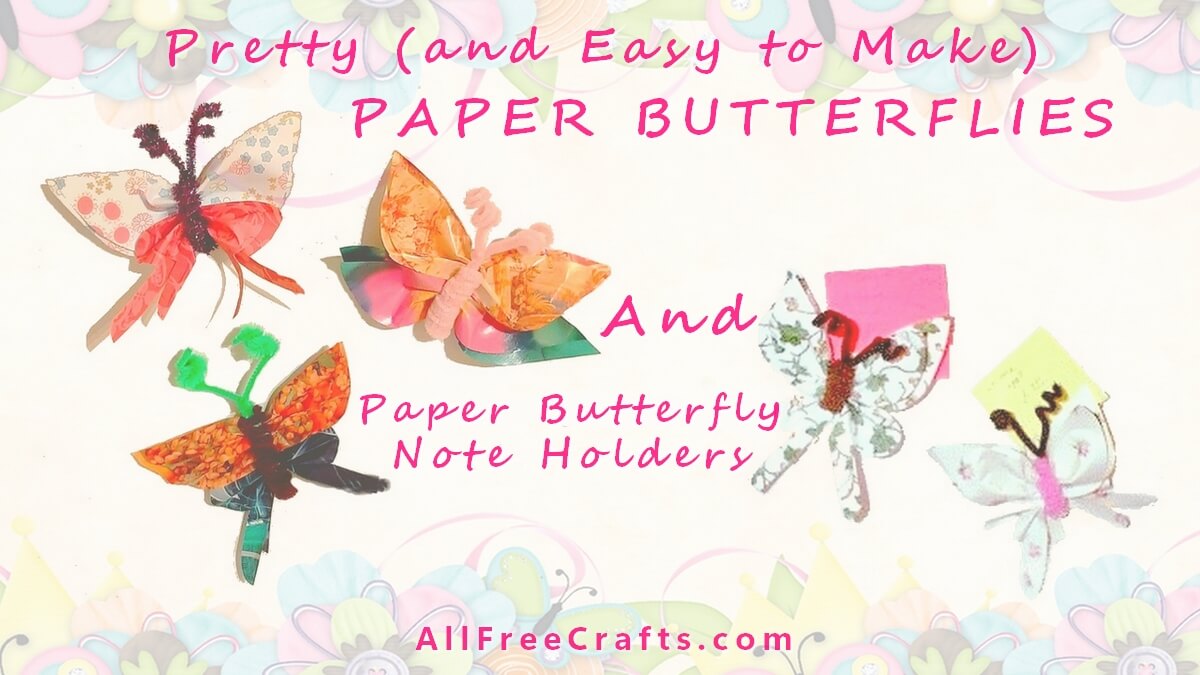
Editor’s Update: There’s a story behind this paper butterfly pattern. You don’t need to read the story to make the butterflies, so if you’d like to skip it, just jump to the Paper Butterfly Pattern Instructions.
If you’re interested, however, this paper butterly pattern, making butterfly note holders, was originally a new submission to AllFreeCrafts in 2003. I loved how they looked, but hadn’t personally made them myself.
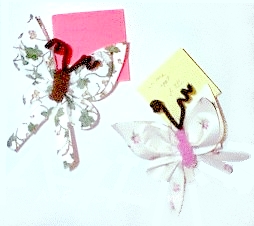
So, I’m a little late. And I’d almost forgotten about these little pretties.
I wanted to update this page, but found myself tearing apart old magazines, printing the pattern, and making the butterflies for my fridge. I was hoping it would be a good project to make with my granddaughters and it certainly is.
This also enabled me to take modern pictures and share new photos of the assembly process. Enjoy!

Paper Butterfly Pattern Instructions
1. Print and cut out the free printable butterfly pattern. You can enlarge the pattern on your computer, if you wish, for larger butterflies. If you’re making a lot of butterflies, printing the pattern on card stock is a good idea as it will withstand repeated tracing much longer than computer paper.
AllFreeCrafts is reader supported! Many supplies are found at thrift stores so try that first! However, if you buy from an affiliate link on this site, I earn a commission at no extra cost to you. As an Amazon associate, I earn from qualifying purchases. This has kept AllFreeCrafts.com online since 2002. Thank you!
You Will Also Need:

- wallpaper remnants, scrapbook paper, colorful magazine pages or left-over gift wrap
- two pipe cleaners or chenille stems (my favorites are the tinseled, glittery pipe cleaners in different colors).
- pencil
- scissors
- free printable butterfly pattern
Optional: Clothespin and magnet to make a fridgie butterfly. (Quick DIY: Glue a clothespin to the bottom of the butterly and glue a fridge magnet on the other side of the clothespin).
2. Trace the pattern pieces onto your choice of paper. You may use two different paper designs, if you wish; maybe go with a solid design on the bottom and a pattern on the top, or vice versa. Just experiment a bit and see what looks good.
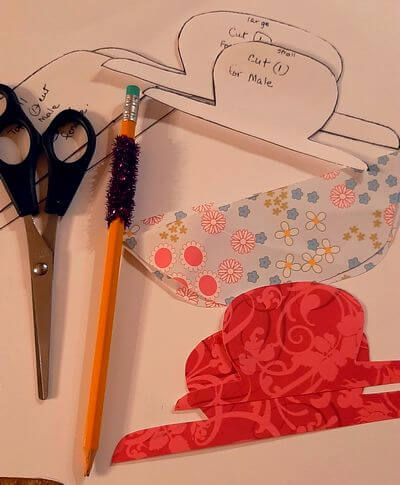
top and bottom wings. Also shown: curling a chenille stem
around a pencil to create the butterfly body.
3. For the male, take the small body with the tail and lay it on top of the large body with tail, then set these pieces aside.
4. Take the small basic wing shape and lay it on top of the large basic shape. Using both hands, take the two body pieces with tails and scrunch together in the middle then do the same with the basic body pieces. This method is shown in the inset diagram on the printed pattern and here’s a photo of how I did it.

5. Take a pipe cleaner or chenille stem and wrap it around and around the pencil like a spring. Remove the chenille stem from the pencil.
6. Fold the black chenille stem in half and run one end through the curled chenille stem. Place the scrunched together butterfly pieces between the straight stem and the curled stem, then fasten the two ends of the black chenille stem together with a tight twist.
Here’s how the butterflies looked after I attached the top and bottom wings with the chenille step, placing the folded stem inside the curled section to make the body. You can see the different shapes of the male and female paper butterflies here. Directions for the antenna follow below.
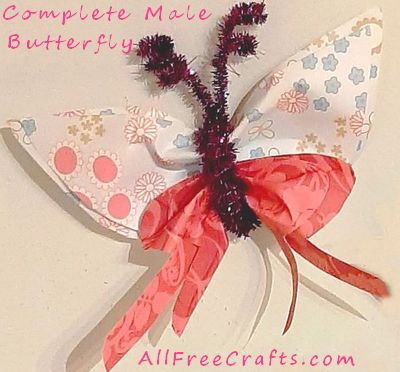
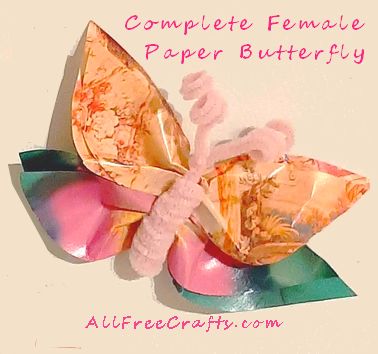
7. Curl the end of the two black antennas by wrapping the ends once or twice around the pencil. You can adjust them a little after that to point forward or curl around, whatever looks good to you.
Editor’s DIY Tips for Using the Paper Butterfly Pattern
For Best Results Use Thinner Paper
I found my left-over scrapbook paper was quite thick and a bit stiff when scrunching the butterfly wings together. I imagine wallpaper would be the same.
Wallpaper-type paper would work better if you enlarged the butterfly pattern and made bigger butterflies.
Try Fan-Folding the Wings
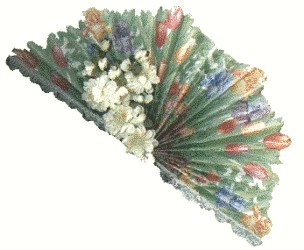
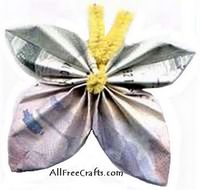
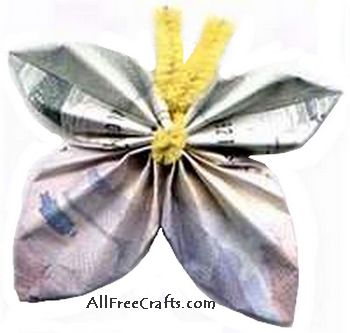
A great option would be fan-folding the wings, or pleating them, instead of just scrunching them together like the method used to make this Paper Money Butterfly or decorative Wallpaper Fan.
If you’re using recycled magazine pages to create your butterfly, choose those with bright colors or pages with a color that you like and trace and cut your pattern over the solid color that you want. You can also recycle plastic bottles to make beautiful butterflies or a mobile of plastic bottle fish.

A Great Craft Project for Young Ones and Those Young at Heart
I enjoyed making these new paper butterflies, with the help of my granddaughter, which proves there are many crafts that you can do together pass through generations. I’ll let that happy thought take flight every time I look at fridge now!


Leave a Reply