Last updated on February 9th, 2025 at 12:31 am
Toilet paper roll owls are easy to make and allow kids a huge amount of leeway in how they want the owls to look.
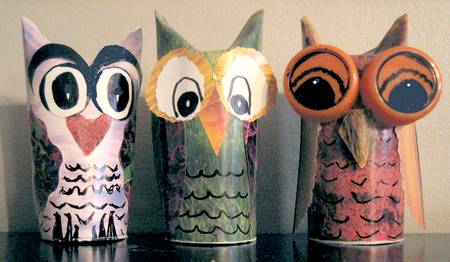
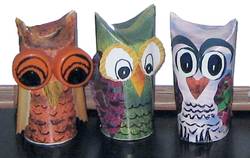
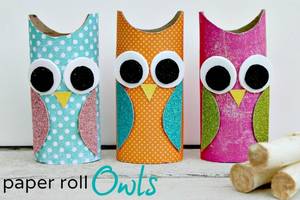
This colorful trio of big-eyed owls was made with three toilet paper rolls as the base and, for the most part, recycled calendar pictures.
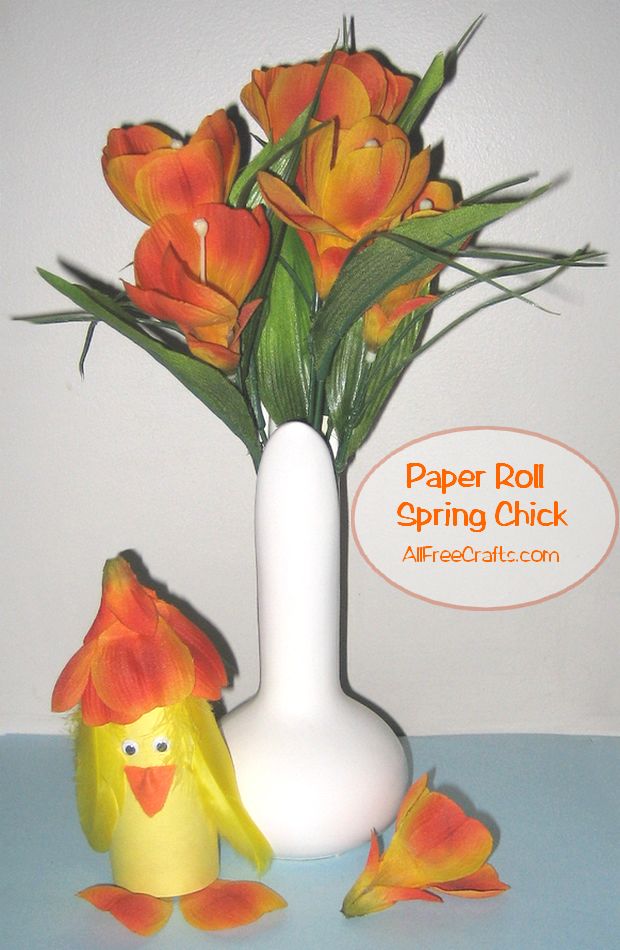
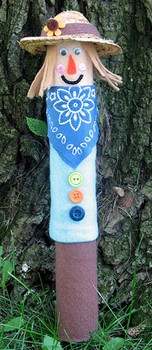
See lots more paper roll crafts including: Paper Roll Leprechaun with a Top Hat, Spring Chick, Paper Roll Penguins and Cardboard Tube Scarecrow.
You Will Need:
- toilet paper rolls
- old calendars with colorful pictures (or colorful magazine pages, construction paper or leftover scrapbook paper)
- pencil and ruler
- black marker
- scissors
- sticky tape
- craft glue or glue sticks
- optional: two plastic bottle tops
Paper Roll Owls – Instructions:
First, you’ll need to cut the calendar pages (or whatever colorful paper that you are using) to the correct size to cover the toilet paper roll. You can use a ruler and measure it, but I just line up the bottom of the toilet paper roll with the edge of the paper and make a mark on the paper at the top edge of the toilet paper roll. Use the pencil and ruler to make a straight line at this point and cut along the line.
Now take the strip of colored paper and test fit it around the toilet paper roll. Allow at least a half an inch overlap and cut the strip to size. Fit the paper around the roll and secure it at the overlap with sticky tape or glue.
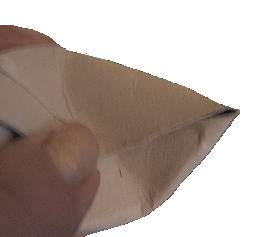
The magic part of toilet paper roll owls has to be the pointed ears. They are very easy to make. All you do is put your finger on the top of the toilet paper roll and push down, causing the edge of the roll to cave in at the middle and… yep, leaving pointy bits at the side. After you’ve pushed in the front, do the same at the back – est voila – you’ve just made pointed owl ears!
Fortunately, as you can see on the finished owls, this works well even after you’ve covered the paper roll with colored paper.
Decorating the Owls:
Owls have large, round eyes. You can make these from circles of white paper, using a black marker to draw different expressions. Make several pairs of eyes and pick the ones that look wise, or funny, or mysterious – or whatever expression you like the best.
Glue your eyes to slightly larger circles of colored paper, then glue the eyes on the owl.
If you like, you can make an owl with extra-large eyes using two plastic bottle tops glued together, then glued onto the owl face.
Cut a beak and some wings from colored paper. The beak could be a heart shape, or a triangle. You can bend the beak in the middle and glue it down only on the edges so that it sticks out on the owl’s face. Glue the beak just below the middle of the eyes.
Cut wings in an oval or a long triangle shape and glue them on either side of the owl. You can glue them down completely, or just glue the top of the wing so that the bottom sticks out. Draw some wavy lines with black marker at the front of the owl, between the wings, to represent feathers.
For a slightly different look, cut out the eyes, beak and wings with decorative edge scissors or pinking shears. Experiment with assorted shapes and contrasting paper colors to see how many different expressions you can make on your toilet paper roll owls.
Below, you will find links, and a video, for making other kinds of toilet paper owls, each with a unique look, as well as pages for learning more about these fascinating nocturnal birds.
Toilet Paper Roll Owls – Videos and Versions
Here’s a video showing how to make a painted toilet paper roll owl with eyes and beak added with a hot glue gun.
Make paper roll owls by cutting half circles at the top of the roll to make ears. Add color with leftover scrapbook paper and a little bling with glitter card stock.
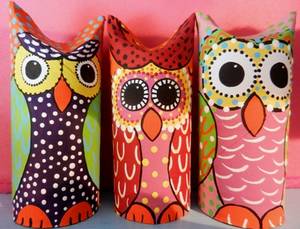
What a hoot! Each owl from ColorMyBliss.com has a different personality, thanks to colorful painting. These were done in acrylic craft paint, but you could add the color details with tempera or other types of paint as well.
Learn about Owls
Owl Facts and Print Outs
From the folks at EnchantedLearning, see facts about owls, print out owl quizzes or make a paper plate owl.
Owl Pages
Facts, figures, photos and art work relating to owls from all over the world.
Leave a Reply