Last updated on April 5th, 2025 at 12:20 am
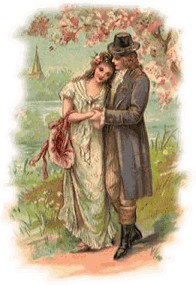
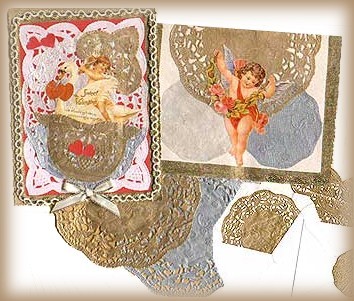
These romantic homemade Valentine cards consist only of cut outs from paper doilies and a victorian vignette.

They are very easy to make, and every one will be different, because you cut and arrange each design individually. Just use your imagination, and check our photo for placement ideas.
Victorian Valentine Cards –
Craft Supplies:

- white Paper Doilies
- Acrylic Metallic Paints (gold, silver, pearl white)
- Card Stock Paper (or old file folders)
- Craft glue (clear drying)
- Sharp scissors
- Paint Brush
- Gold Paint Pen (acrylic paint can be used, but the paint pen is easier)
- Specialty scissors (I used deckle cut, but you can use any you like and if you don’t have any, tear the paper gently to add a more textured look)
- Ribbon or lace (optional, shown only on the red card)
- Victorian clip art
- Styrofoam plates or parchment paper
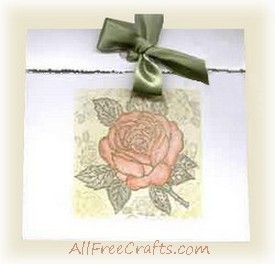
In keeping with a romantic theme, see the following free homemade card ideas: Handmade Woven Ribbon Cards, Victorian Icing Cards, Rose Motif Greeting Card, Make New Cards from Old Cards.
Instructions:
For this project, you can use the Victorian clipart shown on this page, check for Victorian clip art online, or clip suitable pictures from magazines or old calendars.

Gold doilies are very expensive so I decided to paint mine. To paint them, place your doilies, right side up, on a styrofoam plate or a sheet of parchmount paper (to prevent the doily from sticking).
Paint the doily with your choice of metallic paint. My Valentine cards include gold, silver and oyster pearl metallic paints.
Remove the doily from the styrofoam plate as soon as you have finished painting it and place it on a fresh styrofoam plate to dry, which should not take very long. I painted several of each colour at the same time.

While you wait for the doilies to dry, cut a piece of card stock or a section from an old file folder or hanging file folder to use as the base of the card. Most importantly, use heavyweight paper or thin card, as lightweight paper will wrinkle from the glue.
You can make these Valentines as single fold cards, or postcard-style with no fold. The red card in the photo is a single sheet and the others open with a little doily cut out on the inside.


Using a ruler or straight edge, draw a gold border (use a paint pen or acrylic paint) around the front edge of the card, referring to the photo for placement.
Begin by clipping sections of your doilies. I used only two sizes of doilies for all of the cards shown.
I used nine inch square and four inch round doilies.
I cut the corner sections, center sections and little sections throughout the doily.

Study your doily for suitable heart shapes or corners that can be cut out.
Cut out any victorian clip art that you’d like to use and on the red card, I added a few little heart shapes, cut from the file folder.

Place all of your pieces, layered on top of each other before you glue them in place. Arrange, remove or add doily pieces and clip art until you have a look that you like. Remove the pieces and place them upside down (this allows you to glue in the correct order). Glue each piece to the card making sure that all edges of the paper has glue.
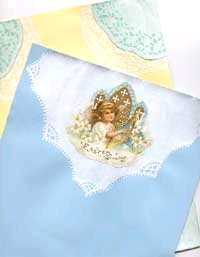
Add any trim or ribbon, using craft glue. I used ribbon and trim on the red card only. Add a doily to the insert of your envelope for a little extra special presentation (see photo).

To help the cards dry flat, place a piece of parchment paper on top of the card and on top of the parchment paper, place a heavy book to weigh it down.
Be creative with these Valentines, as you can create many different combinations with just a single style of paper doily.
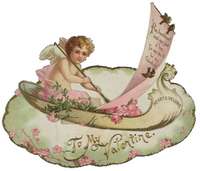
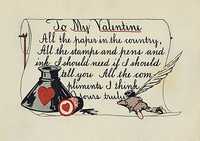
For the last two samples of Victorian clipart shown here, click on the image that you like to open the full-size version for printing.
Personal Use Only
You may use these images for personal use, or teachers may make multiple copies for students, but otherwise please do not copy, or link directly to these images in your blog or website, or reprint without my permission.
Copyright © 1999-2024 Susan Spatone All rights reserved.


Leave a Reply