Last updated on February 10th, 2025 at 11:26 pm
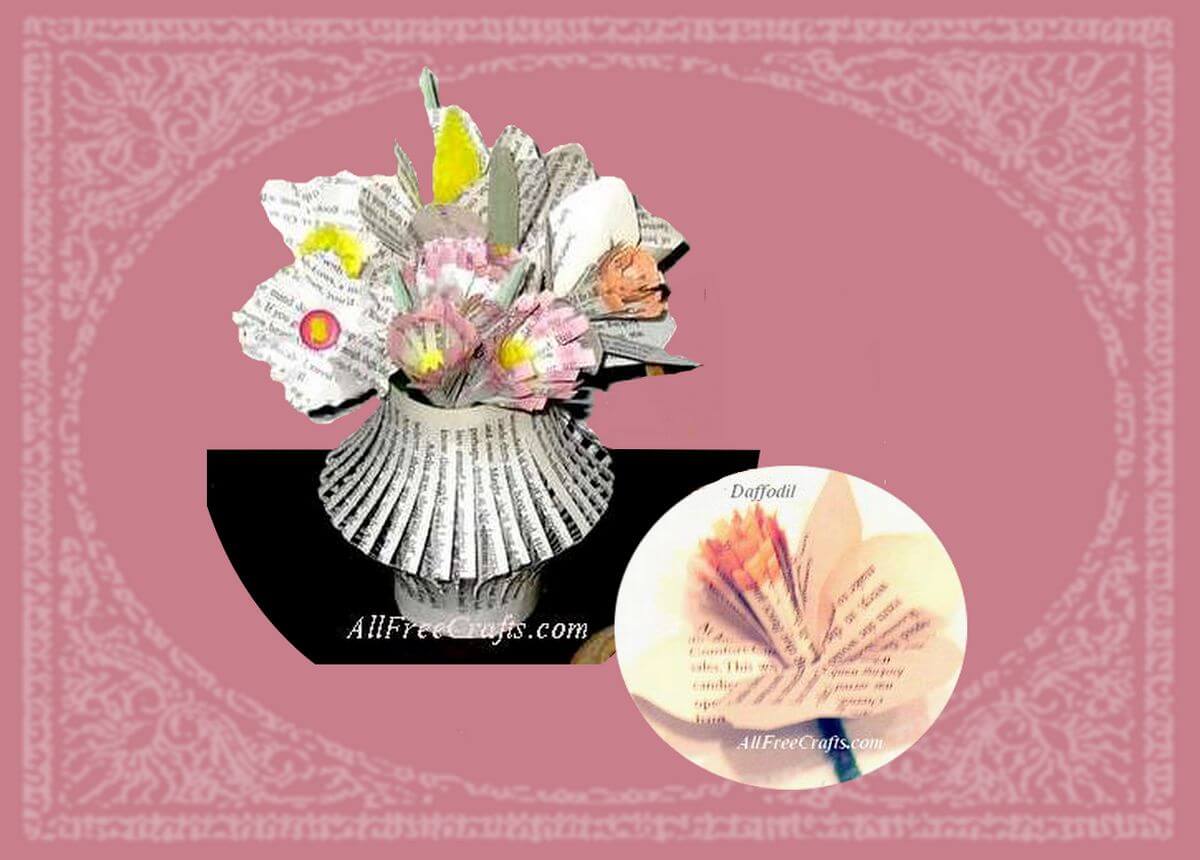
How to Make Paperback Book Flowers
No matter how much you love books (and I do!) there are times, especially with paperbacks, when pages go missing or the binding comes apart.
When that happens, you’re left with a book full of printed pages that can either hit the recycling bin or, as they say, find new purpose.
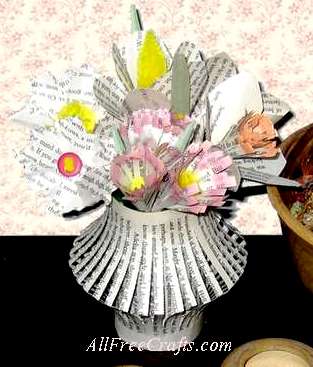
This craft project will help you make paper flowers, and a vase to hold them, from the pages of a paperback book. Or from any book, for that matter, that can no longer be read.
What You Need:
- pages from a paperback book
- white glue (PVA)
- scissors
- pencil
- wax crayons
- sticky tape
- green and yellow chenille stems
- green construction paper
- optional: small buttons
- optional: decorative-edge scissors
Craft Project Instructions:
1. English Daisies:
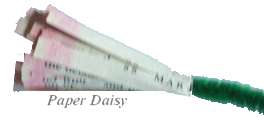
To make English Daisies, or the center of other flowers, you should first open the book and use a wax crayon to color the edge of a page in pink.
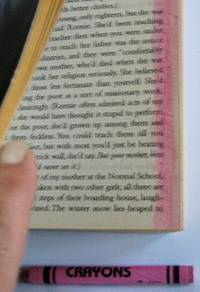
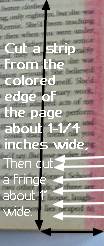
Turn the page over, and color the other side in the same way. Tear the page from the book. Cut about 1¼ inches from the colored edge, from the bottom to the top of the page.
Next, cut a fine fringe all along the length, about 1 inch deep, from the colored edge inwards, using the print lines to help keep the cut lines even.
Curl a small piece of yellow chenille stem into a little circle; this will be the center of your flower.
Cut the green chenille stem down to the desired size of the stem. Hook the top of the green stem into the middle of the yellow circle and twist to attach the two pieces.
Apply a line of white glue all along the uncut section of the paper fringe. Begin rolling the glued end of the fringe around the yellow circle. Roll it as tight as you can, then let it dry.
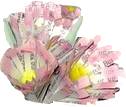
You can leave the daisy as it is, tightly rolled, or gently open the top of the flower so that you can see the yellow center.
Daisies are best displayed in groups of three. You can twist the stems of three daisies together then place them as a group in the paper vase.
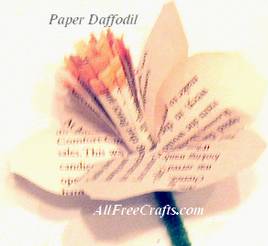
2. Daffodil or Narcissis
Daffodils, narcissis, tulips and similar flowers can be constructed from paper petals, either cut as single petals or as a line of petals, similar to the way that you cut a paper garland or paper dolls.
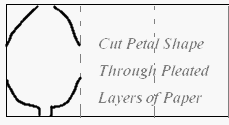
Tear a page from your book, then cut a strip to the desired height of the flower petals, plus three times the desired width. Fold the strip in two even pleats (folding first one way, then the other) so that you end up with three sections in total (top, middle, and bottom pieces).
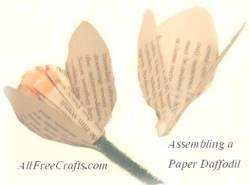
Draw a petal shape on the top fold, as shown, leaving a short stem for gluing and assembling, and cutting the curves of the petal from each corner of the rectangle, leaving the sides connected. Cut out the petal, cutting through all three layers, then unfold.
You will now have three petals joined at the sides. Glue the stem of one petal to the top of the next stem, then glue the last stem on top of the first two. The petals should naturally form a half cup shape. Make another set of three petals in the same way.
Make the trumpet/stamens of the daffodil by making a short daisy shape(1 inch instead of 1-1/4 inches), as described above, coloring the edge of the paper strip in orange or yellow.
Apply glue around the bottom of the stamens and press the first set of petals into place. Glue the second set of petals opposite the first set. Let dry. Gently adjust the petals so they curve in the desired shape of the daffodil.
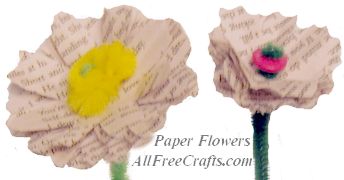
Other Flowers
You can make many other types of flowers from recycled book pages. One of the easiest shapes to work with is a circle. Stack four pages together, then trace a circle on the top one. Cut out the circle, going through all four layers. Hold the circles together, then fold them in half (to a half moon shape), then in half again (to a pie shape).
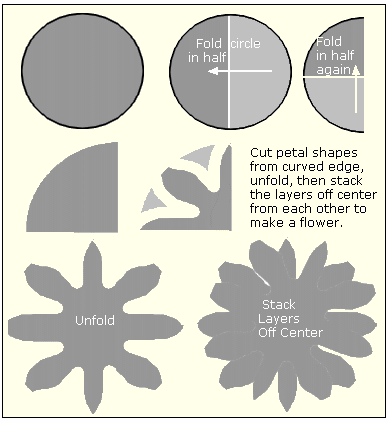
Snip petal shapes from the curved edge, as shown in the diagram. Unfold all four pieces then glue them on top of each other with a small spot of glue, placed only in the middle of the petals, turning each piece a little bit so that it lies slightly off center from the one below it. This will show off more petals and give the flower more body.
See Dryer Sheet Flowers for more recycled blossoms or a homemade bouquet using tissue paper which includes paper carnations and roses.
Get Creative
Flowers grow naturally in all kinds of shapes from trumpets and bells to cups and rosettes. Try making an assortment of paper flowers of different heights and shapes, with colorful centers made from buttons, pompoms, circles of fabric or other materials. Experiment, too, with folds or curves. Try curving petals by rolling them gently around a pencil and then releasing.
Make a Vase from a Book Page
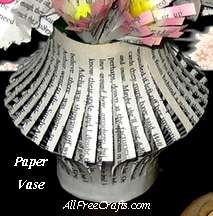
You can make a vase for your paper flowers using two book pages. Pull two pages from the paperback, being careful not to tear the inside edge.
Roll the first page into a tube, overlapping the edges by half an inch. Keep this in place with a small piece of sticky tape, but don’t secure it permanently yet.
Fold the second page in half, lengthwise. Cut all along the fold, following the lines of print to keep the cuts evenly spaced, and ending 1/2 an inch from the top edge. Also leave a half inch tab at the top and bottom of one side. Unfold.
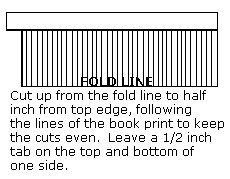
Roll the vase cover around the first paper tube using the tabs at top and bottom to test the fit. Apply glue around the edges of the inner tube and glue the vase cover in place.
Measure the diameter of the vase then cut a circle from thin card or stiff paper to fit. Apply glue around the edge of the circle then gently fit inside the bottom of the vase. Let the glue dry.
Hint:
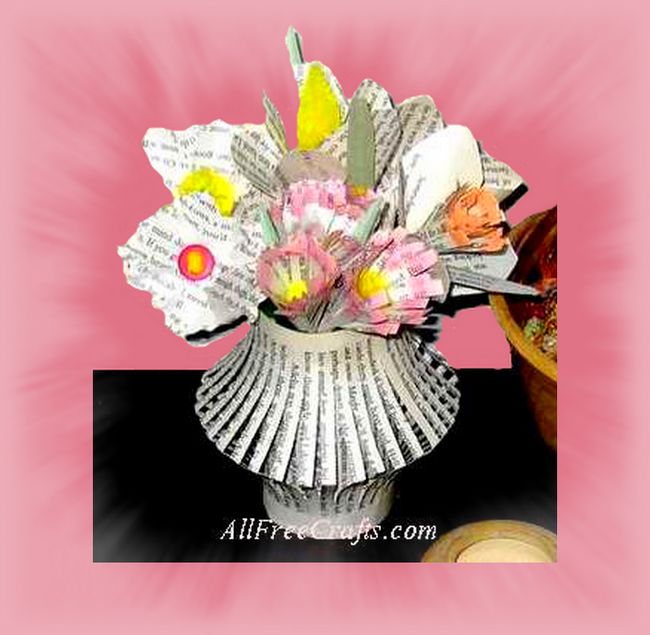
Place a few buttons, or a penny or two, in the bottom of the vase before arranging your flowers. The weight will help support the flowers and prevent the vase from falling over.

Leave a Reply