Last updated on December 9th, 2023 at 11:58 am
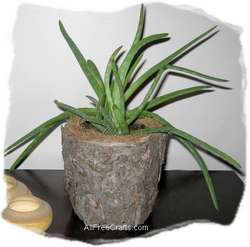
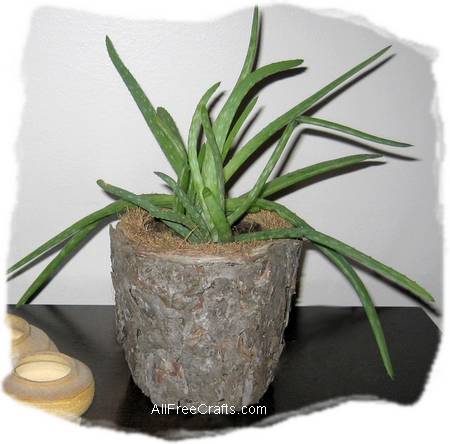
This rustic planter is made from a recycled plastic pot and small pieces of pine bark, but a clay pot would also work very well as the base.
by Jane Lake
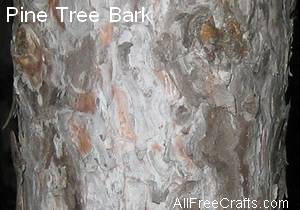
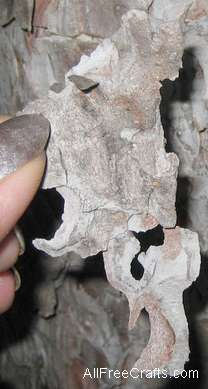
If you go for a nature walk and find a stand of pine trees, you’ll see that the bark is thick and scaly, with smaller pieces which easily flake off with a nudge of your fingernail.
Within a few minutes, you can harvest enough bark to make several tree bark planters like the one shown.
You Will Need:
- plastic plant pot (you may also use clay pots)
- pine tree bark
- hot glue gun and glue sticks
- optional: coconut pot to place inside the planter
- optional: small strips of cedar bark
Project Instructions:
I found that harvesting pieces of bark from a stand of pine trees was quick and easy. You just need to pull away little sections; if the bark is ready to fall then you’ll find it lifts away with little resistance.
Please be respectful of the trees!
Don’t remove more than one piece from any section of the tree; vary the places that you take your selections, going higher in one spot and lower in another, so that not too much bark is removed in any one area.
I took little bits of bark from five different trees rather than risk stripping off too much from a single tree.
If you find pine cones beneath the trees, consider collecting them as well. Here’s how to prepare pine cones for crafts, and my collection of pine cone crafts. If it’s close to Christmas then you’re in the right place to collect what you need for this Fresh Pine Centerpiece .
Project Instructions
Set out everything you will need on your work surface – the plant pot, an assortment of bark and scissors. Plug in the hot glue gun and get it ready to go. Have plenty of glue sticks nearby.

Begin gluing pieces of bark to the bottom of the pot, applying lots of hot glue to the underside of each piece before setting it in place.
Don’t overlap pieces at this stage.
Gaps are fine because you will be filling them in the next step.
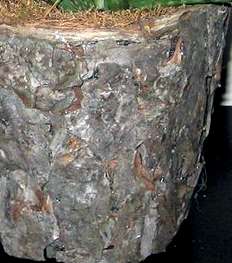
You may also find that some pieces of bark conform to the curves of the pot better when applied the wrong way around. For the base layer, this is fine.
Work upwards toward the rim of the pot. My pot didn’t have an overhanging rim; it was fairly straight right up to the top, so I kept applying bark right to the top edge.
If you want to cover the top lip with bark, as I did, you may find that small strips of cedar bark are more pliable and easier to fit. However, gluing small lengths of pine bark all around the top lip also works.
Finishing:
For the final step in this project, pick out some nice pieces of pine bark and glue them over all the gaps. Keep going until the planter is completely covered in bark.
I had an overgrown Aloe Vera plant with lots of little baby plants ready for a home of their own. I planted these in a coconut pot filled with potting soil, then slid the whole thing inside my new pine bark planter pot.

Leave a Reply