Last updated on October 16th, 2015 at 09:44 pm
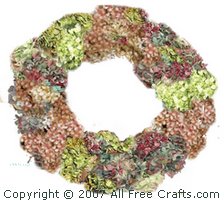
How to Make a Dried Hydrangea Wreath
by Jane Lake
Hydrangeas are big, glorious flowers produced in abundance on large garden shrubs. One of the wonderful things about them is that you can enjoy the garden color of your hydrangeas throughout the blooming season and not cut them for drying until late summer or early fall.
At that time, you can easily dry the hydrangea flower heads then use them to make your own spectacular dried hydrangea wreath. Alternatively, you can purchase large bunches of dried hydrangeas from most craft stores – or even on ebay!
Choose the Wreath Base
Again, you can either purchase a wreath base, or make your own with these instructions on how to make a grapevine or twig wreath. I generally use Virginia Creeper to make my wreaths because it grows as a vigorous weed around my property and therefore is easy and cheap to use. However, I’ve also made many twig wreaths using long maple or birch twig trimmings.
Both grapevine and twig wreaths are also available at craft stores, along with styrofoam wreath bases in a variety of shapes.
Working with a Styrofoam Wreath Base
1. The first thing you need to do to prepare your styrofoam wreath is fashion a hanger that will be sturdy enough to support the finished creation.
You can use florist’s wire, circled around the top of the wreath a couple of times with a loop fashioned at the top, or you can make a similar looped hanger from strong garden twine.
2. Try out the hanger by hanging the bare wreath on the wall. It should lie flat and not protrude from the wall at the bottom. If it does tend to stick out, adjust the hanger until it lies flat.
3. You will need to work with flowers of the same height, so separate the large hydrangea flower heads into smaller florets of similar height. Also remove any discolored, badly faded or damaged flower petals at this time.
If you are working with several different hydrangea colors, you should decide on the overall color pattern before proceeding with glue. Try a dry run on a table, setting the florets down in a circle the same size as the wreath base.
4. Begin gluing the florets in place using a low-temperature hot glue gun. Poke the flower stems into the styrofoam then secure with a small amount of glue. Don’t worry too much about any excess glue strings that may form; these are usually easy to remove once they are dry.
5. Continue until the wreath is completely hidden by hydrangeas. At this point, you could add sprigs of baby’s breath for a contrast in color and texture, but hydrangeas are classically elegant all on their own.
Working with a Grapevine or Twig Wreath Base
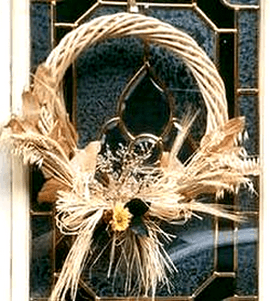
 1. Grapevine or twig wreaths may use less hydrangea blooms, while also offering more individual style choice, because not all of the wreath needs to be covered.
Find the look you like best by setting hydrangea florets in a circle the same size as the wreath base until the flower colors and contrasting spaces look balanced and right to you.
2. Glue on additional design elements – a raffia or silk bow, for instance, before gluing on flowers.
3. Attach flowers with a low-temperature glue gun. Step back from the table several times as you work to get a sense of how the color arrangement is working out.
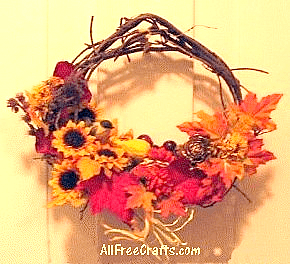
4. Intersperse the hydrangeas with baby’s breath, ivy, preserved leaves or other dried flowers such as roses or peonies. Or simply let the hydrangeas make a statement all their own.
For Both Wreath Types
Remove any excess glue strings, hang the wreath and enjoy!




Leave a Reply