Last updated on January 10th, 2025 at 11:16 am
If feeding the birds is your cup of tea, try making a pretty little bird feeder from a recycled teacup and saucer.
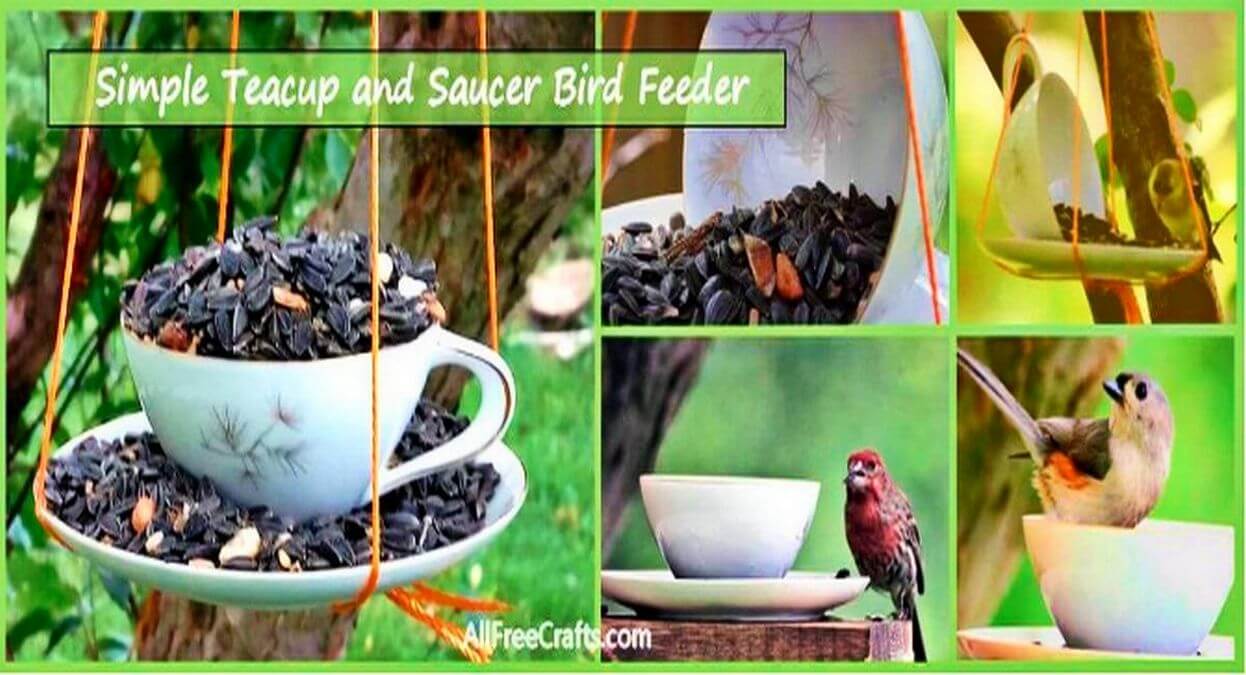
All you need is a cup and saucer, string, and some strong, waterproof glue.
My grandmother loved tea served in a fine porcelain teacup and saucer. She also loved a bargain and often bought beautiful tea sets at the thrift store. I inherited these treasures, but I drink from a mug, so what to do with Nan’s pretty cups and saucers?
Turns out, these tea sets make an endearing focal point in the garden. Just fill them with bird seed and they will also attract many of your favorite feathered friends.
As you can see, my photographer friend Terry Colby made excellent use of the cups and saucers that he found at Goodwill. And here, he shares tips and instructions for making simple recycled teacup and saucer feeders for your own backyard birds.
Materials
- teacup and saucer ( see notes at right)
- waterproof glue – project shown used B-7000 glue and silicone caulk
- twine for hanging
Notes: If you have to buy a teacup and saucer, try your local Goodwill or thrift store. Other great sources are garage sales, yard sales, estate sales or second hand shops.
Project Instructions
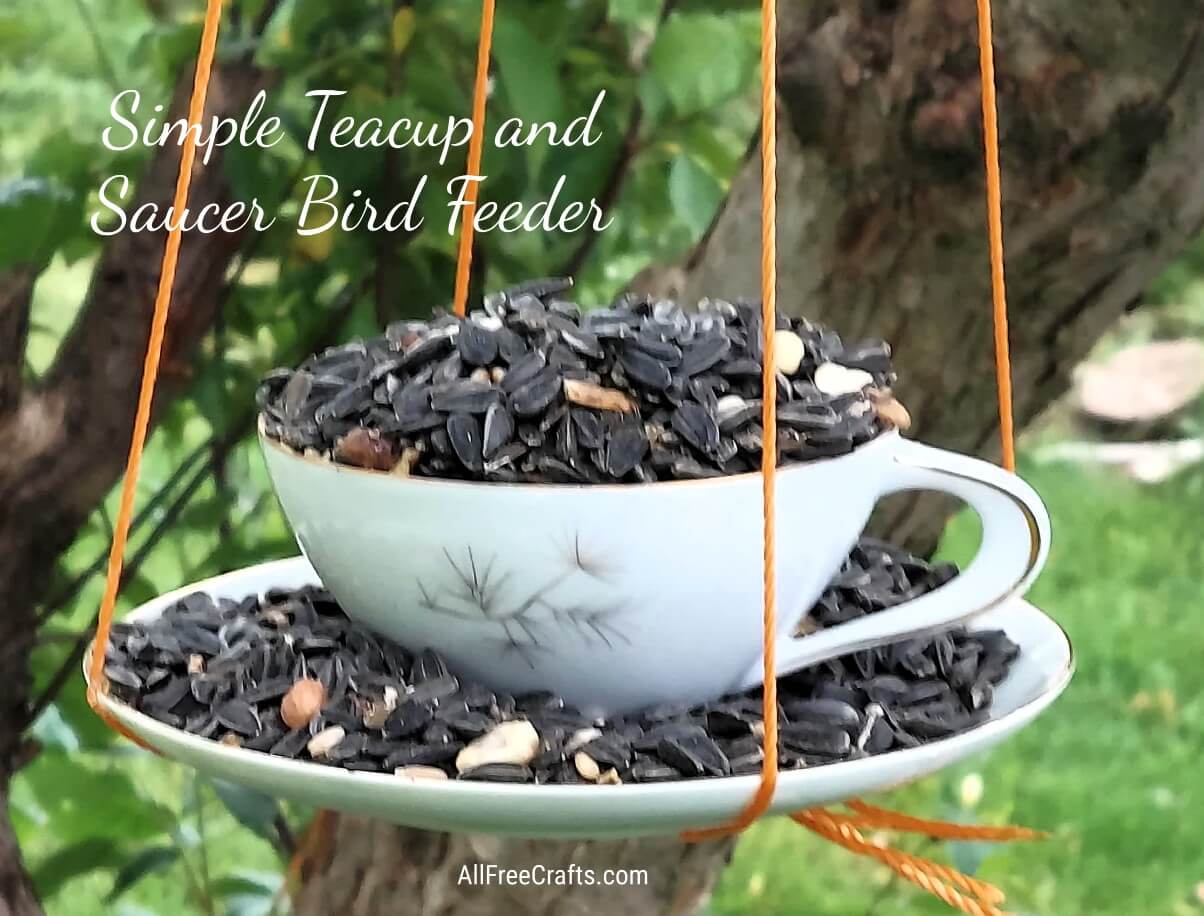
Filled to the Brim
Cup upright: The easiest way to make this recycled teacup and saucer bird feeder is to have the cup positioned upright just as you would if you were going to take a sip of tea.
Glue: To make this a permanent position, simply apply a generous dollop of glue to the middle of the saucer, set the teacup directly into the pool of glue and let it sit, undisturbed, until the glue dries and sets completely.
Optional: Nothing else is required, although you could put a heavy book on top of the teacup while the glue sets ensuring a firm connection between the cup and the saucer.
Fill with Seed: After completion, you can fill both the cup and the saucer with bird seed; we used black oil sunflower seeds with a few shelled peanuts mixed in to attract a wide variety of local birds. But you can use a wide variety of kitchen food scraps to feed wild birds.
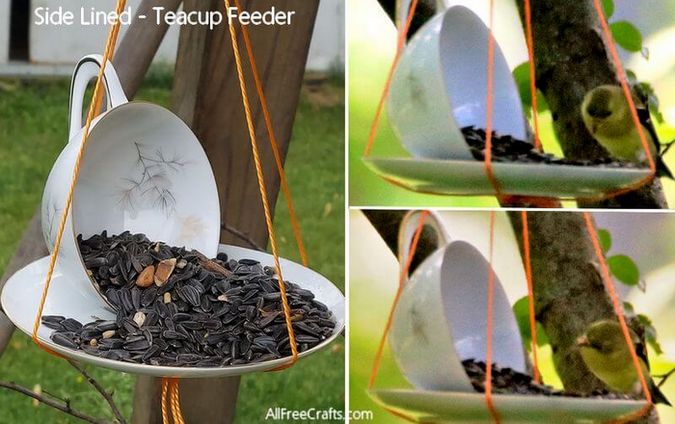
Side Lined
This feeder also looks super cute if you turn the teacup on its side, so the seeds look as if they are spilling out from the cup onto the saucer. Either way works just fine for the birds!
Position the Cup Sideways: To keep the cup permanently sideways, you will need to hold the cup on its side until the glue sets enough that the cup stays in place as the glue dries. You can make like a statue and hold it in place yourself or get creative and use whatever you have on hand to balance the cup, hold it down, and prevent it from shifting as the glue dries.
Glue: Put a little glue on the saucer where you the want the lip of the cup to connect. Set the cup into position, making contact with the little puddle of glue, and hold it there until the glue sets enough for you to release the cup without it moving. B-7000 sets in just a few hours but needs 24 hours to fully cure. Follow the directions for the glue that you are using for the correct setting and curing times.
Apply Weight: Find something with a little weight to it that will fit in the mouth of the cup and apply pressure downwards. This could be a balancing weight, a stone from the garden, or anything else of the right size that is heavy enough to weigh the cup down in the spot where it needs to stick firmly to the glue. Place it into position and leave it there until the glue dries.
Reinforce the Position: This is optional, but you can ensure the cup won’t roll out of the desired position by providing temporary support on the outside. A couple of small rubber erasers nestled against either side of the balanced cup are ideal, but anything you can find that prevents the cup from moving is fine for this.
Tie It All Together
For this teacup bird feeder, we simply used four pieces of string knotted (and glued) at the bottom then brought the strings together at the top to form a hanger.
The length of the hanger is variable, but you can figure it out by adding the length of the desired drop, a few inches for a knot at the top, plus another six inches allowance to bring the cords underneath the saucer and knot them together.
So, for instance, to make a teacup feeder that hangs about a foot from the top knot, allow two inches for the top knot, 12 inches for the length from the knot to the edge of the saucer, plus another six inches to bring each string under the saucer and knot them together in the center. For this configuration, each string should be about 20 inches long.
Knots: Cut four pieces of string to the desired length. Knot them together at one end, then glue the knot to the center bottom of the saucer. Wait for the glue to dry firmly enough not to move at all as you proceed with the next, final steps.
Round the Clock: For easy string positioning, think of the circle of the saucer as the face of a clock. Bring the first string across the saucer at 12 o’clock. Glue this string into position on the underside and near the end of the saucer. Do the same with another string in the 6 o’clock position, then repeat with the last two strings, placing them at 3 o’clock and 9 o’clock. (Just for giggles, you could also do this by thinking of north, south, east and west – whatever rocks your boat. :))
Once the glue has a little time to set, you can bring all four strings above the teacup and saucer and tie them in a knot.
Invite the Birds for “Tea”
Finally, put some bird seed in your teacup feeder. Black oil sunflower seeds are a good choice because they attract many different backyard birds. However, you can easily fill a bird feeder like this with food scraps from your kitchen.
Hang the feeder in a spot where you can see the activity as the birds come and go. If you have trouble with raccoons or squirrels, keep this in mind when you position the feeder. If the predators are really bad, you may want to bring the feeder in at night.
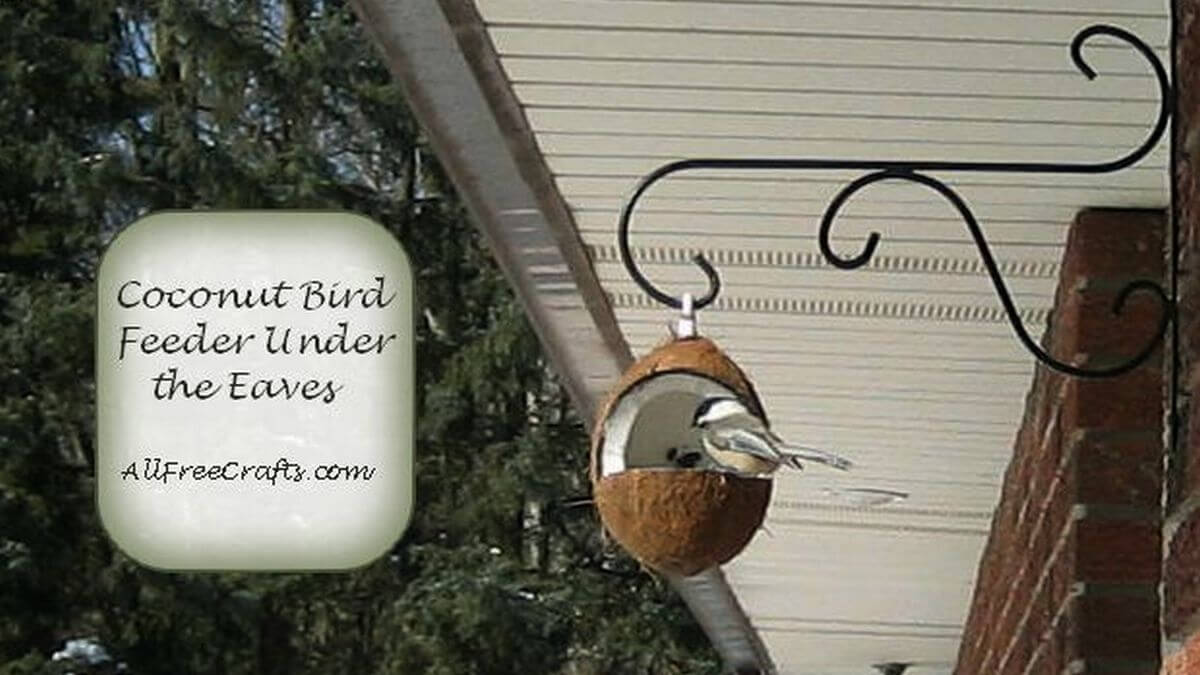
For another economical hanging bird feeder, try one of our free coconut bird feeder ideas.
By Terry Colby, author of the poem, Bird Feeding Addiction, and How to Make a PVC Pipe Bluebird House.
Leave a Reply