Last updated on December 4th, 2022 at 12:32 am
How to Make a PVC Pipe Bluebird House
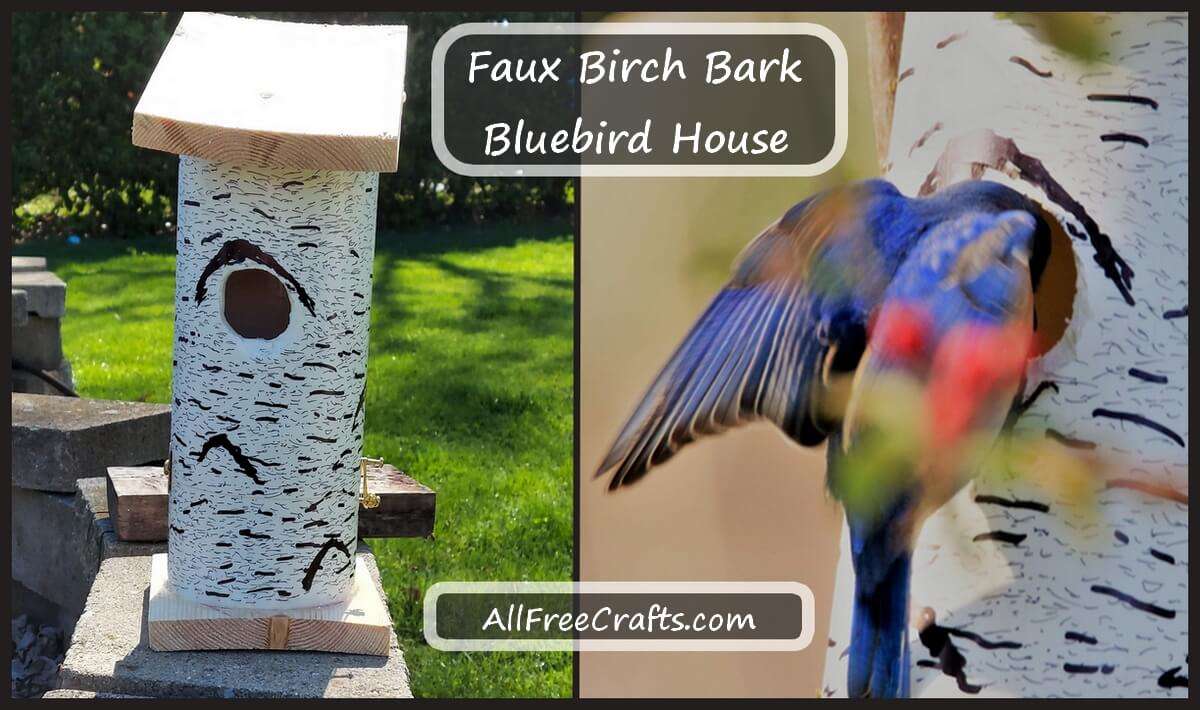
Build it and they will come! And essentially all you need to make this faux birch bark bird house, designed as a nest box for bluebirds, is a piece of PVC pipe, some scrap wood and black permanent markers.
WHAT YOU WILL NEED TO MAKE A PVC PIPE BLUEBIRD HOUSE
SUPPLIES:
- 12 inch length of 4″ pvc pipe (approximate)
- 1″ x 6″ board
- small hinges
- small screws
- bendable wire
- fine point black permanent marker
- broad tip black permanent marker
- tube of exterior silicone caulking
TOOLS:
Our tools (but use what you have to do the job)
- Hack saw
- Wood saw
- Screwdriver
- Cordless drill
- Rotary tool
- 1-1/2″ hole saw (or wood boring spade)
DIY INSTRUCTIONS:
- Take a piece of 4″ pvc pipe, about 12″ inch long, and cut the top on an angle, as shown. This is where your bird house roof will be attached. The short side of the angled pipe should be about 10″ high.
- Use a straight cut at the bottom of the pipe to cut away 2″ from the bottom. This bottom piece will later be reattached with a hinge, making it removable for end-of-season cleaning.
- You’ll need two pieces of 1″ x 6″ board to make the base and the roof. For the roof, cut a 10″ length from a 1″ x 6″ wooden board. Cut another 6″ length to make the bird house base.
- Now take the small 2″ inch section of pvc that you cut from the bottom and set it on the center of the 6″ piece of 1″ x 6″ board. Use a marker to trace around around it. Set this aside.
- Take the top section of your bird house and set the angled end on the center of the 10″ piece of 1″ x 6″ board. Use a marker to trace around this.
- The next step is to make grooves in the base and the roof to position the top and bottom of the pvc pipe and create the bird box framework. Just carve inside the drawn lines for a good fit. A rotary tool was used here but a wood gouge or small chisel also work. What you want is a shallow groove on the base to fit the bottom of the bird box and the same on the top for the angled roof.
- Take the 2″ inch piece of cut-off pvc pipe and set it into the carved groove on the bird box base. If it doesn’t fit nicely into the groove, make careful carving adjustments until the bottom section of the bird house settles into its final position.
- Repeat the same procedure for the top of your bird house. Once you have both the top and the bottom fitting nicely into board grooves, set all these pieces aside.
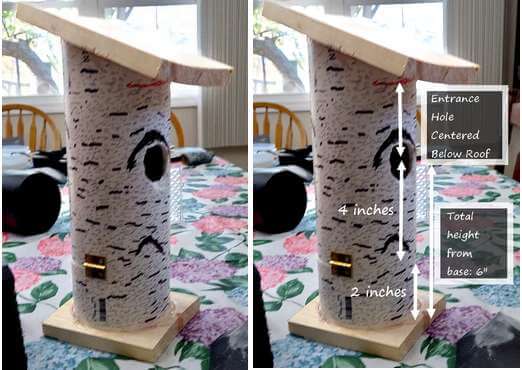
- You are now going to cut a 1-1/2″ hole in the front of your bird house. The hole should be directly below the lowest point of your roof angle. The center of this entrance hole is also about 6″ from the base, so don’t forget to include the bottom 2″ inch piece in this measurement. In other words, if you hold the upper section of the pvc pipe that is topped by an angle for the roof, you measure 4″ inches up from the bottom of this piece to get the center of an entrance hole that will end up being 6″ from the base. The hole should also align with the center of your roof overhang. Check the photo above to see how this looks when completed.
- Establish the desired position and then cut out the 1-1/2″ inch entrance hole. The easiest method would be to use a 1-1/2″ inch hole saw fitted onto your drill but a rotary cutter or wood boring spade also work.
- Begin assembling your bird house. First, apply silicone caulking inside the circular groove on the wooden base. Place the 2″ inch piece of pvc pipe firmly into the caulk-filled groove and set aside to dry. You can caulk around the pvc to make sure it seals well, then clamp the two pieces together, or set a heavy object on top to keep the pipe seated in the groove, but this isn’t strictly necessary.
- Repeat this process with the roof section, ensuring there is plenty of silicone covering the pvc. Silicone caulking takes about 24 hours to cure completely. After that, check the seal and fit and, if necessary, apply more caulking.
- Once the silicone is dry, use a rotary tool or another method to roughen the inside pipe surface. This helps the babies to climb out of the bird house when fledgling time comes. You can also make an optional climbing surface from an angled wood shim; just cut grooves in the shim and glue inside the pipe below the entrance hole.
- Next, attach the 2″ piece of piece of pvc pipe to the rest of the bird house using a small hinge. Directly opposite the hinge install two small screws part way into the pipe, positioning one screw into the 2″ inch base section and the other screw directly above it on the upper bird house section. Wrap a piece of strong bendable wire around the two screws to firmly connect the two sections of pipe. At the end of nesting season, you can undo the wire, swing open up the two sections using the hinge, and clean out the bird house ready for next year.
- At this point, you could paint the pvc pipe if you like, but use the following directions for a faux birch bark finish. Take a close look at the photo and you’ll see that a fine-tip black permanent marker was used to make tiny horizontal lines around the bird house. A broad-tip black permanent marker was used for thicker lines set randomly around the bird house and to make the little upside down “V” shapes that you find on birch trees.
- Hang your “birch bark” bluebird house where you can observe the new tenants when they move in and raise their family, but not so close that you scare them away or intrude on their privacy.
Contributed by wildlife photographer, Terry Colby.
More Bird House Resources:
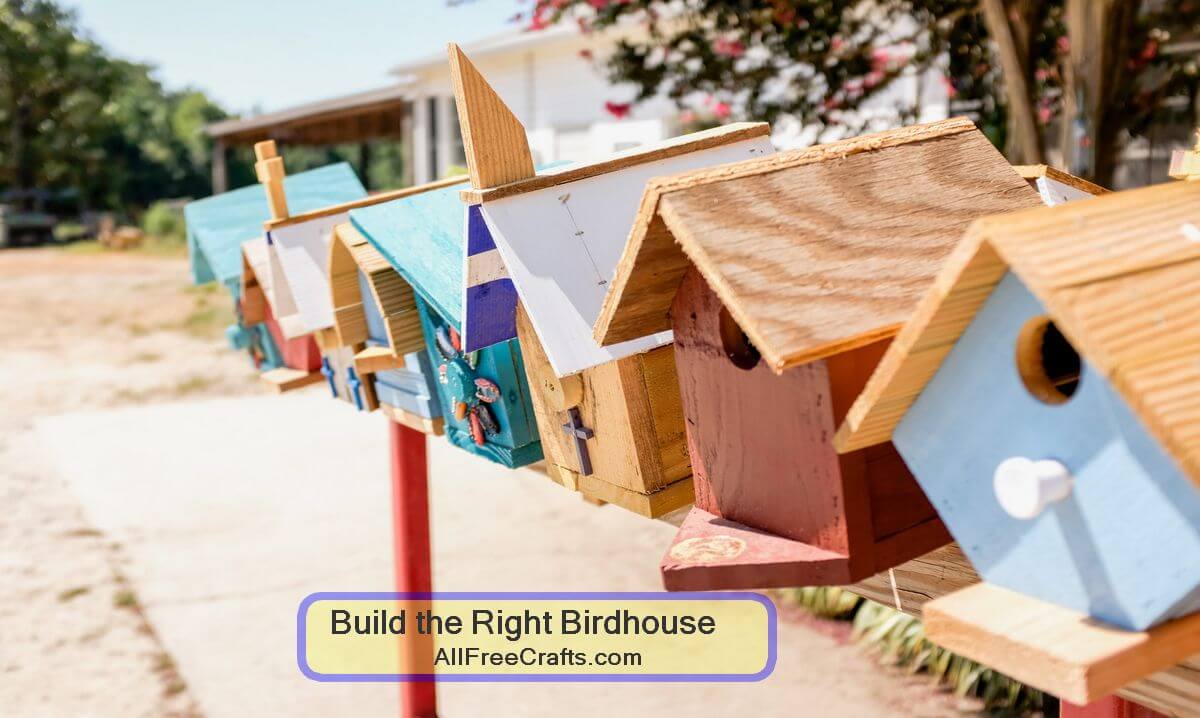
Build the Right Bird House, with dimensions, entrance hole sizes, and entrance hole depth attractive to a variety of birds.
Eastern Bluebird Audubon Field Guide includes feeding behavior, diet, habitat, range and nesting habits.

Leave a Reply