Last updated on December 29th, 2022 at 03:55 am
Hat and Gloves Free Knitting Pattern
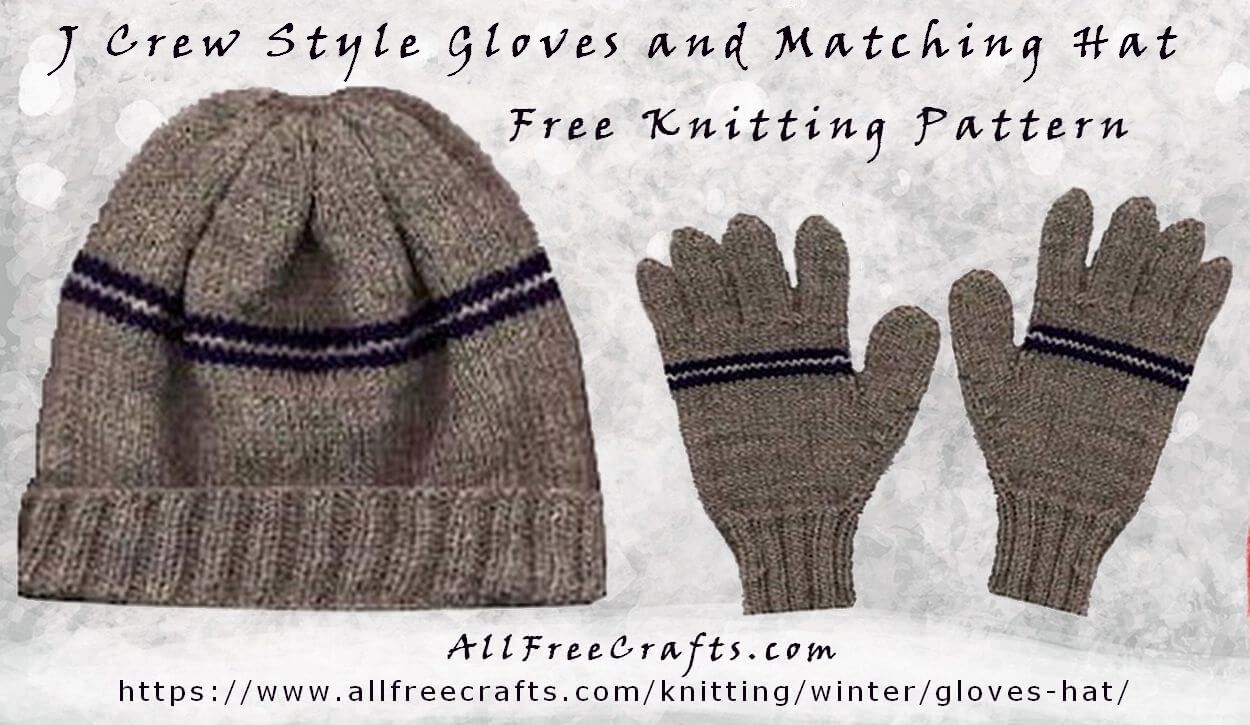
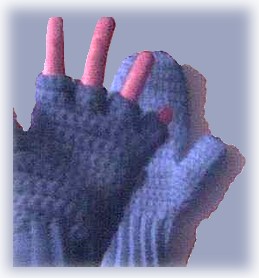
My 21 year old daughter brought me a page of the J Crew catalog and asked if I could make her a pair of gloves “just like” the ones shown. How could I say no? The result is the “J Crew” style gloves shown here and I added the matching hat. ( The original hat and gloves were made using chunky yarn, but I like sport weight yarn for gloves, so that’s what I used).
J CREW STYLE GLOVES PATTERN
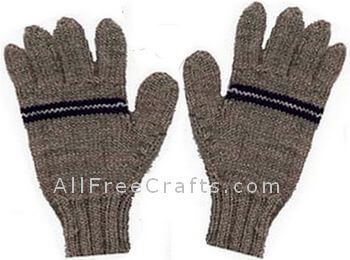
Materials: 1 skein of sport weight wool (I used Brunswick “Pomfret” wool, from the stash; 1 skein of 200 yards made the gloves with some left over), plus small amount of 2 contrasting colors for the stripe.
The “authentic” J Crew color choices are: charcoal grey with red & white stripe, navy blue with light grey and white stripe, or taupe heather with navy blue & white stripe. Your teenage/young adult wearer will approve of any of these color choices.
Knitting needles: size 5 dps. 1 stitch marker. Stitch holders
Gauge: 6 sts/7 rows=1″ on US #5 needles.
Cast on 40 sts and divide on 3 dp needles, marking beg of round with stitch marker; work in k2,p2 ribbing for 3″. Change to
stockinette stitch; begin thumb shaping: inc 1 stitch at each side of stitch marker (1 stitch at beg of round & 1 stitch at end of round) EVERY OTHER ROUND 6 times, then EVERY 4th ROUND 3 times–58 stitches.
Work even until glove measures 5 1/2″ from beginning.
K first 8 stitches and place on holder for thumb. Work to last 7 stitches, then place them on same holder as 1st 8 stitches (I found that placing all the stitches on a waste piece of yarn worked better than using a metal stitch holder). Next round: K22, inc 1, K21 (44 stitches total). Divide these stitches evenly and work 1 more round, then work stripe pattern: 2 rows CC1, 1 row CC2, then 2 rows CC1. Now continue in MC until piece measures 1 1/2″ from where you put the stitches on the holder for the thumb.
Fingers: Divide 11 stitches for the 1st finger (6 from one side, 5 from the other)–put remaining stitches on waste yarn or stitch holder. Working around on dp needles, pick up and knit 1 st at beg of round (I usually twist that stitch to help avoid a hole), k11, pick up and knit 1 st at end of round–13 sts. Work in rounds till finger meas. 2 1/2″. K2 tog on next 2 rounds (since you’re working on an uneven # of sts, you’ll end up with 1 st, which you knit). Cut yarn, leaving a tail, and thread the tail through the remaining stitches, pulling them closed tightly. Fasten off. Pick up 13 sts from holder for middle finger (7 from 1 side and 6 from the other). Pick up 2 extra stitches from between fingers as above, and work around on 15 sts for 3″.K2 tog next 2 rounds, then fasten off as above. Pick up 11 sts and 2 extra stitches for the next finger, work around for 2 1/2″, dec & fasten off as above. Pick up 9 sts and 2 extra stitches for the little finger, work around for 2″, dec; fasten off as above.
Thumb: pick up 15 sts from your waste yarn or holder for the thumb, and pick up 2 extra sts as above. Work around for 2″. Dec.
& fasten off as above.
With needle and yarn, sew up any holes between fingers, weave in ends. Make 2nd glove same as first.
NOTE: You may want to change to smaller DP needles when you are doing the finger/thumb decreases; it helps make the “loops” smaller and looks a bit better when you are fastening off your fingers.
J CREW-STYLE HAT PATTERN
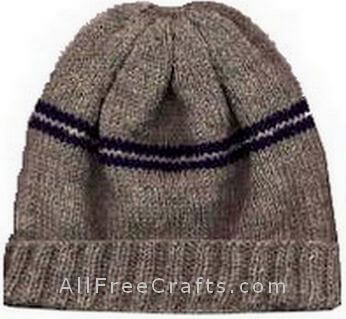
Materials: 1 skein sport weight yarn, small amounts of 2 contrasting colors.
Needles: I used a US #4 16″ circular needle and a set of #4 dps, as I wanted the gauge to be a little bit tighter. 5’s are ok too…
Gauge: around 6 sts=1″ on #4 needles.
Cast on 112 stitches and work in rounds in k2,p2 ribbing for 2″. Change to stockinette st (knit every round), inc 2 stitches in the 1st round. Knit until hat measures 5 1/2″ from beg. Work stripes: 2 rounds CC1, 1 round CC2, 2 rounds CC1. Switch back to MC, work even until piece measures 7 1/2″ from beg (you may want to try it on at
this point and make sure it’s long enough to fit your head)
Top shaping: (change to dp needles when hat is too small to work on circular needle).
Rnd 1:*k2tog, k4; rep from * to end of round.
Rnd 2: *k2tog, k3; rep from * to end of round.
Rnd 3:*k2tog, k2; rep from * to end of round.
Rnd 4:*k2tog, k1; rep from * to end of round.
Rnd 5: k2tog around.
Cut yarn, leaving a tail, and thread the tail through the remaining stitches, drawing up tight. Weave in any ends.
NOTE: the “real” J Crew hat had a little “hanging loop” at the top. I didn’t put it on as DD disdains any sort of cutesie stuff on her hats, but you could make one by crocheting a chain and attaching it at the top,or making a small I-cord and sewing it on the top.
This pattern was created by Laurie Kynaston, formerly of VINTAGE KNITS.
More Free Winter Knitting Patterns



Leave a Reply