Last updated on March 25th, 2024 at 12:24 pm
One adorable paper plate chick pops out to say: Happy Easter!
Here’s how to make a cheerful paper plate chick to decorate your home for Easter or spring.
Supplies:
» 2 yellow paper plates (or 2 white paper plates with the front painted yellow)
» 2 movable plastic eyes
» small piece of orange craft foam, card stock, or construction paper
» tacky glue or foam glue
» small strip of double-sided adhesive tape (as a hanger)
» tools: pencil and decorative-edge scissors (straight scissors or pinking shears can also be used)
» optional: 6 yellow feathers
Project Instructions:
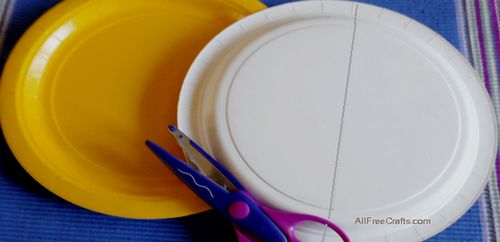
Turn one of the paper plates upside down and draw a cutting line straight across the center. Use scissors to cut the plate in half. If you are using pinking shears or decorative edge scissors, as I did, then continue cutting around the edges of both halves to create a scalloped, or “feathered” edge, then cut all around the edge of the other plate as well.
To make the wings fit properly, you may need to cut away part of the raised edge. I cut a section that measured about two inches away from the raised rim. This allows you to slide the wings into place underneath the top plate. 
Apply glue to the triangle section of the wing that will slide underneath the paper plate body. Do the same with the other wing. 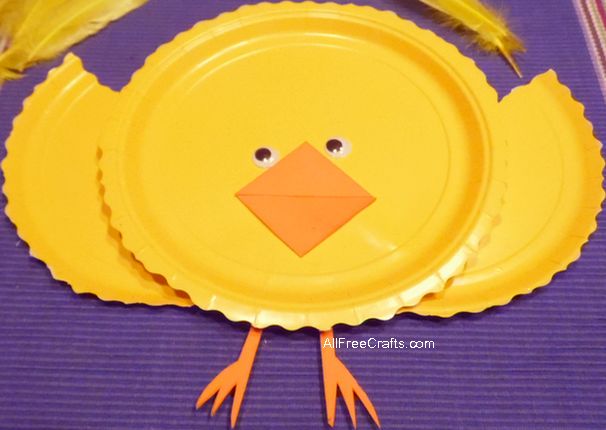
Hold both wings in position until you are sure the glue will hold, then release and let the glue dry.
 Next, cut two orange foam triangles for the chick’s beak. Mine had two equal sides of two inches each, with the longest side being two and a half inches.
Also cut two orange foam legs, about four inches long, with three claws on the feet, similar to the one shown here. Glue the legs in place at the bottom of the chick’s body.
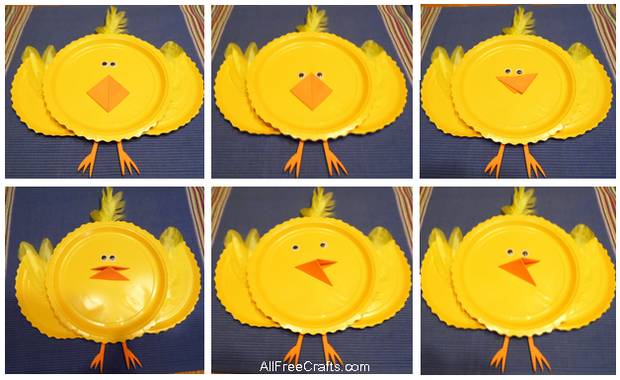
Here’s where you can have a bit of fun creating your bird’s face and giving him an expression all his own. Put the movable eyes and the two triangles of foam in the middle of the body, then move them around until you have a pleasing face to glue down.
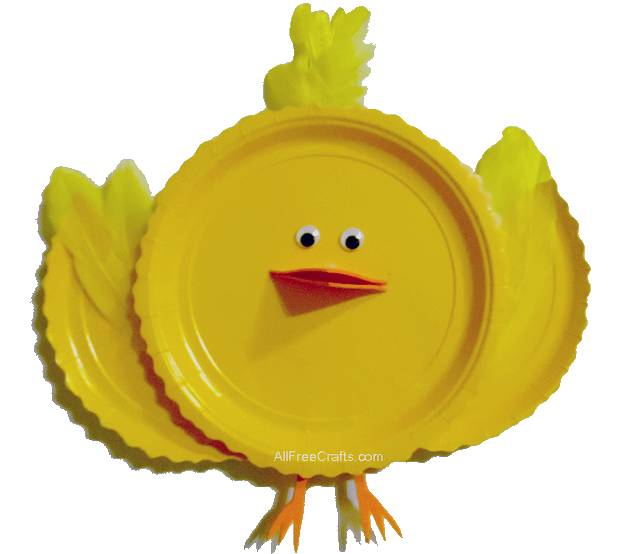
Here’s some of the variations that I played around with, before settling on a three-dimensional beak with eyes set a few inches apart.
If you’re using feathers, glue two large ones, tip upwards, to each wing and two or three smaller ones at the top of the head.
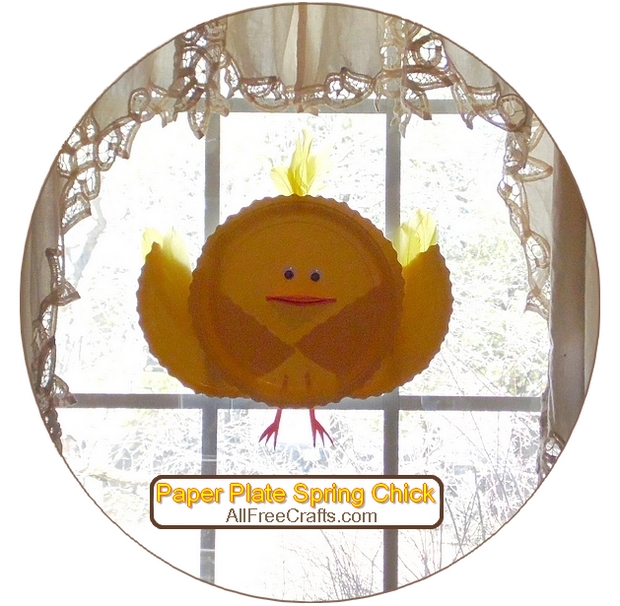
And, finally, here he is, my new fine feathered friend.
Also see our other Easter chick crafts and more DIY Easter Projects!
Leave a Reply