Last updated on June 17th, 2016 at 11:19 pm
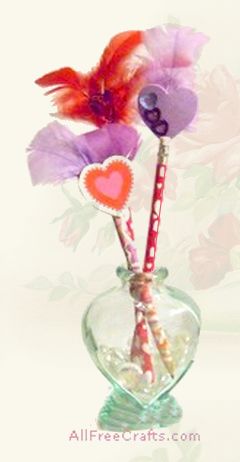
Race cars, hearts, and sunflowers are some of the motifs that we used to make our decoupaged pencils.
By Jane Lake and Twila Lenoir
You might choose other pictures to decorate your pencils; something that represents you, which is way better than those old-fashioned orange-yellow pencils, don’t you think?
Craft Supplies:
- small jar of mod podge gloss luster – a little goes a long way (if you don’t have any mod podge, try mixing a little bit of white glue with the same amount of water and use that instead)
- decorative paper napkins, tissue paper, or paper streamers
- pencils
- green florist’s foam block (optional)
- foam brush or paint brush
Craft Instructions:
1. Tear pieces of paper, whatever you are using, into one inch squares. Note: if you are using paper napkins, carefully separate the layers and use only the top sheet.
2. Starting at the top of the pencil, brush on some mod podge down toward the eraser, but don’t cover the eraser, unless you want to. (Smile). Put pieces of paper over the entire pencil, overlapping the squares, so that none of the painted pencil shows through. When the pencil is covered, add another coat of mod podge over the decoupaged area.
3. Make a small hole with a pencil that you haven’t decorated yet into the foam, making it large enough to hold the square end of a pencil. Now take your decoupaged pencil and insert it into the hole in the foam, eraser side down. Let the pencil dry.
Now lets see if anyone else has pencils that look exactly the same as yours. Not! Enjoy!


Leave a Reply