Last updated on March 6th, 2016 at 12:31 am
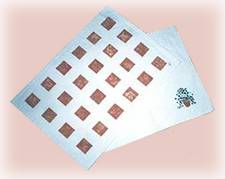
Homemade painted placemats are easy to make, whether you sew your own placemats from fabric rectangles and iron-on interfacing or start with purchased placemats as your canvas.
Craft Supplies:
- Light to medium weight canvas
- Fabric Paint
- Masking Tape
- Stencil Brushes
- Stencil Pattern
.
Instructions:
 You can either make your own placemats or purchase ready made ones. Either way, be sure to wash the fabric as to remove any sizing and do not use any sort of fabric softener. This could cause your fabulous painted masterpiece to dissolve in the first washing.
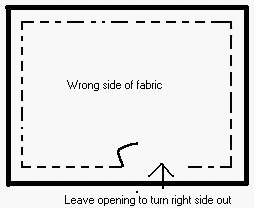
I made these simply by cutting a rectangle (2), lined with iron on interfacing and stitched the two pieces together (see diagram 2).
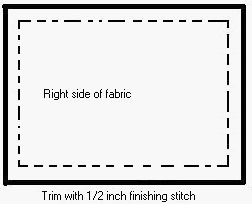
Rather than hand sewing my opening (used to turn the placemat right side out) I finished with a 1/2 inch stitch around the entire outside edge, thereby sealing any openings (see diagram 3).
I made a set of eight mats with each checkerboard pattern being a different colour and the same small corner stencil on the flip side of each.
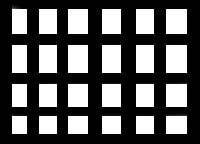
To create the checkerboard pattern, place masking tape as in diagram 1 and then with fabric paint and a stencil brush, apply your paint using a circular motion over exposed area of placemat.
In my experience, it is best to remove the masking tape immediately, being careful not to smear your design. This prevents any clumps from forming on the edges of the taped area. Allow the paint to dry completely.
Now for the flip side, you can apply the same design, maybe in a different colour or apply a little stencil in the corner.
 The stencil I used is a Plaid stencil of a teeny flower pot and ivy. Tape your stencil in place, apply paint and remove. All done.
If you make your own painted placemats from canvas, you will find that they are extremely tough and hold up well in bleach washing and all the abuse everyday use inflicts.
Copyright © 1999-2016 Susan Spatone All rights reserved. Published with permission from CraftAtHome.com


Leave a Reply