Last updated on March 25th, 2025 at 01:15 am
Homemade Antiqued Picture Frame
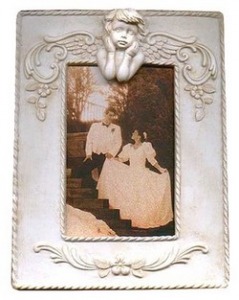
How to antique a plain plaster or resin picture frame into a beautiful, antiqued home accent piece, suitable for framing your most romantic pictures. As you can see, this easy distressing technique subtly highlights the decorative features, such as a cupid, angel, cherub, flowers or a scroll, that are molded into the frame.
Material:
- Purchased Plaster or Resin Picture Frame
- Acrylic Paint
- Paint Brush
- Lint Free Cloth
- Varnish [optional]
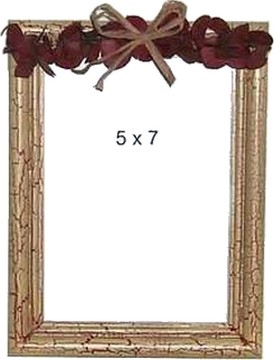
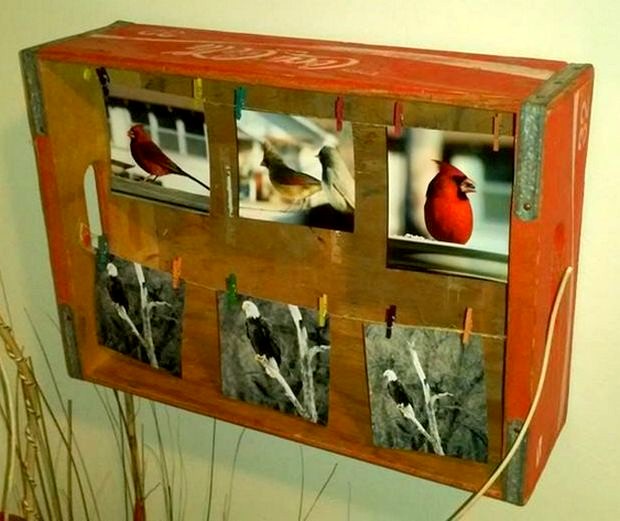
Take a look at some more crafty picture frames: Recycled Keyboard Picture Frame (you’ll understand the key), Coca-Cola Crate Recycled Frame, Popsicle Stick Picture Frame, Pet Dog Photo Frame, Crackled Finish Picture Frame.
Instructions:
This way of antiquing is very easy and almost fool proof! I purchased this resin picture frame for less than two dollars and though it was rather plain, being all white and not very interesting, I knew there was potential.
Simply wipe your frame clean of any finger prints, etc. Choosing the paint colour is the single most important step in this project. Although Burnt Umber and Burnt Sienna are often favourite colours for this, using such harsh colours takes practice and is often the cause of crafters failing in this technique. Choose softer paint shades instead for a more understated, elegant effect.
I chose a soft taupe shade for my frame. You can use any colour you like, but pinks and greens are great choices – just be sure to stay with softer shades for subtle antique effects.
Dip your brush into your paint and pat away most of the paint onto a paper towel. Your paint brush should be almost dry of paint. Gently brush over the entire frame, adding more paint as necessary and filling crevices with paint. Once you have completed a small area, you’ll get the feel for the brush and know if you can apply more pressure or if less pressure is required.
The final step is to remove some of the paint in the raised areas. Using a slightly damp (not wet), lint-free cloth, wipe the raised areas of the frame, removing some of the paint that you just applied. Don’t worry if you remove too much in this step, as you can always reapply a little more until you get a look that you like.
This really is a wonderful and easy painting technique that can be applied to many surfaces.
You may want to finish your frame with a final coat of varnish to protect your paint. This is not absolutely necessary, as the paint may simply wear a little in time and perhaps enhance the finish. However, if the finish is exactly as you want it and you prefer no wear on the paint, add at least two coats of varnish, allowing each coat to dry before applying the next.
Copyright © 1999-2024 Susan Spatone All rights reserved.


Leave a Reply