Last updated on January 9th, 2015 at 10:59 am
Add a sparkling crystal bead shade to a low-wattage electric or battery operated candle. 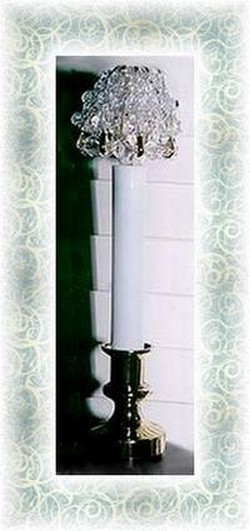
Craft Supplies:
Quantity of beads and bead placement is listed for each of the two shade styles shown here
Plastic Crystal Beads
(I used beads made by “The Beadery”, purchased at Wal-Mart
#3 Safety Pins (2 Inch)
24 Gauge wire
Wire cutter
Needle nose pliers
Candle Lamp (these are electric lamps in a candle style, with a small wattage light bulb; available at craft and department stores, or see Electric Candle Lamps online at Amazon.)
How to:
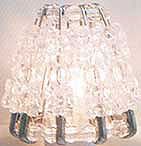
Shade 1
9 Safety Pins
63 of 11 mm tri-beads (fed onto pins)
9 of 8 mm beads (fed onto pins) Pins are fed with 4 tri-beads, then 1 of 8 mm bead and then 3 tri-beads
9 of 6 mm beads (fed onto top)
18 of 6 mm beads (fed onto bottom)
Shade 2
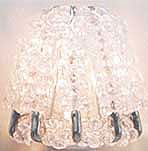
9 Safety pins
99 of 11 mm tri-beads (fed onto pins)
9 of 6 mm (fed onto top)
27 of 11mm tri-beads (fed onto bottom)
Divide beads for pins by 9 and feed each pin with the divided number of beads. Close pin clasp and be sure the clasp is secure. Feed onto a piece of wire, one top bead, then 1 pin and continue until you have 9 pins and 9 beads (one between each pin) in total. Twist wire securely and hide wire between bead and pin (this is where you will need the pliers).
Feed bottom beads onto another piece of wire (divide total bottom beads required by 9) and then feed 1 pin, then bead or beads, through the centre of glasp area, continuing until you have 9 pins in total, with equal number of beads between each pin. Twist the wire securely and hide wire between bead and pin.
Important:
When feeding pins through the wire, be sure to keep the beaded side of the pin on the outside of the shade. The shade will rest directly on top of the ligh bulb and it is important that the beads do not come into direct contact with bulb itself. The unbeaded section of the pin will rest on the bulb.
Copyright © 1999-2014 Susan Spatone All rights reserved.
Published with permission from CraftAtHome.com


Leave a Reply