Last updated on December 13th, 2023 at 08:50 pm
How to make a decorative bowl from mod podge and lots of buttons.
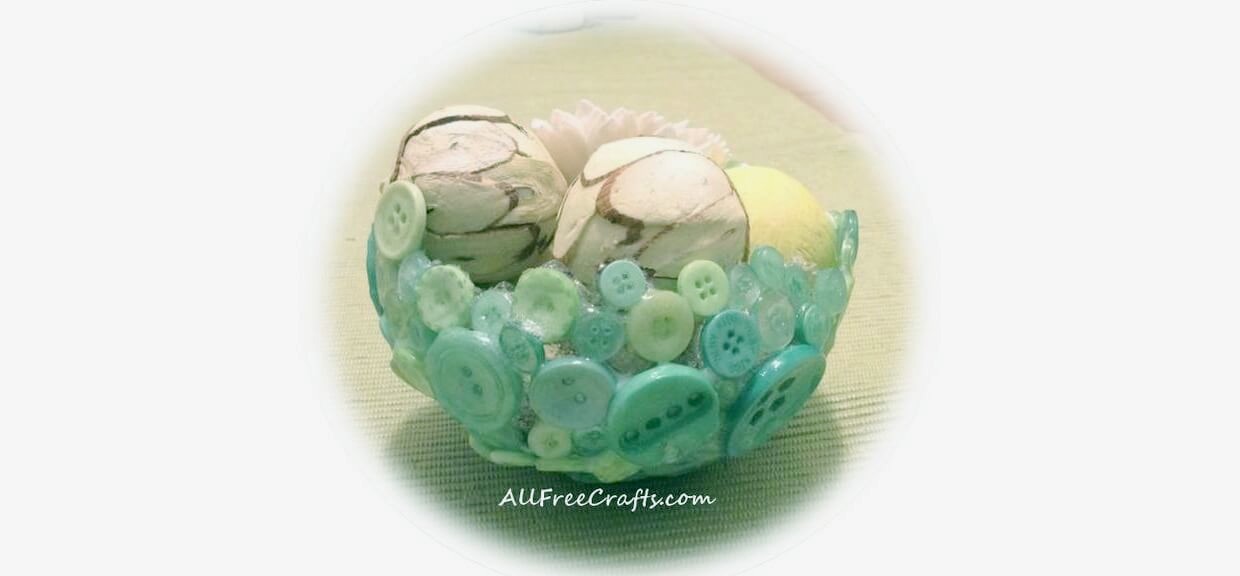
by Deb Cadman
You will need:
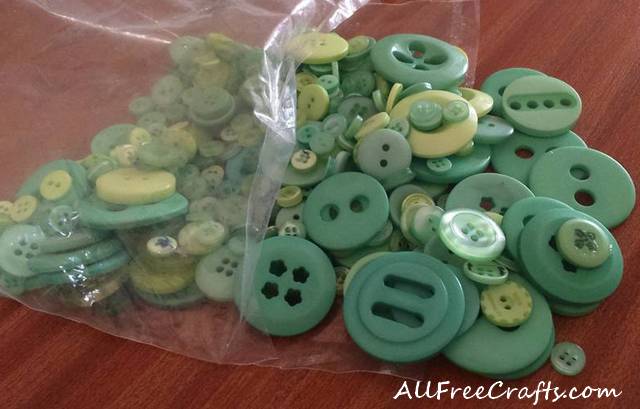
- Buttons
- Glue – the type that dries clear and is strong enough to hold the buttons together. (I used Mod Podge Gloss Finish)
- A balloon
- A bowl or pot
AllFreeCrafts is reader supported! Many supplies are found at thrift stores so try that first! However, if you buy from an affiliate link on this site, I earn a commission at no extra cost to you. As an Amazon associate, I earn from qualifying purchases. This has kept AllFreeCrafts.com online since 2002. Thank you!
Time:
There is no quick way to do this craft project because you will need drying time for small batches of buttons; please count on several days to complete the bowl.
Method:
1. Rest the balloon knot side down onto the top of the bowl or pot.
2. Put a thin coating of glue over the bottom of the balloon [which is now at the top!]
3. Wait for the glue to dry a little so that it feels tacky to the touch.
4. Press on your buttons, try not to overlap them. Keep them close together.
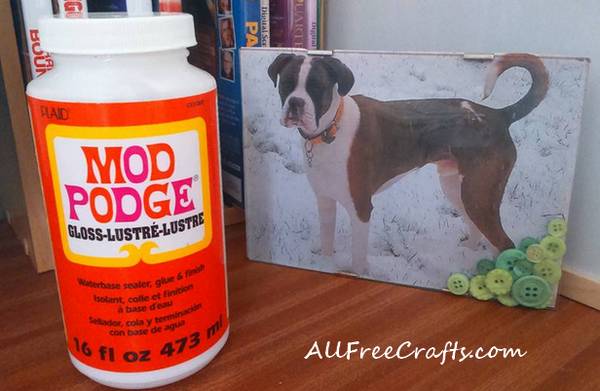
Use extra glue and leftover buttons to decorate the corner of a photo frame.
Tip: I had problems at this stage because I used a very small balloon and the sides were fairly steep. My buttons kept sliding off the surface – so I had to do a small area on the top, leave it to dry, rotate the balloon a bit, then add a few more. Each time you add a batch of buttons, you’ll need to let the glue dry overnight before adding more.
5. Once you have stuck enough buttons on the balloon to make the bowl size that you want, and the glue is dry, add a new coat of glue on the outside. Be generous. Repeat once the glue has dried overnight.
6. Allow the glue to dry thoroughly. You can tell when it’s dry because it gradually becomes clear instead of white.
7. Pop the balloon and remove it from your buttons. Coat the inside of your bowl with another layer of glue.
8. Allow at least two days drying time before adding something to the bowl.
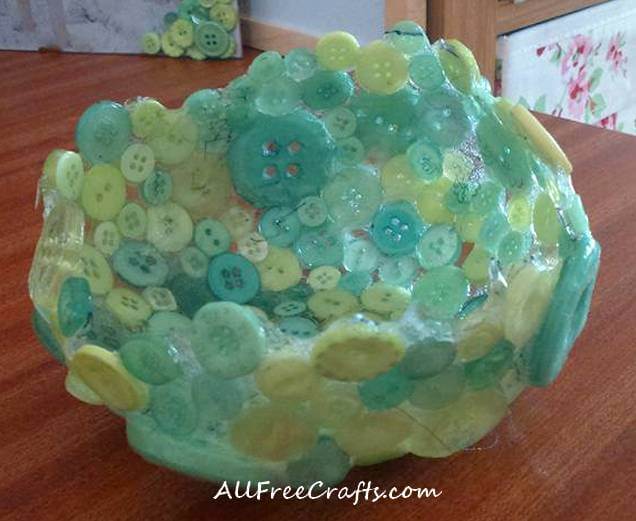
When it is first made, the glue is quite soft and flexible so you can manipulate it into the shape that you want. It’s never going to be a perfect bowl shape as the weight of the buttons pulls it out of alignment slightly. This makes every homemade button bowl completely unique!
9. Put something lightweight into your bowl. I have put some nicely fragranced potpourri into mine.
10. NOTE: This bowl is NOT waterproof, nor water resistant, unless you use glue that states that it is. Nor is it heat proof, so don’t put anything hot into it. Remember, it is decorative, rather than functional. Enjoy your bowl!
Homemade Button Bowl Video Tutorials
Button Bowl with Rick Rack Rim
In this video tutorial, learn how to make a button bowl with a rick rack or ribbon rim. The glue used in this project is PVA or common white glue. Run time: 2:44 minutes.
Sea Glass Bowl
Slightly quirky video showing how to make a sea glass bowl from collected or purchased sea glass, tacky glue, a bowl, and plastic cling wrap. The first attempt doesn’t work well, but that’s ok, because you can learn from someone else’s mistakes. Simply avoid having the sea glass slide off the bowl by building the sides from the bottom up; also apply lots of glue to support the weight of the glass. Run time: 4.59 minutes.
Ana DIY Button Bowl
Several examples of button bowls made by first lining another bowl with aluminum foil, then gluing buttons on top of the foil. Running time: 3:13 minutes.

Leave a Reply