Last updated on January 11th, 2025 at 01:09 am

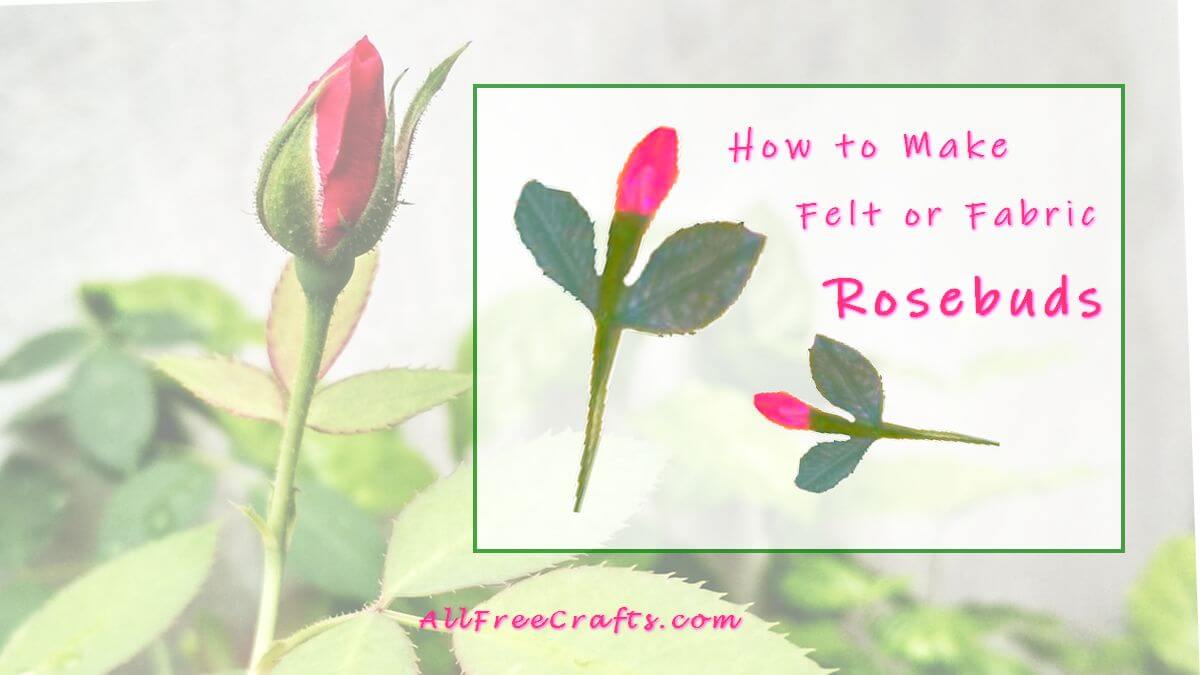
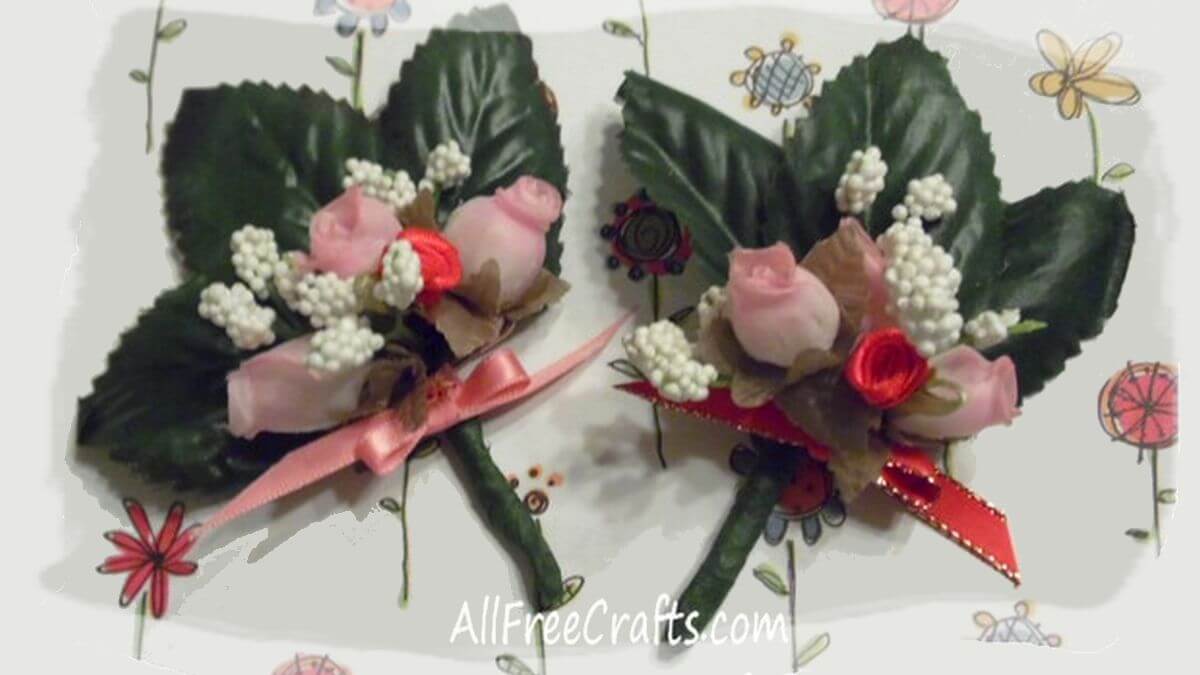
These lovely homemade fabric rosebuds were made by a talented friend of mine, Arleen Bevan Williams, who generously shared her photos and instructions so that other people can make their own felt or fabric rosebuds too.
The photos are a little old now, and not as big as modern digital pictures, but they do the trick and show, step-by-step, how to form a simple rosebud from a small square of felt or fabric. You can make several of these in an afternoon to present to someone you love in the evening. Enjoy. 🙂
HOW TO MAKE FABRIC OR FELT ROSEBUDS:
MATERIALS
- Scrap material such as felt, satin, cotton, etc., in various colors
- Floral wire or bamboo for stems
- Floral tape
- Either purchased leaves or green felt to make your own leaves
- Cotton Balls
- Thread to match material
- Sewing needle
- Glue gun and glue sticks
- Scissors
- Tape measure or cutting board with measurements
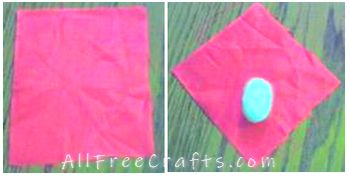
- Start by cutting a 4″ square of felt or fabric. Next, shape one cotton ball into the form of rose bud (use your imagination of what you picture a rose bud to look like, make it fun!)
2. Now put the shaped cotton ball into the cut fabric square, almost to the center, as shown below.

3. It’s time to make a triangle with the fabric by taking one corner and matching it with the opposite corner.
Next step is to take one side and fold it over to the other side, slightly off center. Do not make this fold go evenly across because this shaping is what forms the buds. Then take the other side and fold it across in the opposite direction as the first.

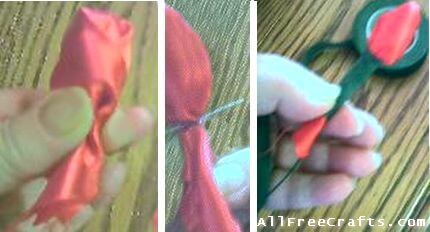
4. Twist and pinch the rosebud, plumping up the cotton ball inside. Take a needle and thread and sew the bottom together with a few stitches so it looks like the rounded bottom of a rose bud. This is your opportunity for adjusting the shape to suit the fabric and get the rosebud “look” that you desire. It is the final shaping of your handmade rosebud blossom.

5. Make the flower stem by inserting floral wire or a bamboo stick into the bottom of the rosebud. Use floral tape to secure the stem, starting at the upper part of the base of the rose bud, wrapping the floral tape all the way down the stem.
NOTE: If you are adding leaves to your stem, place the leaf stems where you want them against the rosebud stem, wrapping floral tape around both stems as you work your way down.
If you’re making a vase of rosebuds, or placing your rosebuds among other flowers, it’s practical to secure leaves only on the upper third of the stem. This allows less crowding when making your floral arrangements.
SUGGESTED USES OF HOMEMADE FABRIC ROSEBUDS

- Place a single rosebud on top of a wrapped Valentine gift.
- Insert a single rosebud into a slim translucent vase and add sprigs of dried baby’s breath; use as a centerpiece for a romantic dinner or set on a side table for color and ambience.
- Create homemade rosebuds in different colors and fabrics. Place the roses all together in a vase, add sprigs of dried baby’s breath or other complimentary flowers and display during the winter months when fresh rosebuds are expensive or in short supply.
You may also be interested in how to make small rosebud posies using tiny silk rosebuds, how to make a silk rosebud topiary, How to Arrange a Pot of Silk Roses for Mother’s Day or Valentine’s Day.
I also recommend Felt Roses from Felt Scraps as a way to use up all your felt remnants and create something awesome and beautiful in the process.


Leave a Reply