Last updated on March 6th, 2016 at 12:40 am
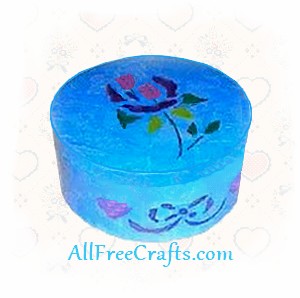
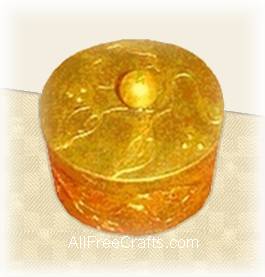
Even the stenciling is done with tissue paper on this easy-to-make decoupaged trinket box!
by Jane Lake and Twila Lenoir
Craft Supplies
- large wood chip box
- assorted colors of tissue paper
- sponge brush or similar
- stencil
- small amount of masking tape
- gloss sealer
.
Project Instructions:
First base coat your box white or off white and set aside to dry.
While your box is drying, select the color of tissue that you want the box to be and tear it with your hands into small, but not tiny pieces.
Dip a sponge brush, or whatever you have around, into glue that has been diluted with a few drops of water then brush the glue onto your box in sections.
Place pieces of torn tissue paper onto the glue. Dip your brush into the diluted glue and brush it over the tissue paper. If the tissue becomes wrinkled, so much the better – it will add to the decoupage effect. Continue, overlapping tissue pieces, until you cover the entire box.
Once the tissue paper base color is dry, tear up tiny pieces of contrasting colored tissue for your stencil shapes.
Lay the stencil on the dry box and put a small piece of masking tape on each side. Paint some diluted glue into the stencil, one section at a time, and push the tiny pieces of tissue paper into the stencil. I used a finger nail file to push it in, making sure it was between the grooves of the stencil cut-outs and not on the stencil itself. Continue until your stencil is filled.
Remove the stencil and let the box dry.
Finally, spray with gloss sealer and you have a pretty box for gift giving or to store trinkets.
Optional: Line the inside of the trinket box with felt.


Leave a Reply