Last updated on March 31st, 2024 at 03:00 pm
How to Decoupage Clay Pots or Plastic Pot Sleeves with Paper Napkins and Other Materials
by Jane Lake
Decoupage is an easy craft technique that can be used very effectively on terra cotta pots or plastic pot sleeves. Because it’s so simple to do, decoupage offers endless decorating options.
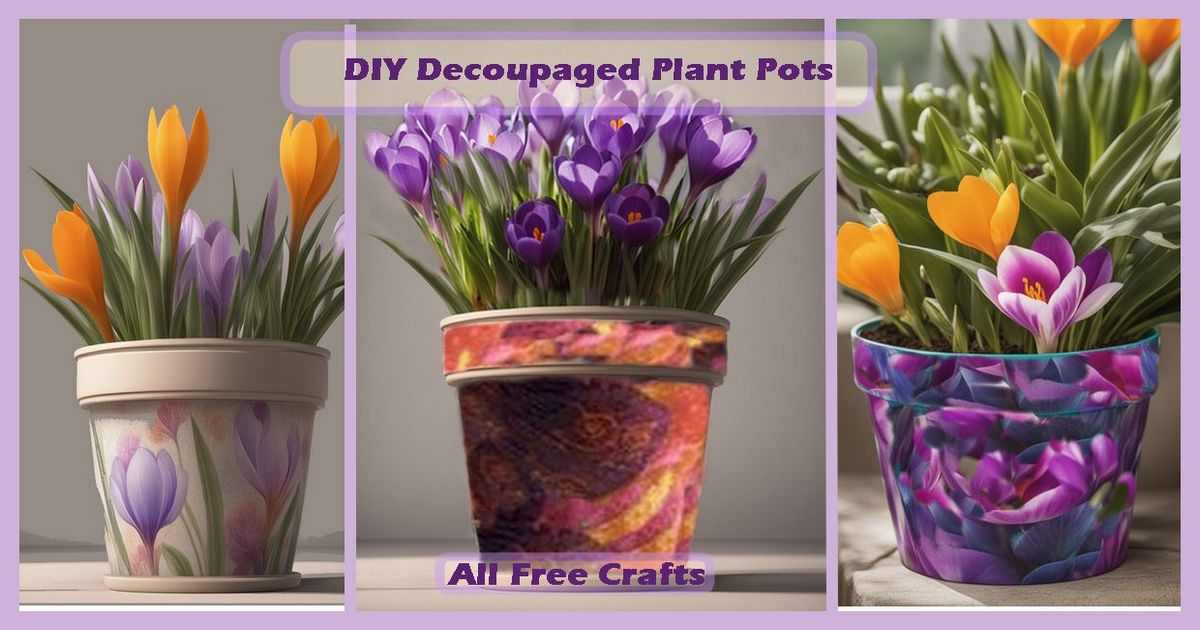
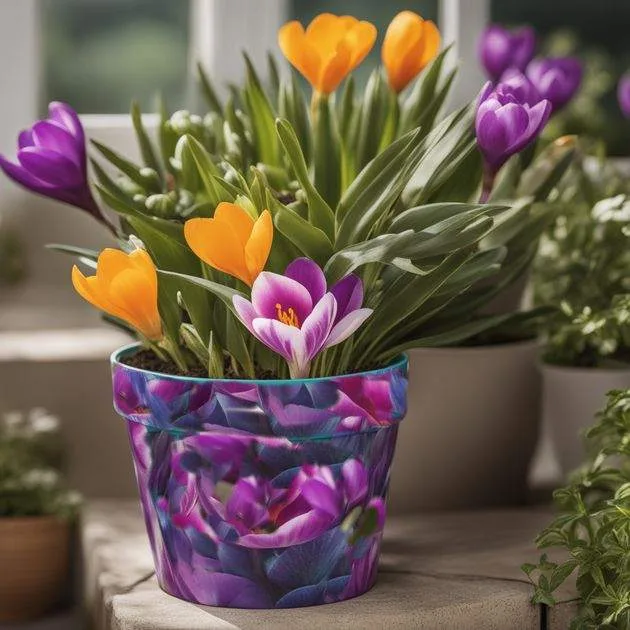
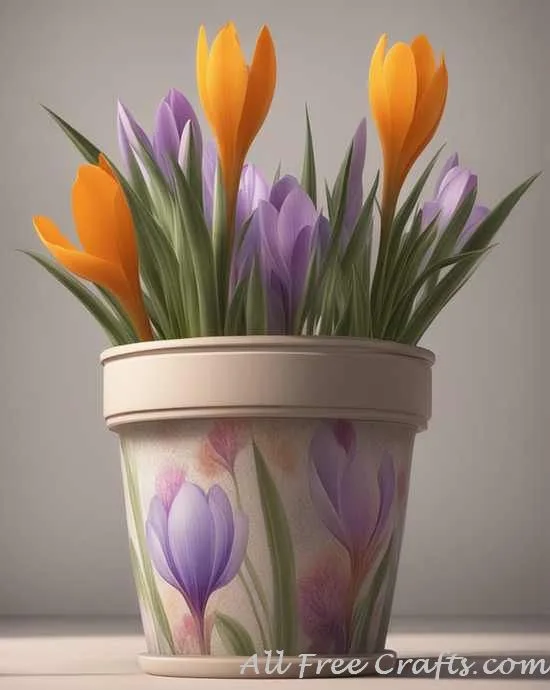
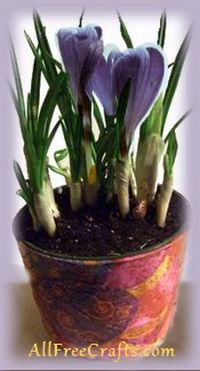
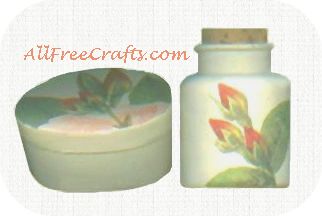
In this project, I originally used paper napkins with an Easter egg theme. It’s an older post, and the photo wasn’t the best, but the DIY remains the same. And, with the help of photo-editing software and an experiment with AI, I was able to generate an improved version of the original photo along with some interesting variations.
I’d encourage you to give these DIY decoupaged pots a try. It’s an easy, satisfying project. Hopefully, you’ll find the AI variations of my original decoupaged pot as creatively inspiring as I do. If so, please let me know in the comments!
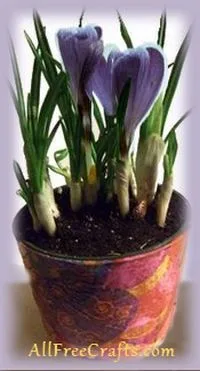
Note: The original photo for this project is shown enlarged here.
AllFreeCrafts is reader supported! Many supplies are found at thrift stores so try that first! However, if you buy from an affiliate link on this site, I earn a commission at no extra cost to you. As an Amazon associate, I earn from qualifying purchases. This has kept AllFreeCrafts.com online since 2002. Thank you!
You Will Need:
- terra cotta pot or plastic plant pot sleeve
- decorative paper napkins, magazine pictures, gift wrap, wallpaper, seed packets, old postage stamps, or fabric
- decoupage medium, either gloss or matte finish (Amazon) or white glue thinned with an equal amount of water
- foam paint brush (Amazon) or soft bristle paint brush
- optional: craft paint or spray paint
Project Instructions:
1. Wash the pot or pot sleeve and let dry thoroughly. If desired, base coat the pot or the pot sleeve in a paint color that will work well under your chosen decoupage material.
The base color – either the original surface or the paint – will show through most paper napkin decoupage projects. You should therefore use a white pot sleeve, or paint your pot in a light color, if the original color will dull the final finish. For our project, the medium brown plastic pot sleeve was fine without paint. The base color is also less likely to show through thicker decoupage materials, such as magazine pages or some fabrics.
2. Cut or tear around the motifs that you wish to decoupage on the pot. If you want a central motif that will not be overlapped with other designs, then cut or tear around it, then cut or tear lots of other colored background pieces.
Vary the size of the decoupage pieces for the best effect.
My project was completed using only egg shapes, or partial egg shapes, cut from one Easter theme paper napkin. BTW, if Easter is the season, see Decoupaged Easter Eggs for another quick and easy project.
3. When working with paper napkins, usually the top printed layer of the napkin is carefully separated from the other layers and only the printed layer is used for decoupage. However, in this case, both layers of a two-ply napkin were used together for each egg shape.

4. Begin decoupaging by spreading a thin layer of decoupage medium over a portion of the plant pot or sleeve. Cut a straight line at the bottom of the first paper shape and align it at the bottom of the pot or sleeve, overlapping the bottom rim just a little. Press the paper down with your fingers, gently curving it over the rim. Coat the entire piece with decoupage medium, or thinned white glue, using the paint brush to carefully smooth it into place.
5. Continue adding more pieces, overlapping each piece as you go. Treat the pieces at the top of a plant pot sleeve in the same way as you did the bottom; cut the paper piece close to the rim, but overlap the rim a little and stick the overlap down on the inside of the pot.
On a plant pot that will be filled with moist soil, take the decoupage only to the rim, but trim it off without overlapping to the inside.

When working with vivid colors, sometimes the ink can bleed out a bit so spread your work surface with paper towels before beginning. Perhaps reduce your water to glue ratio if that’s what you’re using; it may be a bit too thin.
6. Once the pot or pot sleeve is completely covered, paint on one or two more coats of decoupage medium and let dry.
Suggestions:
Before decoupaging, consider sealing all surfaces of a terra cotta pot with polyurethane sealer or patio paint to protect the decoupage finish from moisture. You can also create a crackle effect using crackle medium (Amazon) as shown in my Crackle Finish Decoupage Vase project.
Single motifs are usually best cut out with a straight line around the point of interest. Depending on the desired effect, you could also tear around each flower or motif, leaving the edges a bit jagged when displayed as a single piece.
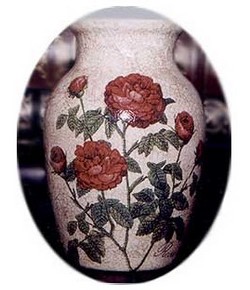
See my decoupaged Crackled Finish Paper Rose Vase for more idea of how this is done.
Wallpaper borders or samples are good for cut-out motifs as are old magazines and advertising flyers. Might as well as use them to their fullest potential.
Hint: Use decorative-edging scissors to cut out the decoupage pieces for a unique textured effect.




Leave a Reply