Last updated on July 10th, 2017 at 12:27 am
Decoupaged Botanical Print Serving Tray
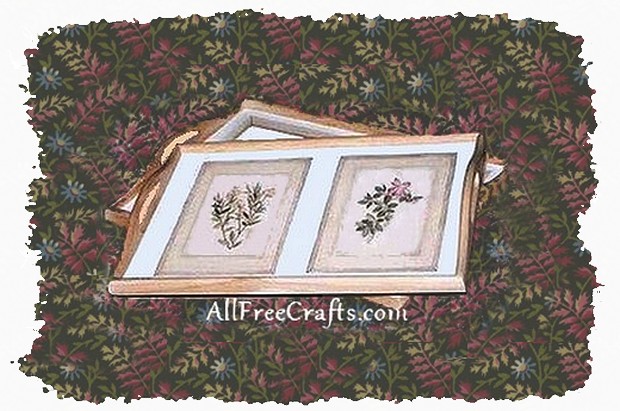
It doesn’t get much easier than this! These trays were purchased with a white bottom base, but you can use any tray and simply paint the bottom inside with white paint.
What You Will Need:
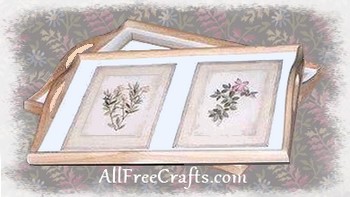
- Serving Tray
- White acrylic paint
- Botanical Prints
- Clear drying craft glue
- Varnish, Polyurethane or Podge
- Photocopier
.
Craft Project Instructions:
If you need to, first paint the inside bottom of your tray with white acrylic paint and let the paint dry thoroughly before proceeding with the next steps.
I used prints from a wallpaper border, but any source will work – if you have none available, you’ll be sure to find something you like at the library. Simply colour photocopy  the prints that you have chosen, then cut them out along the edges for a nice clean square/rectangle print.
 Glue the prints in an arrangement that suits you to the inside bottom of the tray and smooth out any bubbles.
Allow the glue to dry and apply an even coat of varnish over the entire tray and prints. You may want to apply several coats of varnish for extra protection.
Notes: Because I used a wallpaper border that had a vinyl finish, I didn’t have to use any protective finish; I simply applied the prints using the pre-pasted backing to glue them down. I made a complete set of three trays, using different prints from my wallpaper border. These took me a total of about 20 minutes to make and are holding up very well to all the spills that trays must withstand.
Copyright © 1999-2017 Susan Spatone All rights reserved. Published with permission from CraftAtHome.com
Leave a Reply