Last updated on November 6th, 2024 at 12:49 pm
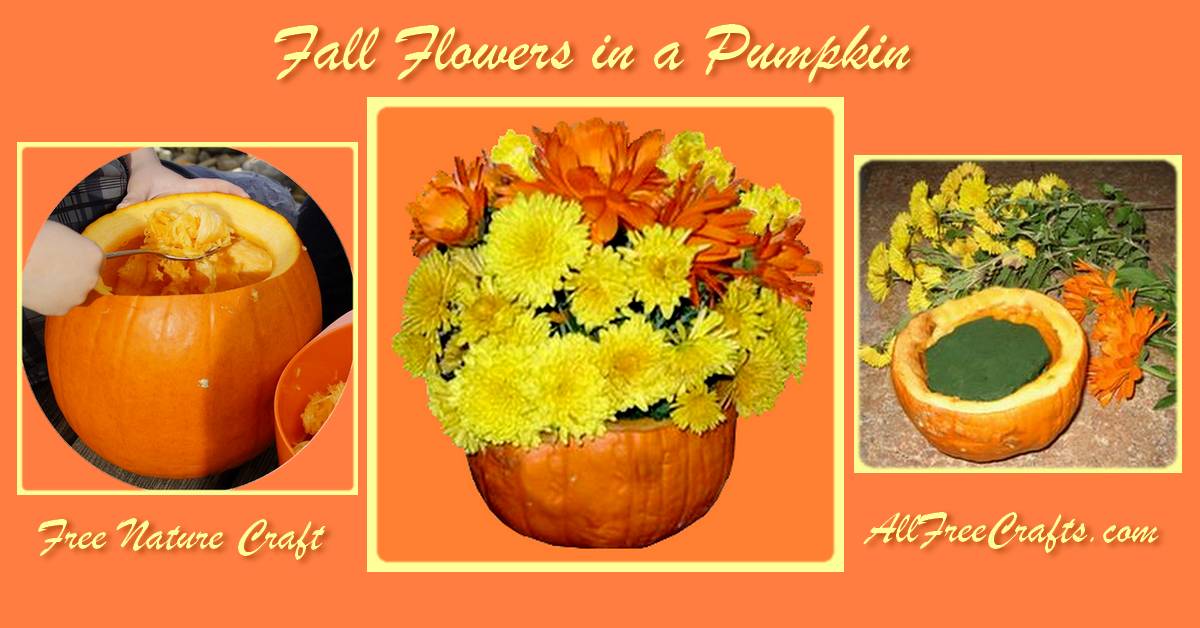
How to make a floral pumpkin centerpiece for Fall, Halloween or Thanksgiving
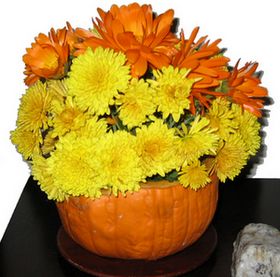
I needed a floral centerpiece for Thanksgiving but the only flowers left in my garden were yellow fall mums and some copper calendula. But I also had some pumpkins left in my own little pumpkin patch.
If you combine those last fall garden blooms with a small, natural pumpkin, you’ll soon have a vibrant show of warm, autumnal colors.
Even if it is too late for garden flowers, you can get similar results with silk flowers from the dollar store. I used the last fresh flowers from my garden but they are simple to swap with faux flowers. You can even use a plastic pumpkin if you like!
AllFreeCrafts is reader supported! Many supplies are found at thrift stores so try that first! However, if you buy from an affiliate link on this site, I earn a commission at no extra cost to you. As an Amazon associate, I earn from qualifying purchases. This has kept AllFreeCrafts.com online since 2002. Thank you!
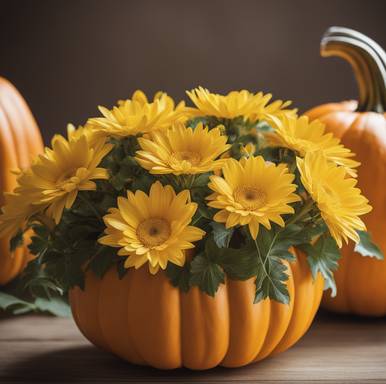
Craft Supplies:
- small pumpkin, about six inches high
- floral foam bricks for wet or dry flowers (Amazon link)
- fresh fall flowers, approximately six to 8 inches high or faux flowers
- scissors
- knife
- large spoon to scoop out pumpkin
- water
- bowl to fit inside the pumpkin and hold the foam
Project Instructions:
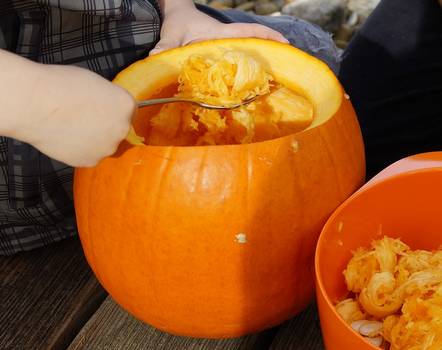
Scoop Out the Pumpkin Seeds
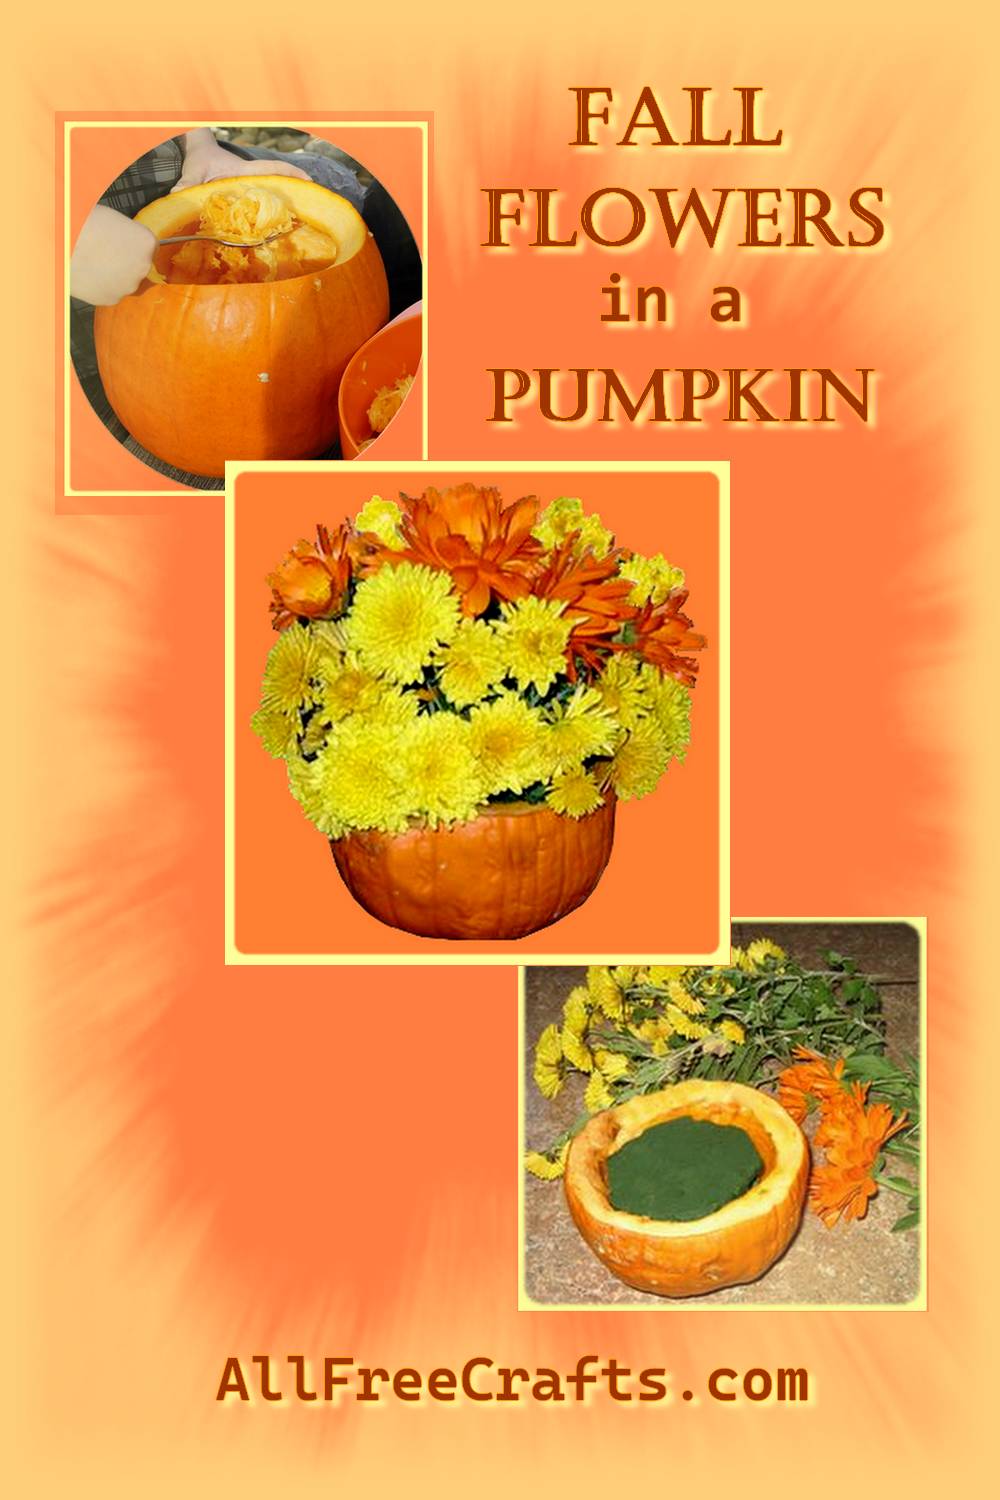
Remove the top of the pumpkin with a sharp knife and scoop out all the seeds and stringy membranes.
Wash the seeds and set them aside for use in some of these Roasted Pumpkin Seed Recipes.
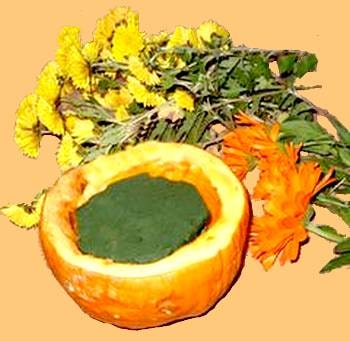
Cut floral foam to fit inside the pumpkin.
Note: A reader suggested using a bowl that fits inside the pumpkin and cutting the foam to fit inside the bowl. Great tip! This helps keep the garden flowers fresher for longer and deters mold.
Add enough water to saturate the foam; it soaks in quickly so don’t overdo the water supply.
Begin Your Flower Arrangement
I wanted the copper calendula in a central line across the display so I began with the largest of these, placing it right in the center.
Continue adding flowers, holding each stem up to its approximate position, then trimming, as needed, to achieve a uniform height. Keep in mind that you’ll be inserting part of the stem into the floral foam, so each flower must be that much longer than the exposed length.
If some flowers don’t look right, pull them out of the foam and reposition. I did this several times to get a nice mound of flowers that looked good from all sides.
I topped up my flowers with fresh water each morning. On day three, I removed the calendula, which was getting past its prime, filling in the space with more yellow mums. This centerpiece graced my Thanksgiving table and looked great for days afterwards, bringing the last of the fall garden indoors before winter.
Arranging Silk or Dried Flowers in a Pumpkin
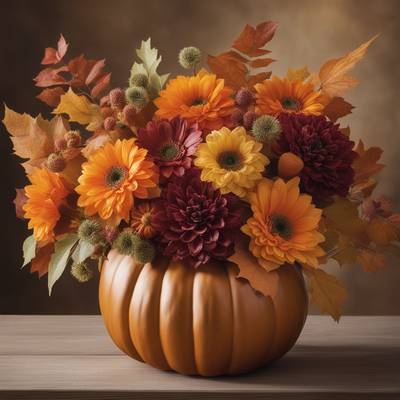
My favorite place to buy faux flowers, either silk or dried, is the thrift store. But most dollar stores have a stunning selection and the artificial fall flowers at Amazon are amazing.
I’d add dried teasels gathered from the roadside because I love the shape and texture. Pine cones look lovely too and you can wire them to a floral wire stem for arranging. Add sunflowers and fill in the rest with sprigs of fall leaves.
There you have it: an easy pumpkin vase that would look equally good on a porch, as your Thanksgiving floral centerpiece, or as part of a Halloween display. Beautiful. I hope you enjoy your pumpkin of flowers as much as I did mine.
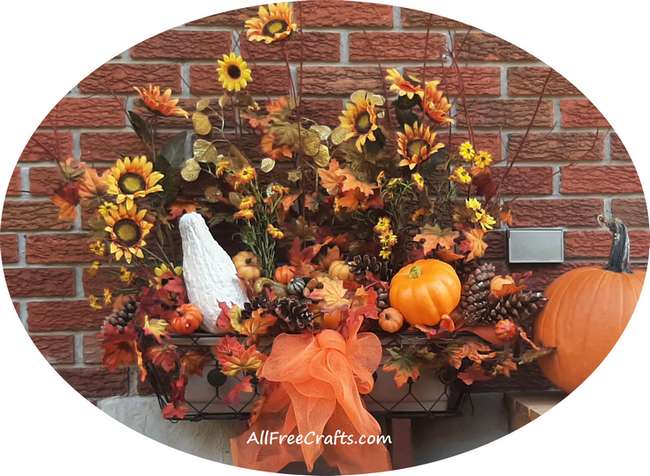
Fall to Halloween Window Box Just Two Feet Wide
For a larger, outdoor arrangement of gorgeous fall flowers, arranged in a window box just two feet wide, please see from Fall to Halloween Window Box. Start with red dogwood stems, craft mesh, autumn leaves, gourds and miniature pumpkins; add optional Halloween decorations.



Leave a Reply