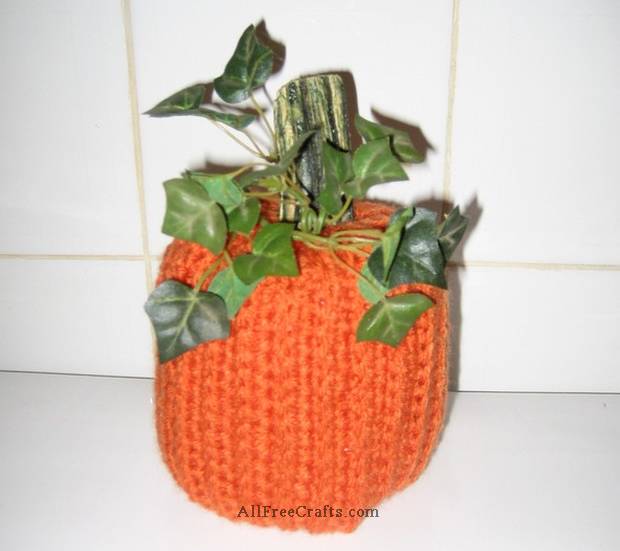
Nothing could be easier to crochet than this textured pumpkin cover for bathroom tissue; all you need do is crochet a rectangle of alternating pattern rows, making sure that the finished fabric is wide enough to tuck into the top and bottom of the roll and long enough to go around it.
I added a dried pumpkin stalk and a faux ivy vine to the top of the pumpkin, but if you don’t have those available then you can easily crochet a stalk or make one from a small twist of brown paper.
.
What You Need:
1 ball of orange worsted weight yarn
crochet hook (I used a plastic 4.5mm hook)
dried pumpkin or squash stem (or brown chenille stem and scrap yarn in brown or green)
small artificial ivy vine or one or two green silk leaves
Note: Gauge isn’t important in this pattern
Free Crochet Pattern
Base: Chain 30 (or the number of stitches that you need to make a chain long enough to fit from the top center of the toilet roll to the bottom center of the roll, plus another three inches for tucking inside the hole).
Row 1: Skip first chain from hook; single crochet in each chain across. Chain 2, turn.
Row 2: Skip first single crochet. Half double crochet in all remaining stitches, inserting crochet hook in back loop only. Chain 1. Turn.
Row 3: Single crochet in each stitch to end of row.
Remaining Rows: Repeat Row 2 and Row 3 until your work is long enough to go around the bathroom tissue roll with the edges overlapping a little bit.
Cut yarn and weave in yarn ends.
Fitting the Cover
Center the cover against the bath tissue roll, so there are equal lengths extending beyond the roll at the top and the bottom. Wrap the cover around the roll, overlapping the edges at the back.
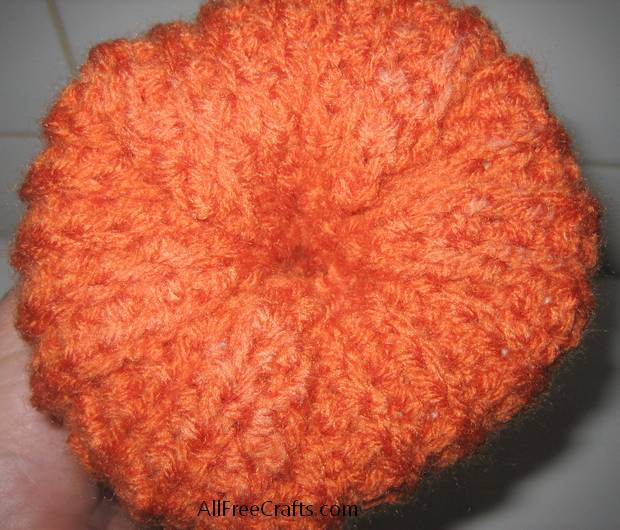
Push the edges of the cover into the center of the cardboard tube at the bottom of the roll. Do the same at the top.
You should find that the tucks stay put, holding the cover in place quite snugly.
Adding the Stem and Vines
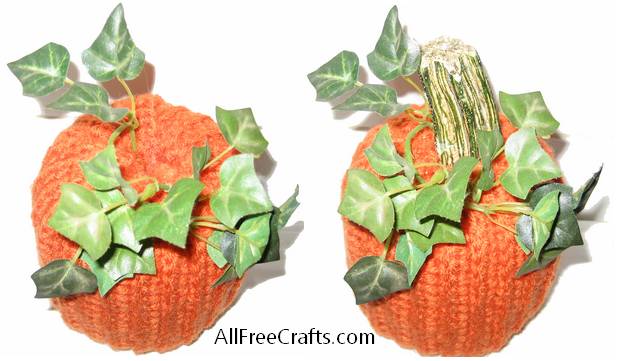
The circle of artificial ivy vine that I used had wire stems. I was able to bend each end down and poke both of them into the center hole of the pumpkin to secure.
The bottom end of my dried pumpkin stem was a tad too big. I wanted it to fit snugly just inside the center top hole of the pumpkin without glue. A little trimming with a vegetable knife was all that was needed to do the job.
Crocheted Stem and Tendril
To substitute a crocheted stem, take a chenille stem that is the same color as your yarn (preferably green, brown or black) and fold it in half, and then in half again. Single crochet along the folded stem to cover it completely. Bend to desired shape and stick into the top of the pumpkin.
To add a curly tendril, chain 14. Single crochet in first chain from hook then in each chain across. This should curl naturally to make a tendril. If it doesn’t curl enough, wrap it around a pencil or your crochet hook a few times to make a springy tendril. Push one end of the tendril into the middle of the pumpkin beside the stem to finish.
Set your pumpkin in the bathroom as a bright spot of decorating color for Fall or Halloween.
Variations:
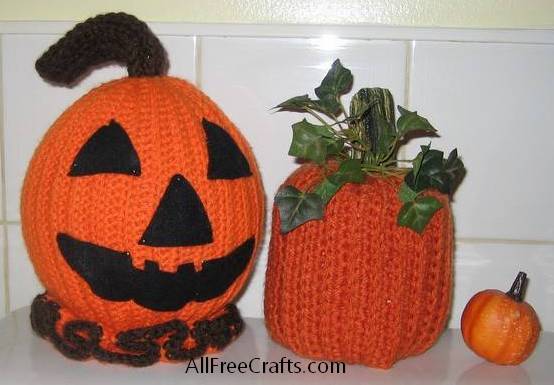
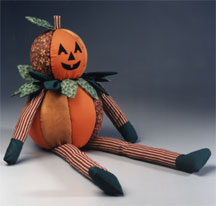
You can create different stuffed pumpkins with this same pattern or a similar variation. Just alternate crocheted rows to make the up-and-down lines of a pumpkin . Once you have the basic rectangle completed, sew the short ends together to make a tube, then use a yarn needle and a length of yarn to gather the bottom. Stuff the tube with fibrefill or a styrofoam ball, then gather the top to finish a pumpkin. Add vines and tendrils as desired. Jack o’ Lantern features can also be cut from felt and either glued into place or, if you are using a foam ball, secured in place with sewing pins.
~ Craft Design by Jane Lake

Leave a Reply