Last updated on September 5th, 2015 at 08:09 am
If you’re hosting a Halloween party and you’re looking to make your own inexpensive decorations, then this project is a good place to start. It’s also a great Halloween art project for kids, being easy to do, with lots of potential for variations.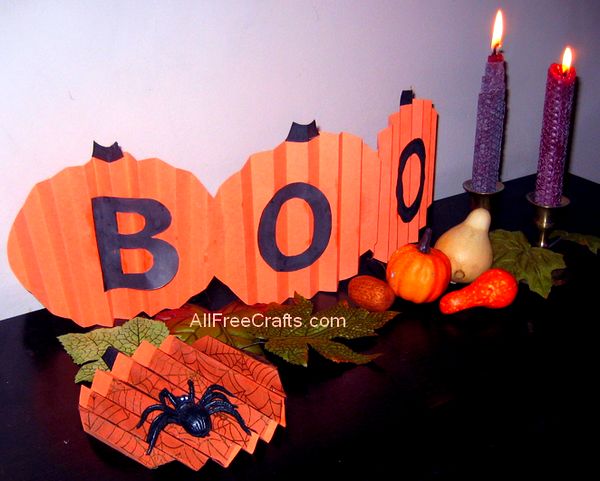
Basically, all you need to make a construction paper pumpkin banner like this one is orange paper, a black marker, and a little white glue. You can leave off the letters or spell out other words. Hang the banner from a twine string or a Halloween garland, or set it upright, as shown here. Add transparent spider web ribbon to individual paper pumpkins, buy a bulk bag of plastic spiders from the dollar store, and you have the makings of pretty table setting name placeholders.
Materials: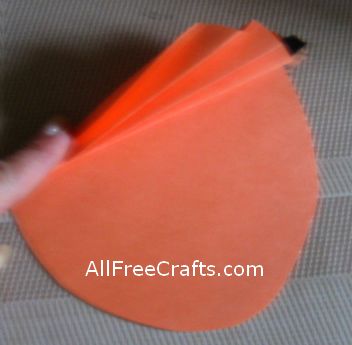
orange construction paper sheets – 6 x 9 inches
black marker
white glue
printed pumpkin pattern (or a pencil to draw your own)
small paintbrush
pencil
scissors
Optional Materials:
printer and printer paper to make black letters
twine, string, or Halloween garland
orange card stock (as a substitute for construction paper)
semi-transparent, wide, Halloween ribbon or fine mesh fabric printed with a spiderweb design (for name place settings)
plastic spiders (one for each name place settings)
Project Instructions:
Fold a sheet of 6 x 9 inch construction paper in half and lay the printed pumpkin pattern on top of it with the straight side meeting the center fold of the paper. Trace around the pattern or draw your own pumpkin shape, being somewhat wider than it is tall, with a small straight stem at the top. Cut around the shape.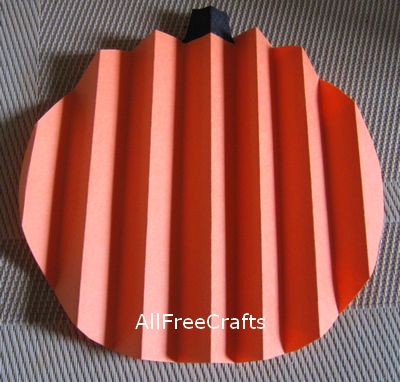
Color the stem black with marker.
Fan fold the pumpkin, using 1/2 inch folds, beginning at the center fold and working out toward the end. Gently open out the pumpkin and make another one. Make as many fan folded pumpkins as you want for your banner.
Join the pumpkins together by apply a little white glue to the last fold on the right of one pumpkin and fitting the left end of the next pumpkin over it. Repeat until the banner is as long as desired then allow the glue to dry.
Making the Letters
Open up a blank image in a drawing program on your computer. Make the blank image the size of a sheet of computer paper in “landscape” position, or about 10 inches long by 8 inches high.
Print large block letters, about three and a half inches high, to spell the word you want to use on your pumpkin. You should be able to get three letters positioned along the top of the page and three letters in a line below. Print the page. Allow a few minutes for the ink to dry.
Alternatively, you could use a large letter stencil to hand print letters on black construction paper. Or draw your own letters on white paper with black permanent marker.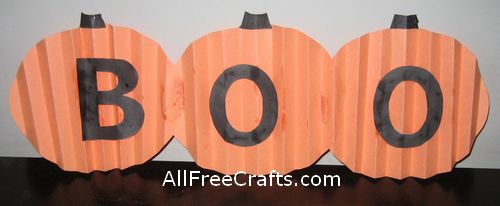
Cut out all the letters that you need.
Attach the Letters
Use a small paintbrush to apply a thin layer of white glue to the back of each letter.
Set one letter on top of each construction paper pumpkin. Gently press down on the letter in the areas where it rests against the top ridge of a fold. Allow the letters to dry in place.
Displaying the Banner
For a centerpiece display, arrange the banner among a few silk fall leaves and artificial miniature pumpkins and gourds. Mine is freestanding, but if you find the banner is apt to fall over, secure it between other small decorations.
For a wall banner, thread some fine twine through the stems to make a hanger, or staple the stems to a Halloween garland.
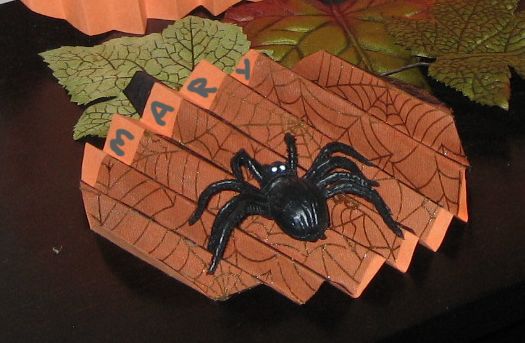 Fan Fold Pumpkin Name Place Setting
To make pretty name place settings for a Halloween party table, use the printed pumpkin pattern as directed and cut out one pumpkin for each setting.
Before proceeding with the fan folds, use the paintbrush to apply a layer of glue on the top of the pumpkin, leaving out the stem and about one inch at the top edge of the pumpkin. Position a rectangle of transparent Halloween ribbon with a spiderweb motif on top of the glue and let dry. Cut away any excess ribbon.
Proceed with the fan folding, as before. Write each person’s name along the top of the pumpkin, just below the stem.
Place a plastic spider on top of the paper pumpkin. I left mine as is but, if you like, you can glue the spider down.
Put each pumpkin in its proper place and enjoy a Happy Halloween!

Leave a Reply