Last updated on October 26th, 2021 at 01:08 pm
How to Decorate Mini Pumpkins for Halloween
by Jane Lake
Mini pumpkins are widely available in the fall, providing lots of opportunity for creative Halloween decorating for children and adults.
Because these DIY mini pumpkin decorating ideas don’t involve carving, they are safer options for fall or Halloween.
Since this post was first published, there has been an explosion of ideas for decorating mini pumpkins, both real and artificial. We’ve added some of the best ideas here – and yes, they are all easy to do and they all look amazing!

Buying Hints:
- Choose mini pumpkins with an even orange color and smooth texture, with no visible signs of mould.
- A short stem can become part of the decoration, but pumpkins with no stems are useful if you’ll be stacking the pumpkins or adding hats.
- If you purchase the pumpkins more than a day ahead, store them in a cool, dry place (or in the fridge, if you have the room).
- Wash the pumpkins with a damp cloth and dry thoroughly before adding any decorations.
Painting Mini Pumpkins
FACE PAINTING
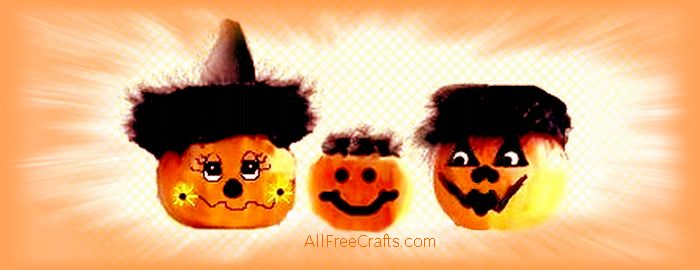
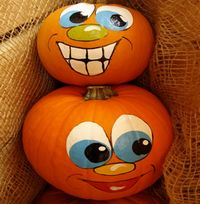
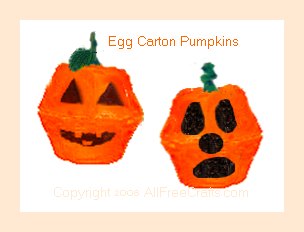
Add faces to mini pumpkins using acrylic craft paints, plastic model paints, paint markers, Sharpie pens or permanent markers.
Search Google for inspiring pumpkin face templates or check images on grocery flyers for facial feature ideas.
Younger children can use simple circles, triangles or arc shapes for the eyes, nose and mouth.
Practice a design on paper first, then pencil it lightly onto the pumpkin before painting the features.
For regular sized pumpkins, see our ideas for pumpkin faces using child-sized toy hats, safety glasses or gourds as props and features.
SPRINKLES, GLITTER AND CHALKBOARD PAINTED MINI PUMPKINS
These days, the plain orange pumpkin has competition for glorious fall and Halloween displays. On a mini scale, these are so easy to reproduce, your Thanksgiving or Halloween table will thank you.
Painted Donut Mini Pumpkins
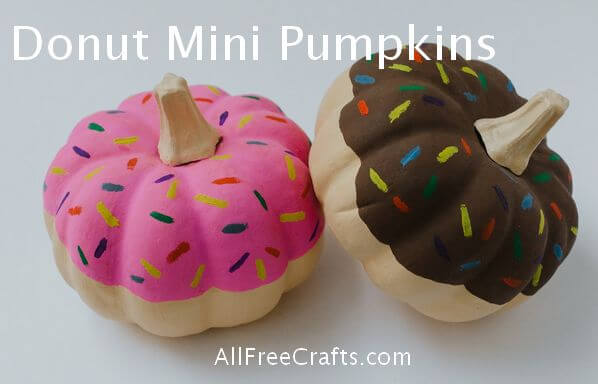
These are such an easy DIY, you’ll probably figure out what to do from the photo. But here goes: paint the entire mini pumpkin, including the stem, in a “donut” color and let it dry. Paint the top third in the donut “icing color” and let it dry too. Get out a rainbow of colored paints and paint on the sprinkles. That’s it!
Glitter Pumpkins
So this one is easy peasy too. Basically, apply glitter glue to your pumpkin and sprinkle with your favourite glitter. Mini pumpkins are great for this project – they are smaller, easier to work with, and use less glue and glitter, but have the same “WOW” effect.
Apply tacky glue all over the pumpkin or use it to make stripes or even words, then go nuts with the glitter. Go for it!
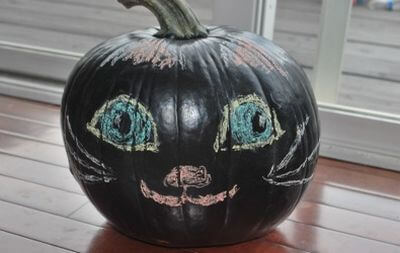
Chalkboard Painted Pumpkins
Turn your mini pumpkins into a blank slate for aspiring artists with one of the many chalkboard paints now available. Once the chalkboard paint is dry, break out the colored chalk and let the fun begin.
Halloween Cut-Outs and Silhouettes
Adding Shapes and Cut-Outs
You can cut shapes from black felt, craft fun foam, or construction paper to glue onto the pumpkin as a silhouette.
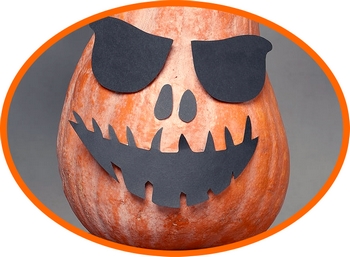
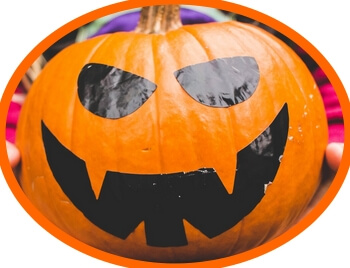
Duct tape, or self-adhesive paper, simplifies the process and eliminates glue. For faces, use pre-cut triangles, circles or smile shapes for kids to glue in place.
Adhesive plastic goggle eyes also make an easy addition and come in a variety of shapes and sizes.
Mini Pumpkin Moons
Simply use a mini pumpkin as the “moon” shining behind a black silhouette.
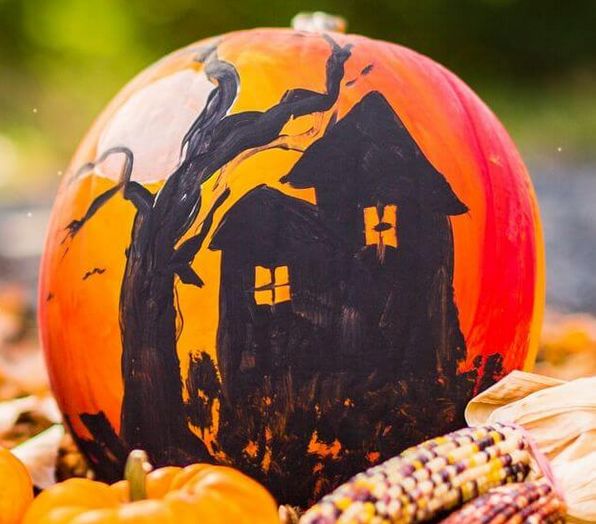

Good silhouette choices include a black painted haunted house or a witch flying on a broom. You could also try familiar Halloween shapes such as a flying bat, a black cat or a crow silhouette. If you like, use our free printable crow stencil as inspiration; it prints out to approximately 6 inches wide by 4.5 inches high.

Mini Pumpkin Additions
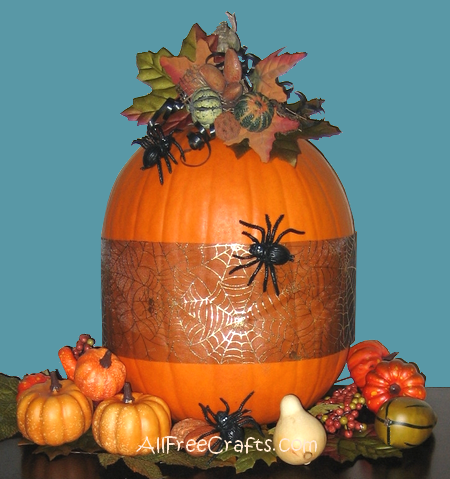
Spider Web Mini Pumpkin
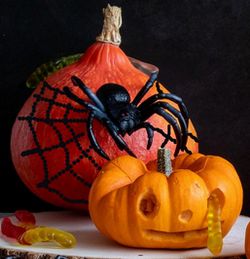
Draw the outline of a spider web on one side of the pumpkin, then outline it in black permanent marker, black glitter glue or craft paint.
Another option is to glue on strands of yarn to form the web.
Allow the paint or glue to dry, then glue on a “mother” spider with, or without, Halloween confetti “baby” spiders.
Wispy strands of commercial fake spider webs can add to the spooky effect.
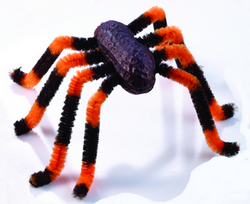
One DIY option that’s just the right size for mini pumpkins is this homemade peanut spider made from a peanut and orange pipe cleaners.
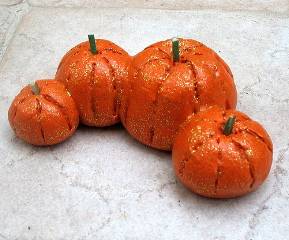
Decoupaged Styrofoam Mini Pumpkins
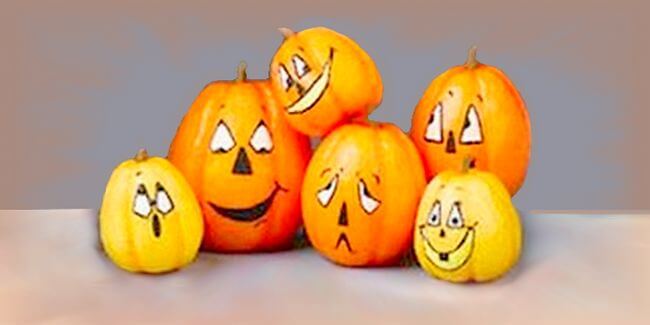
If you have styrofoam eggs left over from Easter, try making a Pile of Decoupaged Mini Pumpkins. Apart from the egg shapes, you’ll need orange tissue paper, decoupage medium, and you can use our free printable pumpkin faces pattern to reproduce the expressions shown here.
Hats, Caps and Wigs
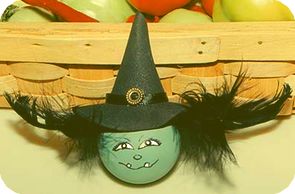
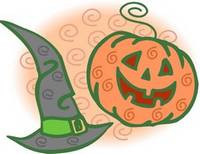
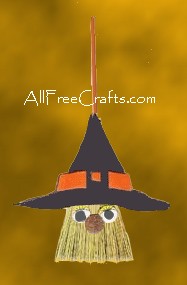
Top your mini pumpkin with a witch hat made from paper or felt – simply cut out a half circle and glue into a cone shape to fit or print this Free Printable Witch Hat Pattern.
Although the pattern was originally used for this recycled Light Bulb Witch Face, you can enlarge it, if needed, for a mini pumpkin. Follow the simple hat instructions, then add a brim, or simply glue black feathers to the bottom of the hat, then glue the hat in place as shown.
Other possibilities for hats – child-size police officer or fire responder hats, construction worker hard hats, baseball caps or even woolen berets or toques.
To add a wig effect beneath any hat use black or colored feathers for a touch of whimsy and fluffiness. But you could also use tufts of straw, raffia or dollar store doll hair.
Leave a Reply