Last updated on September 5th, 2015 at 02:48 am
by Jane Lake
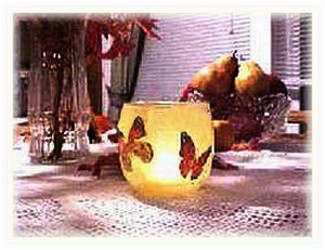
Take an ordinary white pillar candle and festive paper napkins,
– cut, snip, glue –
et voila – Halloween candle making made easy!
Project Supplies:
- white pillar candle
- Halloween paper napkins with images suitable in size for decorating your candle
- DecorArt Clear Coat Medium (or you could try Modge Podge, or white glue thinned with water)
- sharp, fine-pointed scissors
- paint brush
- rubbing alcohol
Craft Project Instructions:
1. Thoroughly clean the surface of the candle with rubbing alcohol to increase adhesion of the decoupage medium.
2. It is easier to cut around the decoupage images if you leave the paper napkin folded and cut through all the layers. When you have cut around the desired image(s) completely, carefully separate the layers and set the chosen image aside.
3. Using a paint brush, coat the area to be decoupaged with DecorArt Clear Coat Medium (this is the medium used on the project shown; if you’re willing to try something else, Modge Podge or similar decoupage mediums should work reasonably well.)
4. Carefully position the cut out image and smooth gently into place with your fingers. Take your time with this step – once pasted into position, the thin napkin image won’t be easy to move again. Add any additional images in the same way.
5. When all images are decoupaged in place, use the paint brush to coat them with another layer of decoupage medium. Let dry.
Notes:
As with any candle craft, safety is of prime concern: never leave a lit candle unattended, and never leave children or pets alone with a lit candle. Use common sense and please stay safe!


Leave a Reply