Last updated on October 5th, 2022 at 12:15 am
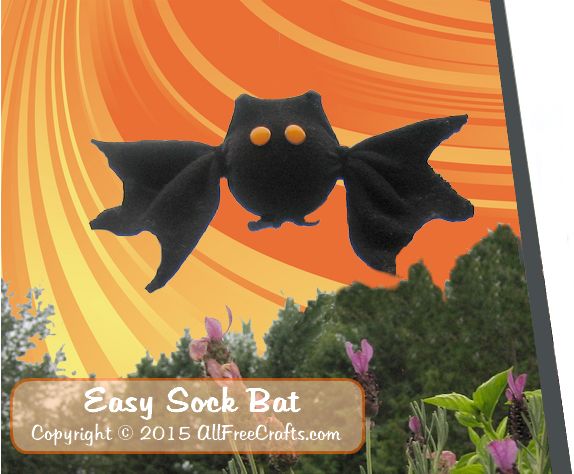
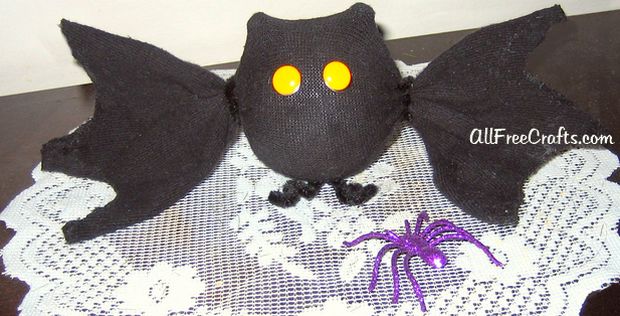
This easy sock bat is a bit different from other sock bat crafts that I’ve seen, because even the wings are formed from part of the sock. It’s a great use for all those single socks that appear like magic on laundry day.
by Jane Lake
Craft Supplies:
» 1 men’s dress sock – black
» 3″ craft foam ball or craft foam egg shape of similar size
» two thumb tacks with glossy orange tops (if you can’t find these, use normal brass thumb tacks, but paint the tops either yellow or orange with nail polish or gloss enamel modelling paint. Or simply glue on yellow or orange buttons.)
» one black chenille stem
» two bulletin board pins
» tacky craft glue
» scissors
» ruler
» sewing needle and black or invisible sewing thread
Project Instructions:
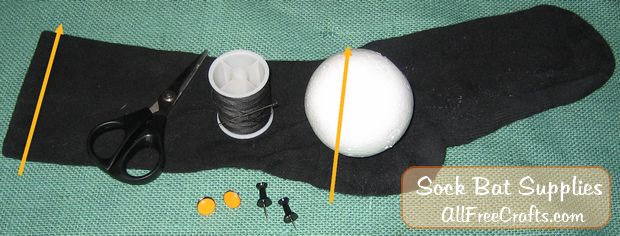
1. Body: Lay the sock out on a flat surface and cut away the heel and foot, then the top hem of the sock, leaving behind the middle straight length, with cut areas shown in the photo by the orange arrows.
2. Cut a black chenille stem into three equal lengths.
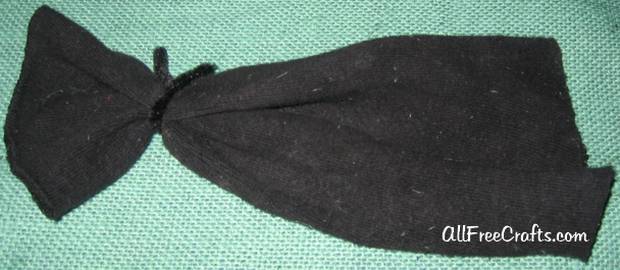
3. Stretch out the straight length of sock and lay it against a ruler to get an idea of the stretched out length. It should be between 10 and 12 inches long. Pinch together the stretched sock at a point about one-third along the length. A helping hand from someone else makes this step easier, but you can also do it yourself. Fasten one of the chenille stems around the point, twisting it together as tight as you can. Tuck the ends around to tidy them up or cut them off.
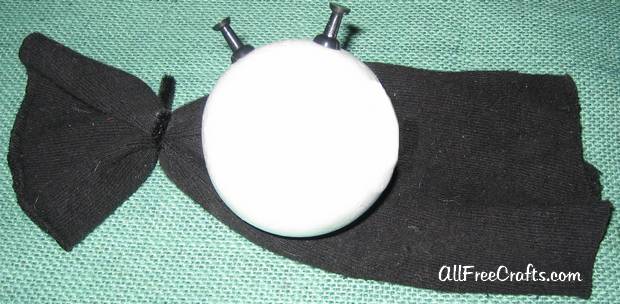
4. Ears: Insert the two bulletin board pins into the styrofoam ball, about 1½ inches apart. These will form the bat’s ears. If the pins seem a bit loose, dip the points into tacky glue before inserting into the ball.
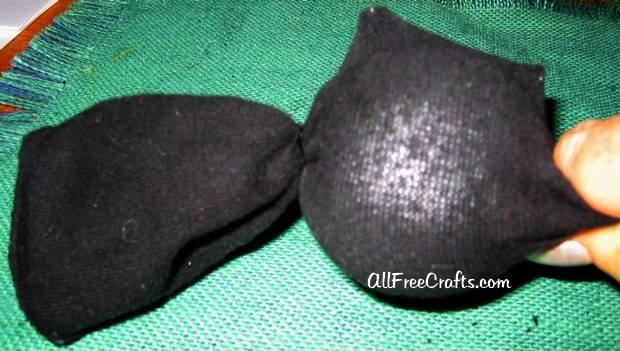
5. Insert the ball into the sock, carefully moving it into place with the “ears” at the top. Smooth the sock evenly all the way around the ball. Gather the right side and fasten it with the second piece of chenille stem.
6. Wings: Cut two semi-circles out of the wing ends, cutting through both layers of the sock at once to make a scalloped effect. Run a little tacky glue along the inside of the cut edges then press them together to finish the bat’s wings.
7. Eyes: Dip the ends of the thumb tacks into tacky glue then insert into the top half of the ball, centered below the ears, to make the bat’s eyes.
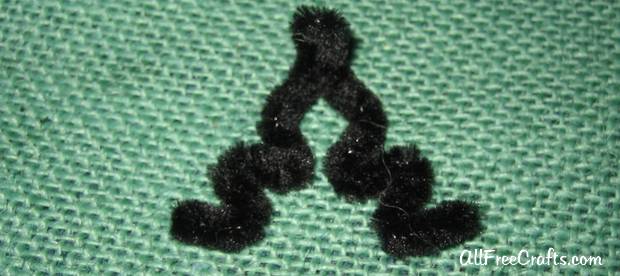
8. Feet: To make the bat’s feet, take the final piece of chenille stem and fold it in half, twisting the two sides together near the top. Next, bend each end of the chenille stem into a “W” shape, as shown in the close-up photo.
Poke a small hole into the bottom center of the bat, going right through the sock and into the foam ball. You can use the sharp tip of your scissors, a bamboo skewer, or the sharp point of a pencil to do this.
Dip the top, pointed end of the chenille feet into a little bit of glue, then insert into the hole that you just made in the bottom of the ball.
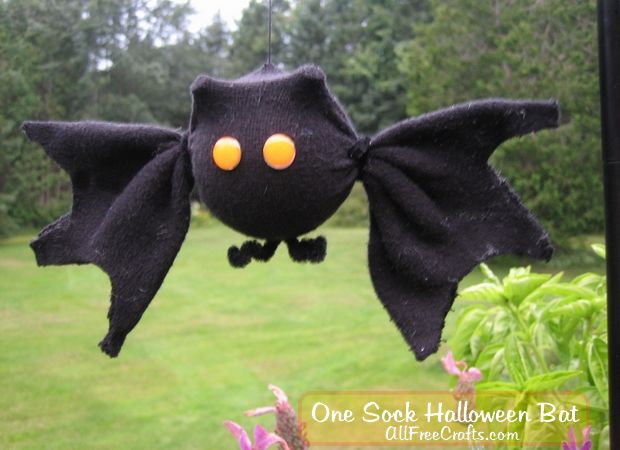
9. Hanging Your Bat: Thread a sewing needle with about 12 inches of black or invisible thread. Tie the two ends of the thread in a knot, then sew this loop to the back of the bat, near the top. Use the loop to hang up the bat for Halloween.


Leave a Reply