Last updated on November 6th, 2024 at 12:51 pm
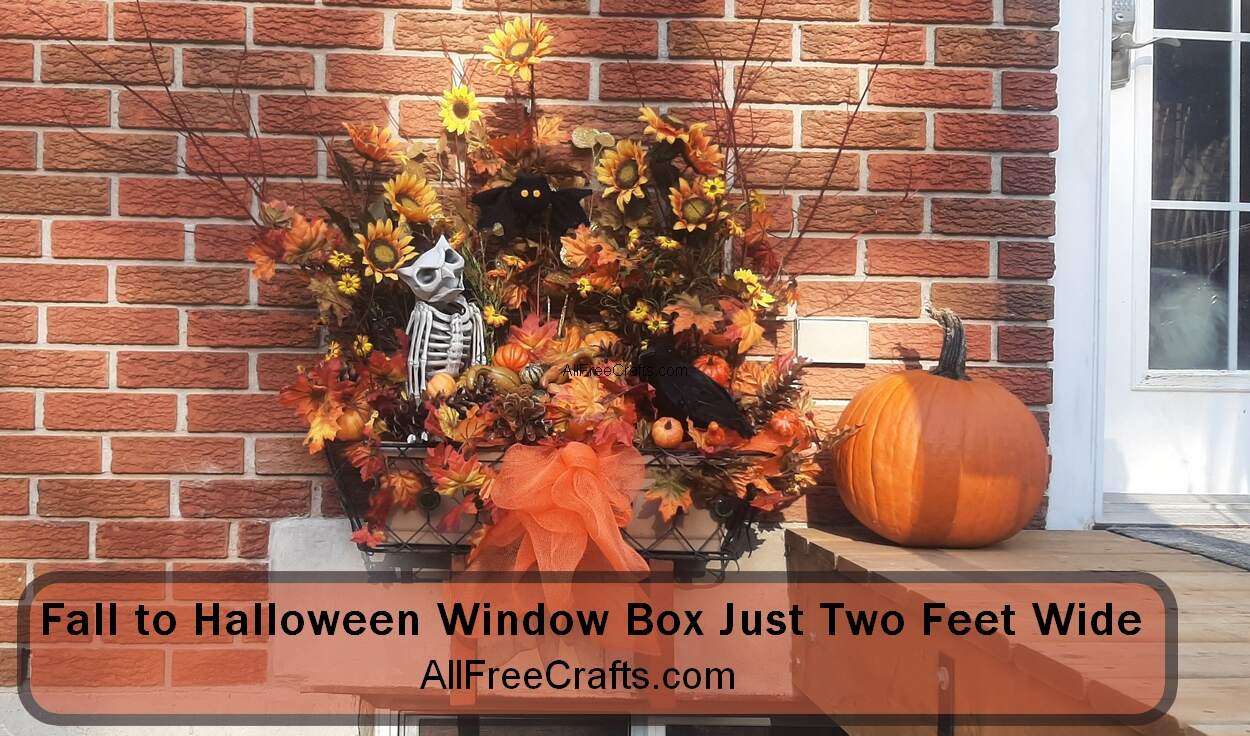
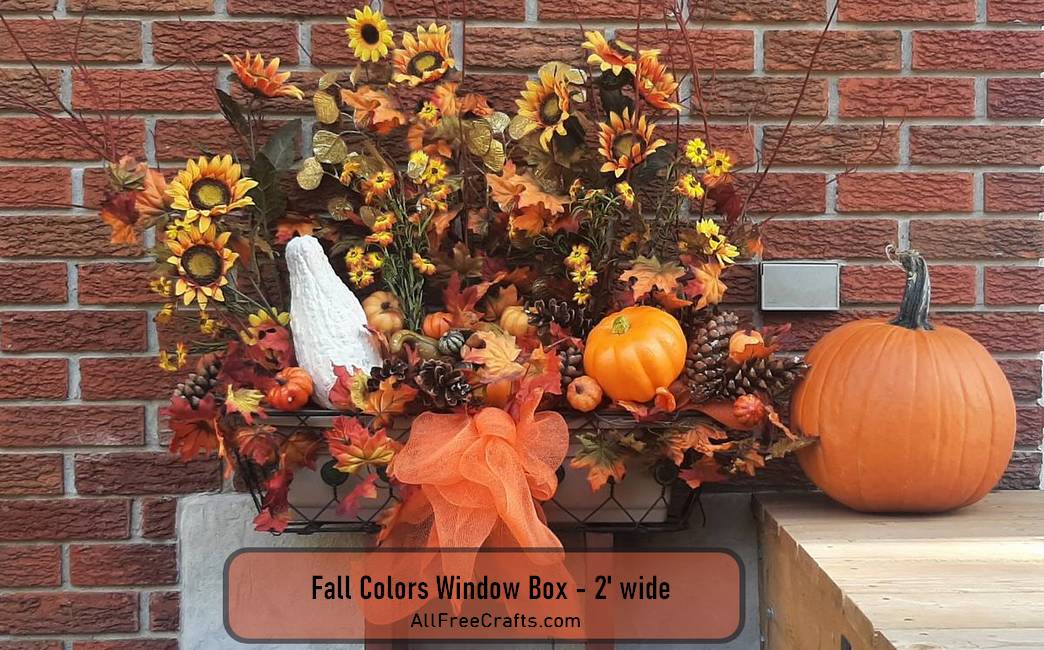
This small window box, just two feet wide, brightens the entrance to a small back deck. It replaces a dying summer planting of petunias and creeping jenny. I didn’t remove the soil because it’s a great anchor for the base of red dogwood stems. Other multi-branched stems will also work.
Use the following DIY instructions as inspiration for your own fall window box. The supplies you need are suggestions to help you recreate this Fall to Halloween window box quite accurately. But it’s so flexible that you can use whatever decorations you already have (money-saving) or gather materials on your next nature walk.
DIY Instructions: Fall to Halloween Window Box just Two Feet Wide
Here’s the window box with dog wood branches, ranging from two feet high in the center to smaller twigs on either side of about 10 to 12″ high. This creates an “arch” shape over the window box by using the height of the dogwood stems as the visual arch.
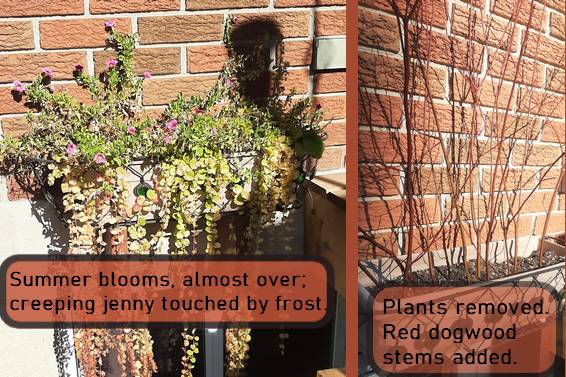
All you do is remove the old summer plants and insert red dogwood or other multi-branched stems into the soil. Space them more or less evenly across the two foot width of the window box.
The dogwood stems are a base. Twist a length of orange deco mesh (Amazon link) or burlap mesh rolls around the stems. The deco mesh cushions, and helps you position, the pumpkins, fall leaves and other elements so you can “grow” the window box display upwards.
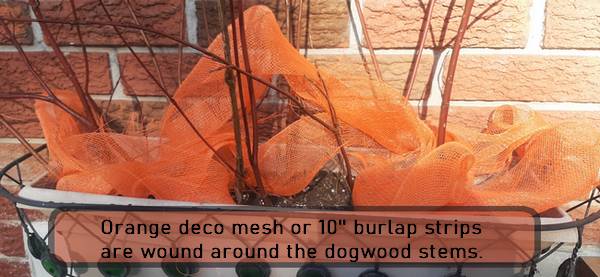
Money-Saving Tip: If you have the burlap leftover from wrapping trees or shrubs just cut strips of suitable length then weave them between the dogwood stems. End-of-roll black landscape fabric strips are perfect for a Halloween theme; I also used it to make a great cape for Winnie the Soft Sculpture Witch.
Creating the Fall or Halloween Window Box Theme
I goofed here because I should have made the Fall theme window box first, but I didn’t. I’d just got out my box of Halloween decorations and there was a beautiful black crow just cawing at me, I swear. That crow wanted out of the storage box and into the window box. So here we are.
Good news, either way, whether you’re wanting a burst of fall color to welcome visitors or craving spookiness for Halloween, it’s easy. Pick your elements and mix and match.
Play with the Elements
This is the fun part so enjoy the process! Here, I’ve provided a list of supplies but none of them are a must-have.
Have fun with this project and use what you have, or what you can find on a local nature walk!
- two foot wide window box filled with soil
- deco mesh in orange, or burlap, or strips of black landscape fabric for halloween
- faux fall leaves garlands
- dried gourds, nuts, pine cones, rosehips, faux pumpkins in assorted sizes
- thin wire or twist ties
- faux flower stems including sunflowers
- your choice of Halloween decorations
Go for a nature walk and gather red dogwood branches, or similar multi-branched stems, for the base. Wild rosehips are another option that are often on multi-branched stems and add a gorgeous, natural touch of red. Pine cones, branches, rosehips: no cost. My kind of natural, no-cost supplies for sure.
Re-use What You Have: Take out your storage box of autumn decor and Halloween decorations and add them to your window box. Use whatever works. My staples include colorful fall leaves garlands (your local dollar store or Amazon), pine cones gathered from my garden, and dried gourds or faux pumpkins (dollar store or Amazon).
Fasten floral picks directly into the soil. Use thin wire or twist ties to secure smaller pieces to the deco mesh or branches.
Start Building the Arch Shape
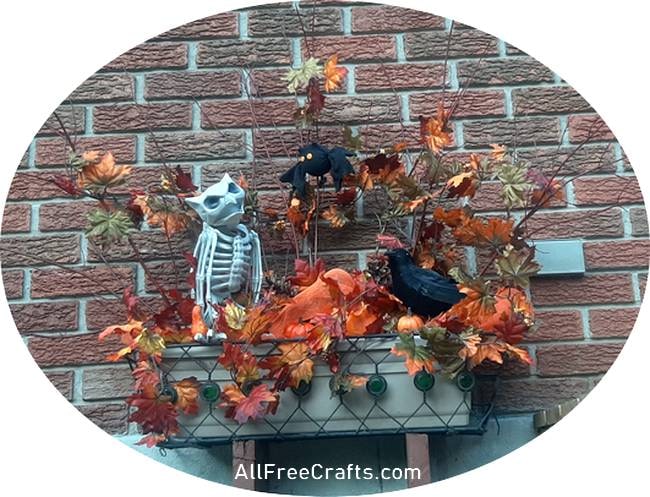
Start building the “arch” of your two foot window box by placing larger, eye-catching objects near the bottom. These include bright orange faux or real mini pumpkins, gourds, large pine cones plus colorful faux fall leaves. I used a long fall leaves garland, twisted around the dogwood stems and placed over and above the orange mesh. More colored leaves, snipped into sections, are wired into place as the arrangement rises in an arch shape. This adds a bright note of consistent fall colors which acts as background for your other elements.
Trust Your Sense of Design
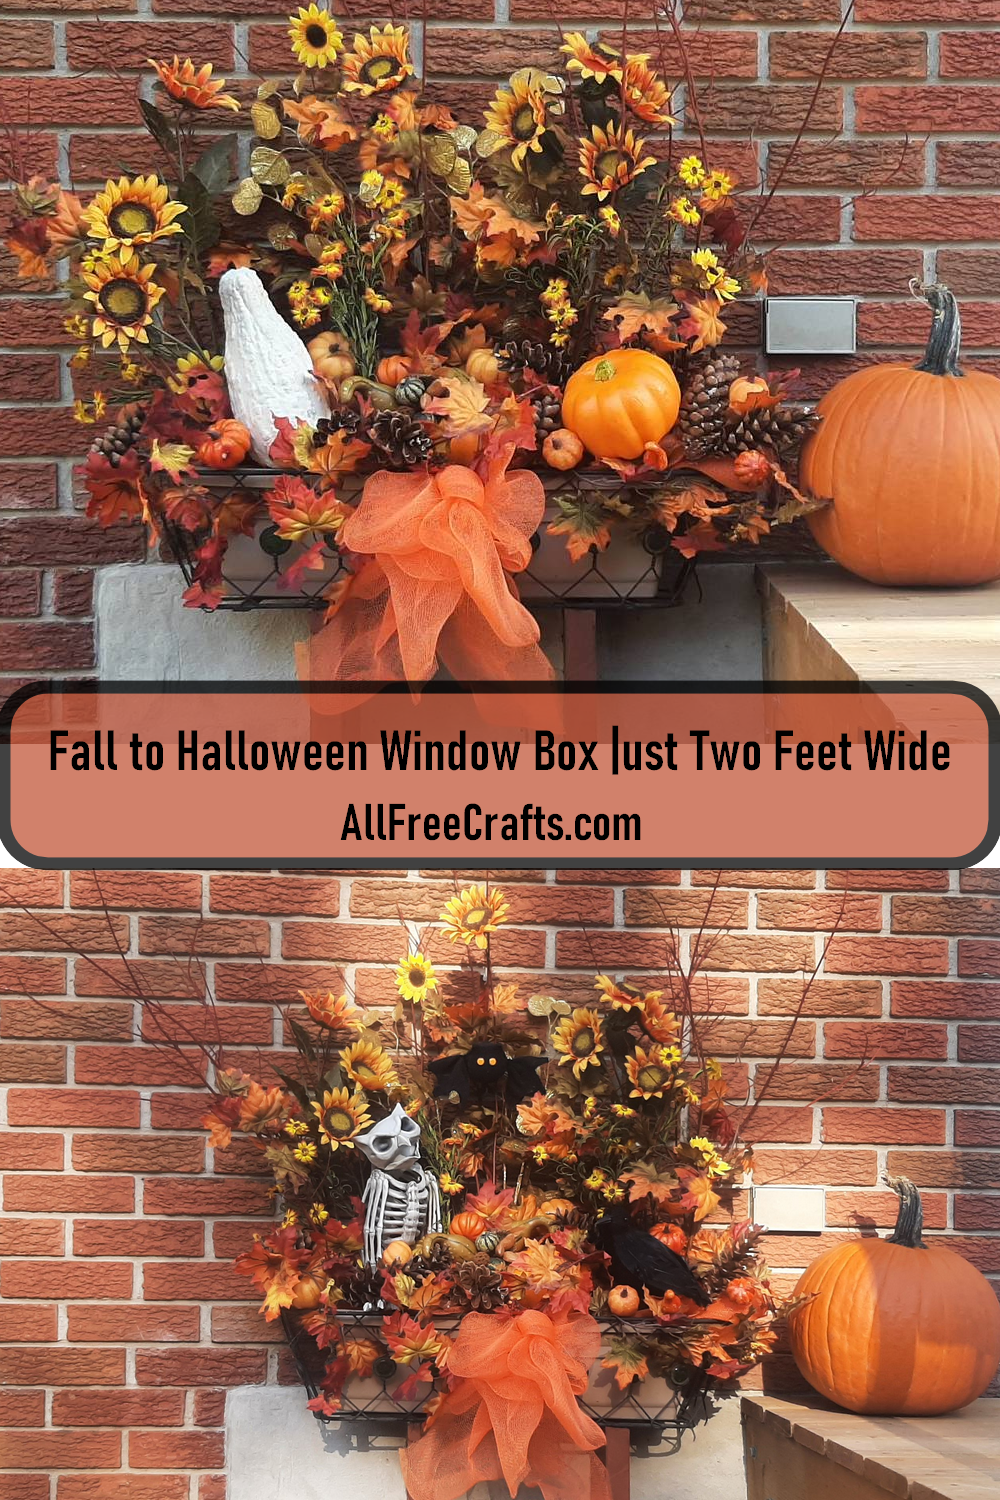
For Halloween, I used a bird skeleton on the left, a Halloween sock bat suspended in the middle, plus my magnificient black, cawing crow on the right.
This arrangement is equally magnificient as an autumn color display. Replace the skeleton with a gourd on the left, make a centerpiece of pine cones, nuts and berries in the middle, and plump up the orange pumpkins on the right.
Finish with a Big Bow
I finished my window box display with a beautiful pumpkin orange deco mesh bow. They are so easy to make – I really like this quick video tutorial on YouTube – and they add an eye-catching flourish to your work.
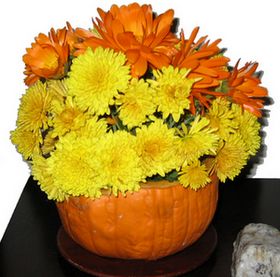
To take the fall colors inside, consider making Fall Flowers in a Pumpkin. You can use real blossoms or faux mums for a vibrant touch of fall indoors.

Leave a Reply