Last updated on April 12th, 2025 at 01:29 pm
There’s nothing quite like the scent of fresh herbs wafting through your kitchen—or the satisfaction of snipping them right from your own garden. But once your mint, oregano, basil, chives, parsley, rosemary, thyme, and sage have hit their seasonal peak, what do you do with the abundance? Preserve those garden herbs, of course! Properly drying or freezing your herbs means you can enjoy their flavor and aroma all year long.
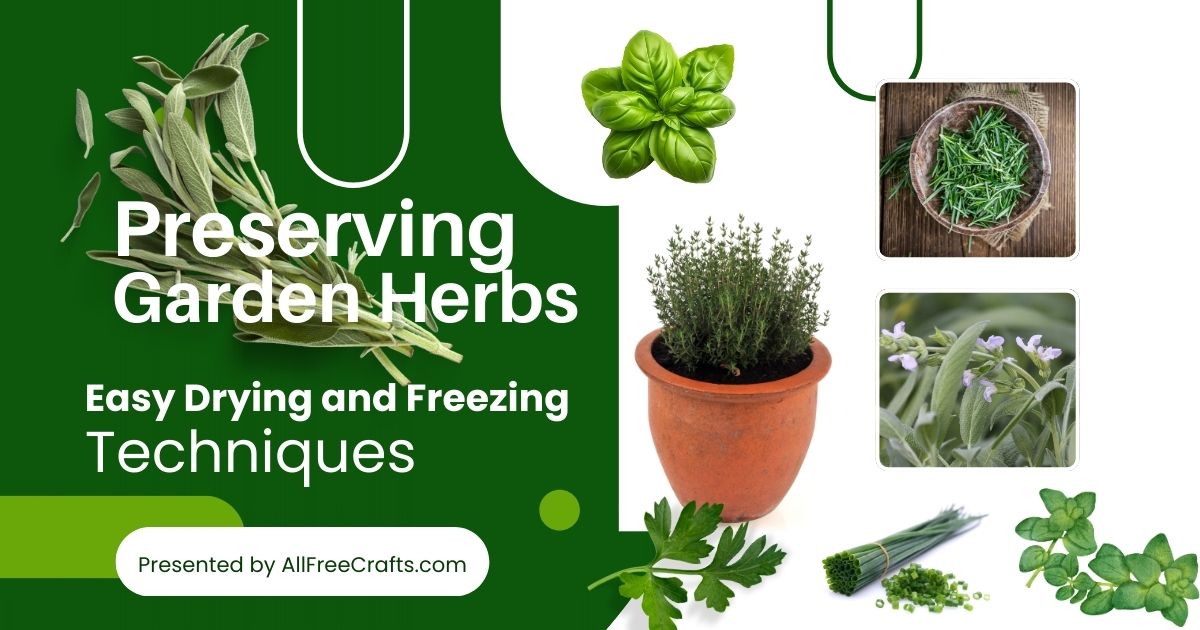
A Guide to Drying and Freezing Your Favourite Garden Herbs
In this guide, I’ll walk you through the best methods to preserve your garden herbs and how to prepare them for storage. You’ll also get a few expert tips on how to to help keep their color, flavor, and potency intact.
First: Should You Wash Before Preserving Garden Herbs?
Yes—if they’re dirty, but with a caveat.
If your herbs have visible dirt, bugs, or have been exposed to spray or debris, dispose of the worst stems and give the remainder a gentle rinse under cool water. However, be sure to pat them completely dry with paper towels. Excess moisture during drying or freezing can lead to mould, browning, or soggy texture.
If your herbs are clean from the garden and haven’t touched the soil directly, you can skip the rinse to retain more herbal oils and flavour.
Drying Garden Herbs: A Time-Tested Method

Drying concentrates flavor and is perfect for hearty herbs like rosemary, thyme, oregano, and sage.
Three Drying Methods
- Hanging
- Tie small bundles (5–8 stems) of herbs with twine or string.
- Hang them upside down in a warm, dry, well-ventilated area out of direct sunlight.
- Drying takes 1–2 weeks, depending on humidity.
- Best for: Sage, thyme, rosemary, oregano
- Screens or Baking Sheets
- Spread herbs in a single layer on a screen, mesh rack, or parchment-lined baking sheet. Large, clean window screens, lined with cheesecloth, work well if you have lots of herbs to dry.
- Place them in a dark, dry, and ventilated room.
- Turn the leaves every day or two for even drying.
- Best for: Chives, mint, parsley
- Dehydrator
- Set the dehydrator to 95–115°F (35–46°C). For herbs with higher moisture content (like basil or mint), go closer to 115°F.
- Herbs are usually done in 1–4 hours—you’ll know they’re ready when leaves crumble easily.
- Best for: Any herb, especially if you need a quicker method.
Pro Tip: Avoid oven-drying unless you have a setting below 150°F. Most ovens are too hot, and herbs can burn or lose flavor quickly. I use the Cosori Food Dehydrator from Amazon for quickly drying herbs and find it perfect for this purpose.
AllFreeCrafts is reader supported! Many supplies are found at thrift stores so try that first! However, if you buy from an affiliate link on this site, I earn a commission at no extra cost to you. As an Amazon associate, I earn from qualifying purchases. This has kept AllFreeCrafts.com online since 2002. Thank you!
Storing Dried Garden Herbs

Once herbs are dry:
- Remove leaves from stems and store in airtight containers (glass jars or metal tins are great).
- Keep them in a cool, dark place—a pantry or spice cabinet is perfect.
- Label with the herb name and date; dried herbs are best used within 6–12 months.
Crushing herbs before storage releases their essential oils, so try not to do this. Instead, keep leaves whole and crush just before use for maximum flavor.
Related Posts: How to Make Mint Sauce, Mint Jelly, How to Make Flavored Vinegars and Oils. Plant, Grow and Use Oregano, Growing and Using Basil, Growing and Using Parsley, Growing and Using Thyme.
Freezing Garden Herbs: Preserve Freshness and Brightness
Freezing is ideal for tender herbs like basil, chives, parsley, and mint, which may lose flavor when dried.
To Blanch or Not to Blanch?
- Blanching is optional, but useful for herbs like basil that darken over time. It involves dipping herbs in boiling water for a few seconds, then shocking them in ice water to lock in color and flavor.
- Skip blanching for most herbs unless you’re freezing in bulk or preserving color is critical.
Freezing Methods
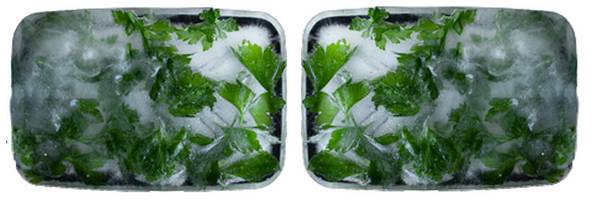
- Ice Cube Trays
- Chop herbs and place in ice cube trays.
- Fill with water or olive oil and freeze.
- Transfer cubes to a freezer bag once solid.
- Perfect for soups, stews, and sautés.
- Flash Freeze
- Spread whole or chopped herbs on a parchment-lined tray.
- Freeze for 1–2 hours, then transfer to airtight bags or containers.
- This keeps herbs loose, making it easy to grab just what you need.
- Roll-and-Freeze
- Place chopped herbs in a zip-top bag, roll tightly (like a cigar), and freeze.
- Slice off pieces as needed.
Storage Tip: Label your frozen herbs with the type and date. Use within 6–8 months for best flavor.
Additional Tips for Herb Preservation Success
- Harvest in the morning after the dew dries but before the sun is hot—this is when essential oils are most concentrated.
- Avoid flowering herbs for preservation—once herbs bloom, their flavor changes and often diminishes.
- Combine herbs (like parsley, chives, and tarragon) in frozen cubes for ready-made herb blends.
- When using frozen herbs, add them directly to cooking dishes as there is no need to thaw.
Herb by Herb Quick Reference
| Herb | Best Preservation | Blanch? | Notes |
|---|---|---|---|
| Basil | Freeze (oil cube) | Optional | Darkens easily when frozen |
| Chives | Freeze (flash) | No | Great in butter or oil cubes |
| Mint | Dry or Freeze | No | Dry quickly in low humidity |
| Oregano | Dry | No | Hang in small bunches |
| Parsley | Freeze (tray or roll) | Optional | Very versatile frozen |
| Rosemary | Dry | No | Retains flavor well when dried |
| Sage | Dry | No | Strip leaves before drying |
| Thyme | Dry | No | Stems can be used whole when cooking |
Preserving garden herbs isn’t just about saving your harvest—it’s about bottling the essence of summer to brighten your meals in winter. With a little effort now, you’ll thank yourself later when your dishes are bursting with homegrown flavor, no matter the season.
Got a favourite way to preserve herbs? Drop it in the comments below!


Leave a Reply