Last updated on April 19th, 2025 at 01:37 am
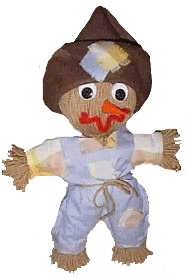
The old-fashioned yarn doll gets a designer scarecrow look with this updated free craft project for the fall season. Isn’t he cute?
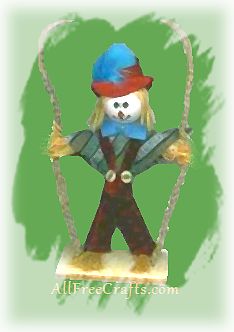
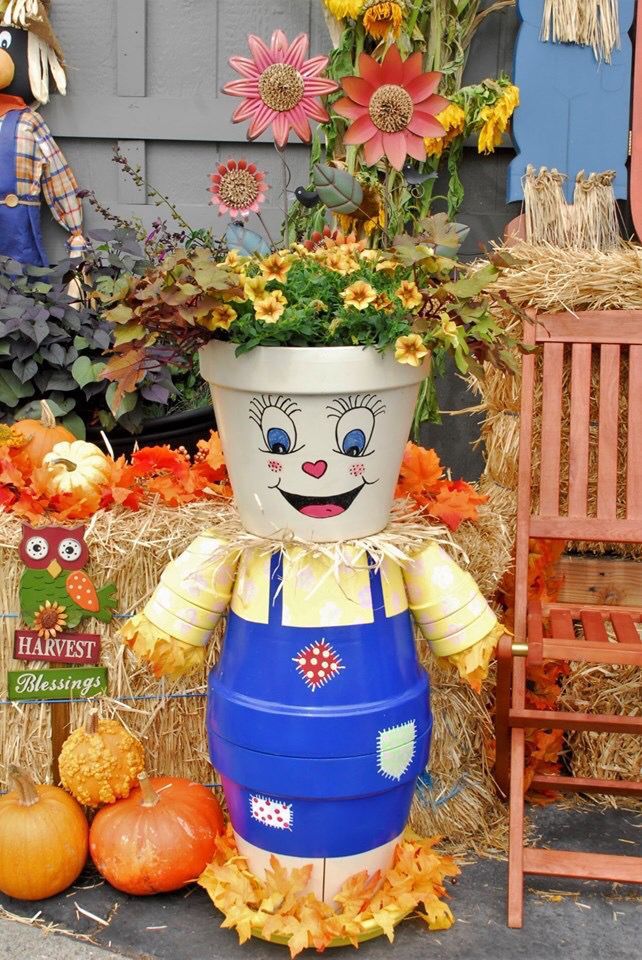
More Scarecrow Crafts: Scarecrow Doll on a Swing, Flop Mop Scarecrow, Happy Hat Scarecrow Wreath, Sammy Scarecrow Wreath, Paint Stick Scarecrow, Scarecrows in a Pot.
By Jane Lake and Twila Lenoir
What you will need:
- I skein of brown or tan yarn
- Pattern for shirt
- Pattern for pants
- 1 sheet brown felt
- plastic carrot
- large goggle eyes
- red pipe cleaner
- 3 inch styrofoam ball
- 3 pieces of shirt board or 8″ x 11″ cardboard
Scarecrow Instructions:
1. Tape two shirt boards together at the top and bottom, and wrap the yarn around the length about 150 times. This will make the scarecrow body. Take another piece of yarn and slide it between the two pieces of cardboard. Bring this piece of yarn as close to the top as possible, then tie the two ends together directly over the top of the scarecrow’s head, tying a firm, tight knot. Slide the cardboard out of the yarn.
2. Slide a 3 inch styrofoam ball in place directly beneath the top knot, spreading the yarn the cover the ball to make the scarecrow’s face. Take another piece of yarn and tie a tight knot around the neck to form the scarecrow’s head.
3. Fold the last piece of cardboard in half, then wrap yarn around the length about 75 times. Slip the yarn off the cardboard and lay flat. Take two pieces of yarn and tie a knot about 1″ inch away from each end to make loops that will become the scarecrow’s hands.
4. Slip the arm section through the middle of the yarn body, pushing it toward the neck. Make sure the arms are even on both sides. Take another piece of yarn and tie it below this arm section, forming the scarecrow’s waist.
5. Cut the loops at each end of the arms to make the scarecrow’s hands.
6. Cut the loops at the bottom, then separate the yarns equally to make the two legs. Take two more pieces of yarn and knot one piece on each of the legs, about an inch from the bottom, leaving the cut yarn to form feet.
Scarecrow Clothes:
1. Print and cut out the paper patterns, tracing around them on fabric. For the shirt, place pattern on the fold of the material before cutting out. Cut the “V” for the neck out and place over the scarecrow’s head. Use hot glue to glue together the arm sleeve seam, under the arms. Turn in a small amount at the bottom of the shirt and glue to form the waist hem.
2. Place the overalls pattern on the fold of the fabric, trace, then cut out. Cut out the square to slip over the scarecrow’s head. Glue together the outside seam and the inside leg seams of the pants.
3. Fold a cuff at the bottom of the pants and the end of the sleeves.
Finishing Touches:
1. Glue on the scarecrow’s eyes, a plastic carrot for his nose, and a bent, red pipe cleaner, or chenille stem, to form the mouth.
2. Make a hat from brown pieces of felt. Take a corner of the felt sheet and fold it to the side so that you are making a perfect square. Trim off the piece at the bottom. Take the two corners from left to right and glue up one side. Now you have a cone with a triangle sticking out, fold that piece up onto the hat and glue in place. Now take the point and fold it to the rim and glue in place. For the point of the cone hat, fold down and glue down to the side.
3. Cut 4 small squares of the shirt material. Fray each square by pulling threads from all four sides. Glue squares on the pant leg, one on the bib of the overalls and two onto the hat.
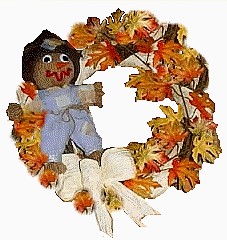
Your scarecrow is complete…until next week, when we put him in a Fall Leaf Scarecrow Wreath. Enjoy!

Leave a Reply