Last updated on March 16th, 2024 at 06:50 pm
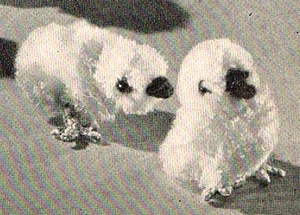
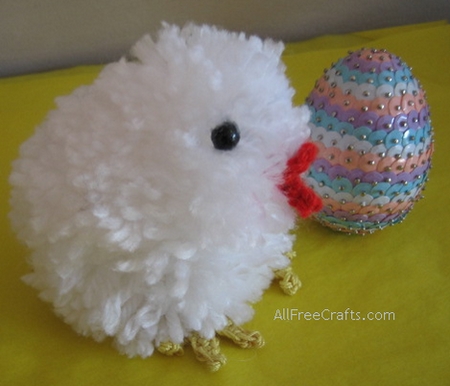
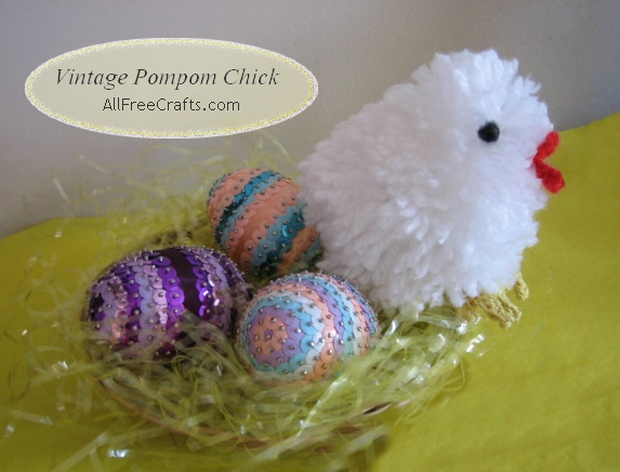
With a crocheted red beak and golden chicken feet, this baby pompom chick is based on a vintage toy pattern by the American Thread Company, originally published in 1946. So it’s a pattern that might have been homemade by your grandmother or great-grandmother for a long-ago Easter celebration.
Fast forward, and I hope you’ll agree, it’s a sweet little chick that is still worth making today. The old pattern had no color photos, so I’m sharing mine for each of the main steps.
I’m providing the crochet instructions to make the beak and feet – but if you are not familiar with basic crochet stitches or you want a time-saving shortcut, just substitute felt or other materials for these parts. I’ll give some tips on that option as well.
You will need:
- white, yellow, or variegated yellow and white worsted weight yarn
- small amount of red worsted weight yarn
- recycled cardboard – cereal box card is perfect; one piece 3 inches wide and a smaller piece 2 inches wide
- the original pattern called for Star Pearl Cotton Size 5 for the feet, but this is discontinued, so I just used fine leftover yellow crochet cotton thread from the thrift store, approximately size 5.
- two small round black beads for the eyes
- steel crochet hook, size 3mm
- sewing needle and sewing thread or tacky glue or hot glue gun and glue sticks
» Other Tools: pencil, ruler and scissors; needle and thread.
Baby Pompom Chick:
The first steps in this project are very easy. Cut two pieces of cardboard from a cereal box with one piece being three inches high for the body and the smaller piece for the head being two inches high.
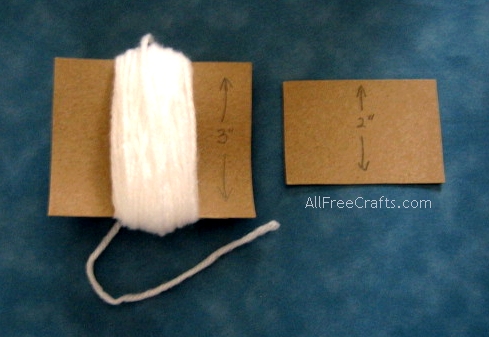
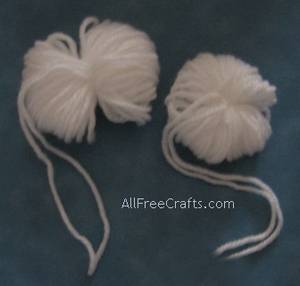
BODY: With white (or other body colored yarn), over a 3 inch cardboard wind wool 100 times, slip from cardboard and tie through center, leaving about 5 inches of thread. (I would add another 20 winds to this for a nice full body pompom.)
HEAD: Over a 2 inch cardboard wind wool 75 times (or more for fullness), slip from cardboard and tie through center leaving about 5 inches of thread.
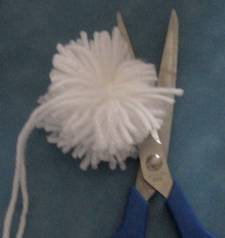
ATTACH BODY AND HEAD POMPOMS TOGETHER: Cut through all the loops of the yarn to make the pompoms. Fluff out with your fingers. Trim pompoms to shape body and head, tie head and body threads together.
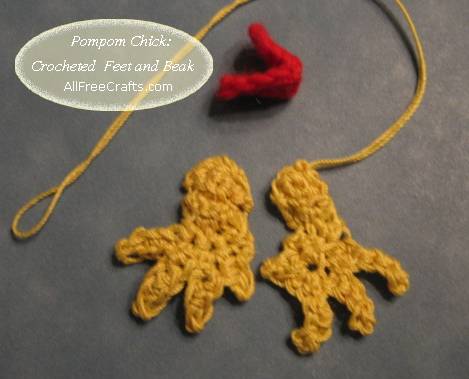
BILL: (Beak) With Red, ch 8, 2 sc in second st from hook, 1 sc in each of the next 5 sts of ch, 2 sc in next st, working on opposite side of ch, 1 sc in each st of ch. Join and break yarn.
I found the beak rather fiddly to crochet, but small and quick to do and I was pleased with how it turned out. On the legs, however, my gauge turned out a little different from one foot to the next. See how the leg part is wider on one than the other! Thing is, you don’t see much of the legs anyway, as the body pompom covers most of them. I briefly thought of making a third foot to see if it would match better but this was really good enough for me.
Must admit, I kind of like these knobbly, old-fashioned, but trying-so-hard-to-be-realistic chick’s legs. My daughter raises free range hens and her first brood of chicks had knobbly feet like this.
LEGS: With Yellow “Star” Pearl Cotton (or modern substitute), using double thread, ch 6 join, ch 1 and without joining rows, working in the back loop of st only, work 1 sc in each sc, until work measures one inch. (Note: I didn’t realize at first, but the leg is not a separate piece to the feet, so you continue on with the feet pattern as it follows here.)
FEET: * Ch 4, turn, work 3 sc on ch, sc in same space with ch 4, sc in next sc, repeat from * twice, then ch 2, sc in second st from hook, sc in same space with ch 2, sc in next sc, break thread. Work another leg in the same manner.
TO FINISH CHICKS:
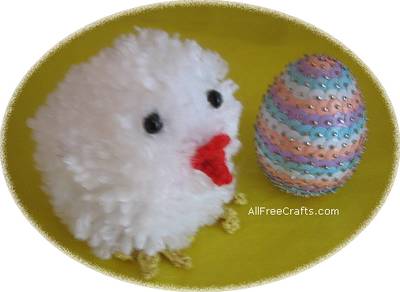
With sewing needle and thread, sew eyes and legs in position. Fold Bill in half and sew in position. Alternatively, you can attach the eyes, legs and beak with tacky glue or hot glue. When the chick is completely assembled comb the body and head to fluff. Trim any yarn that is sticking out or give the chick a final “haircut” to the shape you like.
MORE RESOURCES:
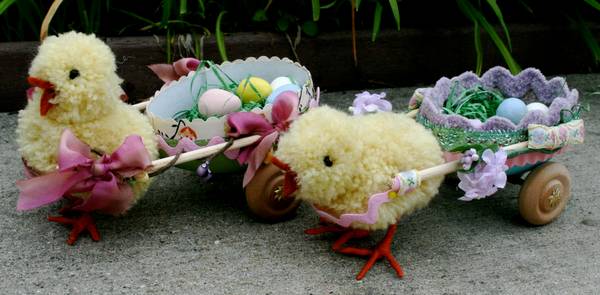
After completing my chick, I found a great two-part Chick and Cart tutorial on Bitter Betty blogs. Part one, a pair of Yellow Chicks, is made with a pompom maker, and the feet were crafted from floral wire wrapped in floral tape and painted. I thought they looked pretty good, and they also make the chicks stand up a little bit which helps them with the job of pulling their adorable Easter Chick Carts. Aren’t they cute?
If you are interested, you may also find out how to make Homemade Sequin Eggs with sequins and pins.

Leave a Reply