Last updated on March 16th, 2024 at 06:29 pm
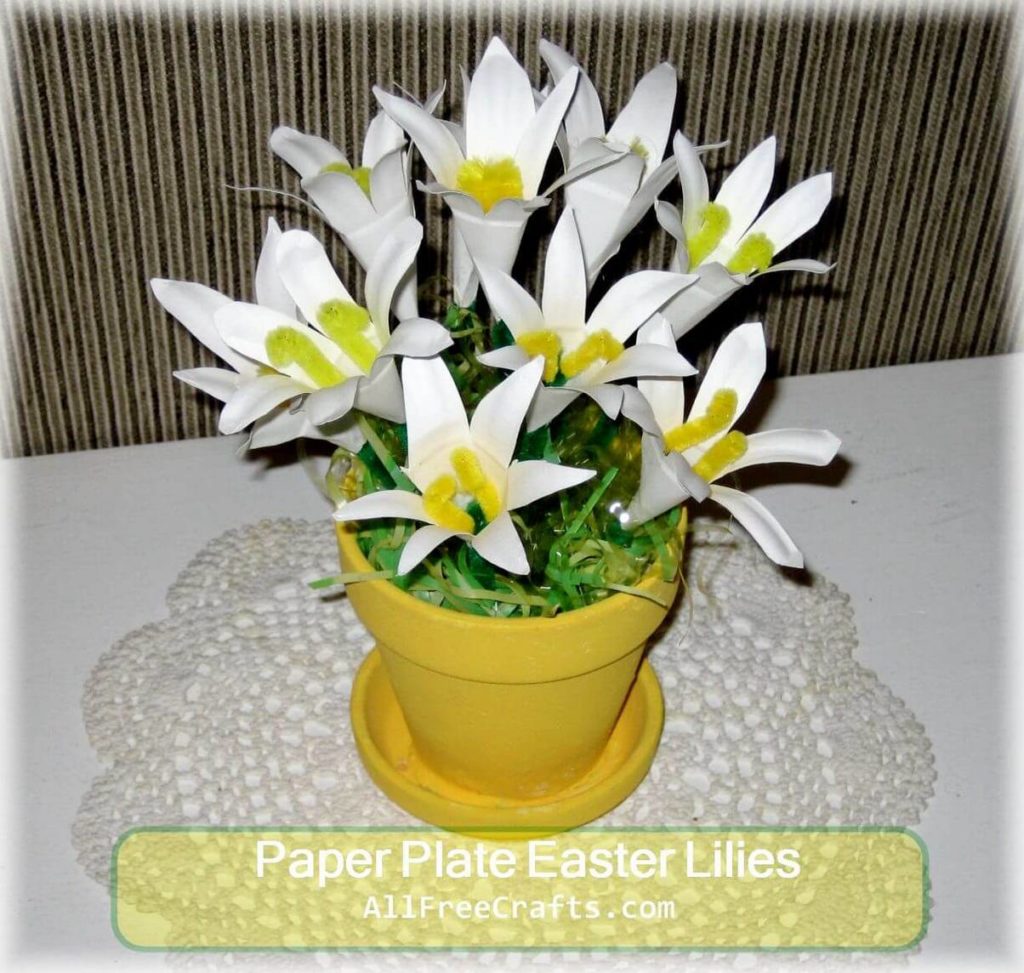
Learn how to make paper plate Easter lilies, with simple chenille stems, that look remarkably realistic when displayed in a plant pot for Easter or spring.
You may also like Crepe Paper Daffodils made from crepe paper streamers.
What You Will Need:
- 6 inch thin paper plates (each plate will make four lilies)
- pencil
- 12 inch chenille stems – green and yellow
- scissors
- white glue
- clay flower pot and saucer (or a container such as a small glass jar)
- optional: yellow acrylic paint and foam paint brush to paint the clay pot
- optional: Easter grass
Make the Paper Plate Lilies
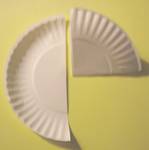
Take one six inch paper plate and fold it in half. Unfold, then cut the paper plate in half along the center fold line.
Fold one of the half plate sections in half again. Unfold, and cut along the center fold line once more. You will now now have two quarter sections. Repeat with the other half plate. Each one of the four quarter sections will make one lily.
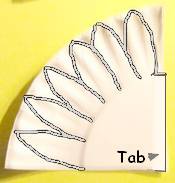
For the first lilies that you make, it is easier to draw on the petals before cutting them out. Here you can see the outlined petal shapes. It is important to begin the first petal about 1/8 inch away from the cut edge. This leaves a small tab which will be needed when you begin assembling the lily.
To start your flowers, use a pencil to lightly draw six petal shapes along the edge of the plate.
Most paper plates have a rippled and curved rim. The petals should extend down to the inner edge of this rim, or about 1-½ inches from the edge of the plate. Cut inside the pencil lines.
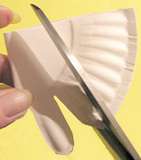
Once you have made a few lilies, you may be able to cut the petals without drawing them in first.
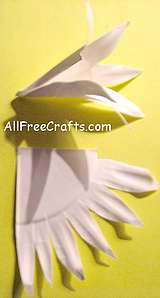
It is fine if some of the petals are narrower than others, or if some of the tips are more pointed while others are rounded.
A little variation makes the flowers look more natural.
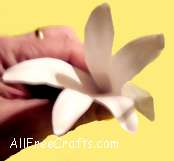
Once the you have cut out the petals, roll the paper plate section into a cone shape, making sure the petals are curling outwards.
Bend the tab so that it fits inside the cone and apply a little glue. Press together until the glue holds then set the lily aside.
Make the Lily Stems
To make a stem, cut one green chenille stem in half. Cut a yellow chenille stem into four pieces, each about three inches long.

Fold one yellow piece into a “U” shape, then tuck each end over a little bit to make the tops of the stamens. Fix the two pieces together by winding the top of one green stem to around the center bottom of the yellow “U” until it is secure.
Variations: There are other ways to make stems. You could use pieces of yellow “bumpy” chenille to make the stamen on top of the green stems. Other options include using green plastic straws as the stems, or wrapping kebob sticks with strips of green floral tape or green tissue paper.
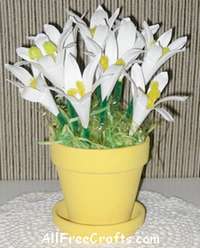
Prepare the Plant Pots
These lilies are very pretty with the stems wrapped in a paper doily to make a small bouquet, but they also look more realistic when “planted” in a clay pot.
You can leave the pot as plain terra cotta or paint it with several coats of yellow acrylic paint.
Fill the pot with Easter grass then insert the lilies into the grass. This is a little easier if you first poke a hole into the grass with a pencil, then withdraw the pencil and insert a lily stem.
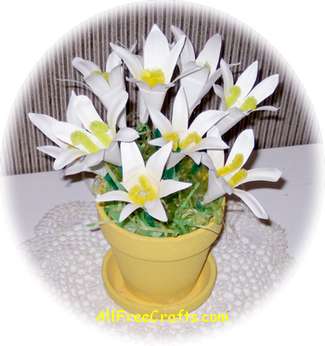
Plant two or three paper plate lilies in the middle of the pot, then fill in the area around them with more lilies. The flowers on the outside look best if they are a little lower than those in the middle, so fold over an inch or two at the bottom of each stem before inserting it into the pot.
When you have planted all your lilies, turn the pot around and look it from all sides.
If needed, adjust the placement so the lilies fit comfortably in the pot and are equally spaced.
Happy Easter!

Leave a Reply