Last updated on March 29th, 2024 at 06:54 pm
Easy Glitter Jar Candles Craft for Kids
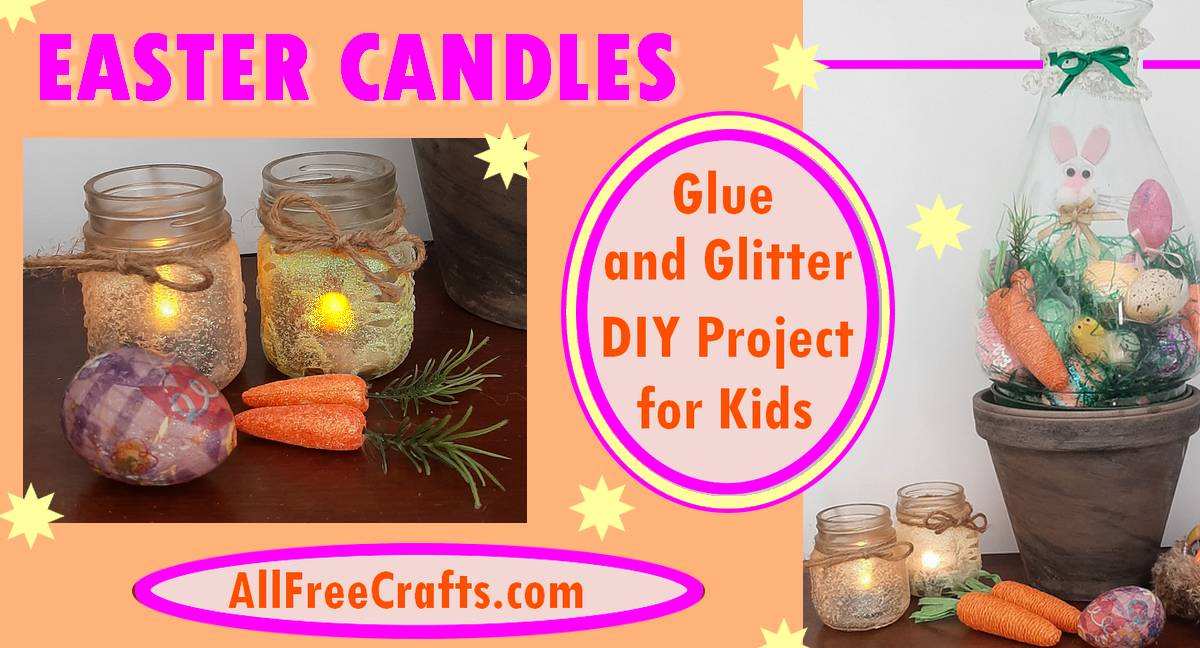
Save a few small glass jars for your children and let them make sparkling glitter jar candles for Easter or other special occasions. Glitter and glue is messy but my grandkids adored the process and you can control the mess with a little preparation. The results are alight with joy before the candles are even lit.
Supplies:
- small glass jars
- white glue or Mod Podge (Amazon)
- fine glitter in pastel colors (Amazon)
- paint brush
- twine or ribbon
- newspaper or tray as working surface
- scissors
- battery operated tea light candles (Amazon)
Related: Christmas Display Under Glass
AllFreeCrafts is reader supported! Many supplies are found at thrift stores so try that first! However, if you buy from an affiliate link on this site, I earn a commission at no extra cost to you. As an Amazon associate, I earn from qualifying purchases. This has kept AllFreeCrafts.com online since 2002. Thank you!
How to Make Glitter Jar Candles

1)- Assemble your supplies and place them on a work surface covered by a washable tablecloth, newspaper or contained on a tray. Trust me. Unless you like pastel glitter highlighting every surface in the room, you’ll want to contain the mess.
2)- Give your child a small paintbrush and show them how to apply white glue or Mod Podge. Ask them to keep the glue below the rim of the jar.
If they have problems with this part, before proceeding with the glitter, wipe the rim of the jar clean.
To save the glitter, apply it over a clean sheet of paper. Once done, just fold the paper and pour the leftover glitter back into its container for use in another project, such as these beautiful glitter Christmas ornaments.
Note: Substituting White Glue for Mod Podge
Ordinary white glue, such as Elmers School glue (Amazon), is a great substitute for Mod Podge (Amazon) for decoupage crafts. The Glue and Glitter Jar Candles on this page were made with white glue thinned with water. Simply add water to the white glue, starting with one part white glue and a quarter part white glue (i.e. 1/4 cup white glue to 1 cup water). Shake or stir to combine. If this solution needs more thinning for your project, simply add water, a little at a time, until you achieve the desired consistency.

3)- Now the fun begins: add the glitter!
My grandkids added glitter to their jars in two ways.
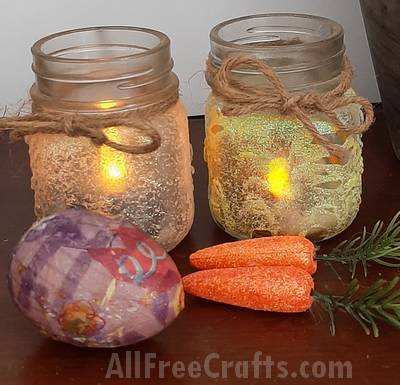
Glitter glued to the jar on the left was simply sprinkled on evenly, resulting in a uniform, glittery surface.
The glitter jar candle on the right, however, was applied with a dry paint brush dipped into the glitter. This created a slightly uneven surface, with a few holes where the brush was pushed a bit hard against the glass and wet glue. But it’s still unique and rather charming, just like its creator.
The decoupaged egg shown at the front of the photo is also a good Easter project for kids, using mod podge and paper napkins.
4)- Leave the glitter jar candles to dry, preferably overnight. I recommend applying an optional, last coating of glue or satin mod podge for a extra shine and durability. Please remember that the glue is water-based therefore these glitter jar candles shouldn’t be washed or left outdoors.
5)- Decorate the jar rim by tying a bit of jute twine, or narrow ribbon, around the neck of the jar and finish with a bow.
6)- Finally, turn on a battery operated tea light candles (Amazon) and insert it into the jar. Display on your dining table for a candlelight Easter dinner or let the light shine among your Easter decorations. Mine were placed beside my pot of Easter Under Glass decorations.
If you like this project, please pin on Pinterest or share on Facebook!
If you prefer to place the glitter on the inside of the jar, check out this easy instructable Glitter Candle Jar DIY. You’ll be leaving AllFreeCrafts, so please come back soon! And, pretty please, if you like this project, please pin on Pinterest or share on Facebook!
Leave a Reply