Last updated on February 21st, 2016 at 12:20 am
Sometimes simple is best – and here we illustrate how you can easily decorate your Easter eggs by the simple addition of some ribbons.
Craft Supplies:
Eggs (blown eggs, plastic, acrylic or any other sort of egg you choose)
Ribbon Scraps
3/8 inch ribbon and small co-ordinating colour
Hot glue or tacky glue
How to:
You can easily make dozens of these eggs in very little time, with very little effort, but the results are wonderful. The eggs shown in the photo are acrylic eggs, that come apart into two sections.
You can use any sort of egg you desire and apply the same technique.
If you want your eggs to be a little more sparkling or colourful, add glitter or paint before applying any ribbon.
Cut a strand of 3/8 inch ribbon long enough to extend around the centre of the egg. Glue the ribbon to one part of the egg only. This will allow you to open the egg and insert goodies. You don’t need to glue the entire ribbon, but just randomly to hold the ribbon in place.
Where your two ribbon ends meet at the rear of the egg, fold one end of the ribbon strip under and glue on top of the other rough edge ribbon. This leaves your ribbon ends with a nice clean finish.
Tie a small bow with a matching smaller width ribbon and glue on top of the ribbon strand at the front centre.
These may seem like a very simple egg project, but they really are quite pretty.


Variations:
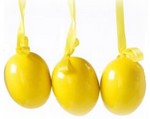
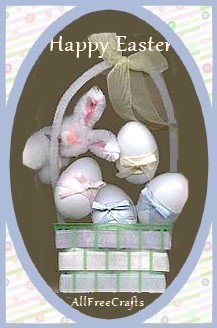
Here are few more creative ways to use ribbons for your Easter eggs – frame a plain or colored egg with a brightly colored ribbon, tying the egg like a gift package (near right), or attach ribbon with a little hot glue at the top of a gloss-painted egg for hanging, or tie ribbons on lots of eggs and hang in a window to catch the sunlight.
Leave a Reply