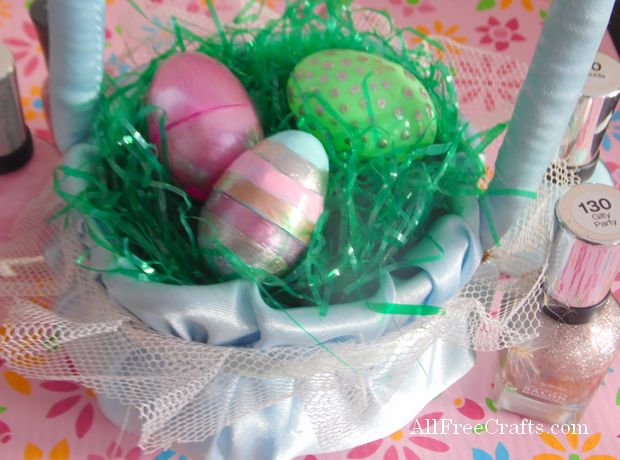
How to paint Easter eggs with gloss or glitter nail polish in stripes, polka dots or solid colors.
This is a great Easter egg project for ‘tween age kids who think they’re past dipping and dyeing, but itch to get their hands on your nail polish collection. Give them those old bottles that need using up (or the ones that looked good in the store, but just didn’t work out at home) and let them have at it.
You Will Need:
» » small or medium, plastic Easter eggs
» » at least four bottles of gloss or glitter nail polish in different colors
» » small jar lids to prop up the eggs while painting
» » paper towel
» » Easter grass and small Easter basket
Nail Polish Painted Eggs
Striped Egg
Wash and dry the plastic Easter eggs to eliminate fingerprints and improve sticking power.
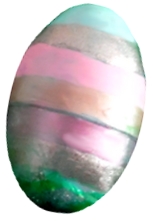
If painting the egg in horizontal stripes, hold the egg around the bottom and begin painting the first stripe just above the center opening line. This will help you keep all the lines fairly straight, although they don’t have to be perfect and can vary in width.
Apply one coat of nail polish for the first stripe, then change to a different color and paint another stripe directly over the first one. Continue like this until the top of the egg is completely painted in stripes. When the first coat of nail polish is dry, go back and put a second coat along each stripe.
Prop the unpainted bottom of the egg into a upturned bottle cap and let it dry. When you can pick it up without ruining the polish, paint the bottom of the egg in the same way that you did the top, propping the egg upside down in the bottle cap to complete the drying.
Solid Egg:
Paint the top of the egg in one solid color then prop the bottom of the egg into a bottle cap to allow the top to dry. When you can, pick up the egg and paint the bottom in the same, or a contrasting, color. Turn the egg over, prop it once more in the bottle cap and let dry.
Polka Dot Egg:
Paint random dots of nail polish all over the top of the egg; prop the bottom of the egg into a bottle cap and let dry. Turn the egg over, paint the bottom with random dots of nail polish, prop it again in the bottle cap and let dry.
You can mix and match solid, stripes and dots to form your own Easter egg designs.
Try a solid color overlaid with contrasting dots, or wide stripes with glitter polka dots.
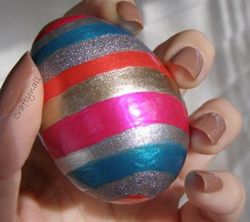
See instructions on CraftyNail for painting a hollow Easter egg with nail polish, as shown at right, with colorful, sloping stripes alternating with glitter stripes.
Marbled Eggs
There are many tutorials out there for making nail polish marbled eggs. My absolute favorite is this very short video from Make it Simple. It shows everything you really need to know, in under one minute, and the resulting marbled, hard-boiled eggs are so pretty.
Finally, for more help in reducing nail polish clutter, see Purging Your Nail Polish Collection for tips and DIY video by organizing guru and vlogger, Allison Anderson.
~ by Jane Lake



Leave a Reply