Last updated on January 11th, 2025 at 10:35 pm

Use our free printable templates to make a felt Easter egg bunny to nestle in your Easter baskets.
This little rabbit is easy to put together from a few small felt pieces and a foam or plastic egg.
Before We Proceed:
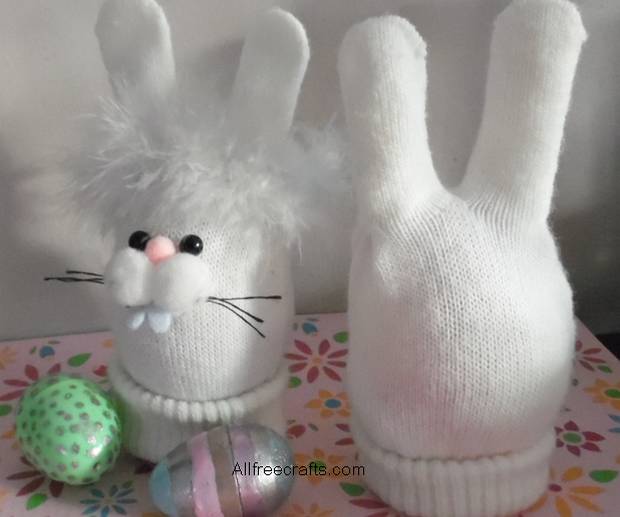
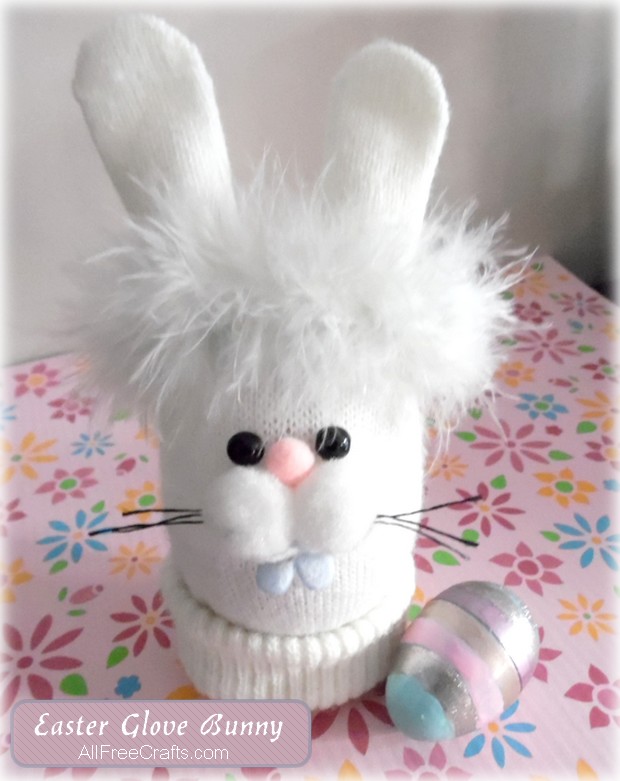
Here’s another easy bunny project, also made with a foam or plastic egg, enclosed in a plain white knit glove.
Make your Glove Bunny from one of the those one-size-fits-all, cheap knit gloves that lost its mate in winter.
Simply because he’s the cutest little fellow and you won’t have to throw away another glove!
Supplies:
- small piece of light brown felt (no bigger than 3 inches square)
- scraps of white felt for ears
- Printed bunny parts template
- tacky glue (I used Aleene’s Tacky Glue from Amazon)
- foam or plastic egg just a bit bigger than a real large egg
- 1 inch pompom for the tail
- small white pompom for the nose
- two pins with colored heads or two artificial grey flower stamens
- 5 or 6 black broom bristles, about 3″ long, for whiskers
- pencil and scissors
Instructions:
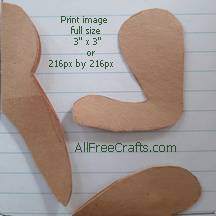
Print out the free bunny parts template. This is a PDF file that should print out to the exact size that you need, which is a 3 inch square. Cut out the pieces.
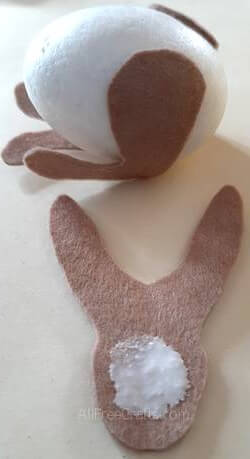
Fold the light brown felt and lay the head template against the fold. Draw around it with a pencil and cut it out.
Do the same for the half-heart template, placing it against the fold, drawing around and cutting it out to make the front legs.
The rear legs are cut out separately. You will need two, one for each side of the bunny.
Apply Glue
Apply glue to the upper portion of each of the back legs then position them on either side of the large end of the egg.
The top curves of the heart form the bunnies front feet, so apply glue to the back pointed section and attach to the bottom of the bunny egg.
Apply glue to the rounded part of the head then position it so the ears fall back and the face points down.
Cut two scraps of white felt to fit inside the ears as shown in my photos. Basically, these are shaped just like the ears but on a smaller scale.
Felt Easter Egg Bunny Face
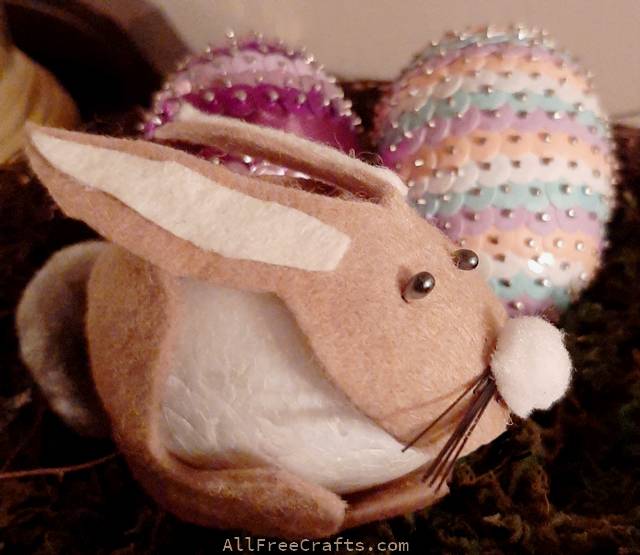
To make the bunny’s face, use a pin to create two holes where the eyes will go. Cut the tip from two artificial flower stamens (I used silver grey), dip each tip into glue, then insert one into each pin hole. Or you could use two pins with colored heads instead, simply pushing them through the felt and all the way into the foam.
Cut about six black bristles, each three inches long, from a broom. These are stiffer than thread so they stick out nicely. Cut the bristles in half then dip the end of one group of bristles into tacky glue and apply near the bottom of the face. Repeat on the opposite side with the other group of bristles.
Center a small white pompom where the bristles overlap in the middle and glue it down as the bunny’s nose.
Finally, glue on the bunny’s larger pompom tail. Done! Nestle the bunny in a basket of Easter eggs. Shown in the last photo are homemade sequinned Easter eggs, also made from foam eggs. Please see all my Easter Bunny crafts because some bunny loves you!
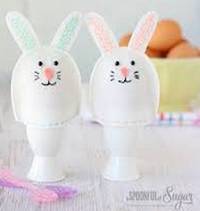
I also found these wonderful felt Easter egg bunny crafts:
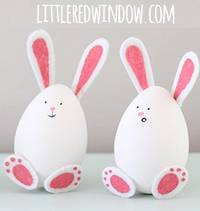
(cute but too many ads)
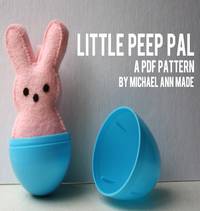
By Michael Ann Made



Leave a Reply