Last updated on February 21st, 2016 at 11:42 pm
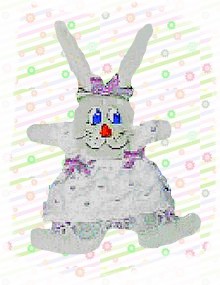 Here’s how to sew an easy fabric Easter bunny. You simply sew two simple Easter bunny pattern pieces together, then use your hot glue gun to dress her up.
By Twila Lenoir
Craft Supplies:
- scrap fabric
- 1″ lace for the sleeves
stuffing - 2″ eyelet lace with finished edges for the dress
- 3″ lace for the slip – thin, “see through” lace is best
- Easter Bunny Pattern
- ribbon to match slip
- one small silk flower
- fabric paint
1. Print and cut out the bunny pattern and trace it to two pieces of fabric, then cut out.
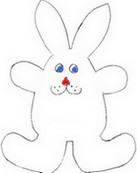
2. Sew right side together with a 1/4 inch seam, and leave the bottom of the foot open to turn right side out.
3. Stuff the ears first, and then sew across the ears so that the ears will be floppy. Stuff the hands and sew across arms and body, then stuff the rest of your bunny and stitch bottom foot closed.
4. Paint on the Easter bunny face and let the fabric paint dry.
5. First hot glue on the 3″ see-thru lace for her slip, then glue on the 1″ inch eyelet sleeves to front of the slip and to the back of her slip, forming sleeves. Glue on the 2″ inch lace as her dress turning the edges in the back; you can sew a seam on both the raw cutting edges, if you wish.
6. Make three small bows, one at the top of her head and one on each side where the dress and the jumper sleeves meet. Finally, glue a tiny ribbon rose at the top of the bow on her head. I like hot gluing material because it really stays together.

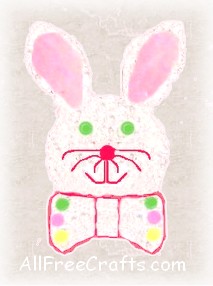
Thanks so much for the bunny patterns. I am using these to make pink bunnies for my granddaughters shirts. Happy Easter!
These bunnies would look so cute on a shirt. I’ll bet your granddaughters love them. Happy Easter to you also, Brenda.