Last updated on March 20th, 2025 at 09:45 pm
by Jane Lake
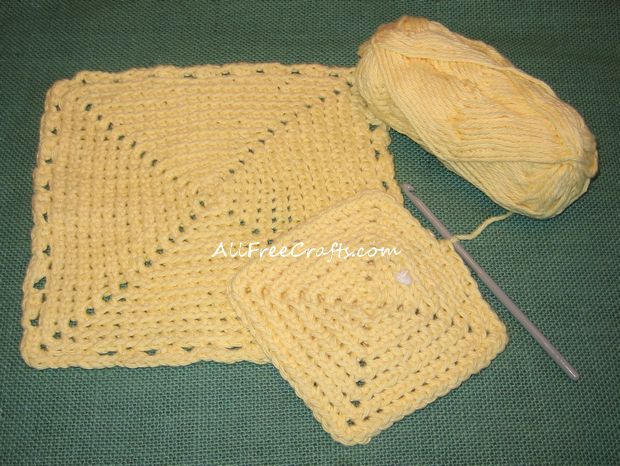
If you like a dishcloth with substance and wringing power, try this basic single crochet granny square dishcloth. I simply enlarged a vintage placemat square motif to get the central pattern, then added a simple border.
The main dishcloth tutorial is designed as a learn-to-crochet tutorial, with step-by-step photos to help you through each step. You’ll also find crochet instructions for two optional border edgings.
Here’ s another free crocheted Fish Scale Dish Cloth pattern that’s fast and easy to make. Even faster, and great for summer, are flop-flop crocheted coasters. Knitters may also like to try my classic basic knitted dishcloth pattern, which is one of the most popular free patterns on AllFreeCrafts!
Abbreviations (U.S. and Canadian terms):
ch = chain
st = stitch
sts = stitches
sl st = slip stitch
sc = single crochet
dc = double crochet
hdc = half double crochet
Materials (for one dishcloth):
1 ball Bernat Handicrafter cotton yarn
5mm crochet hook
Free Dishcloth Pattern:
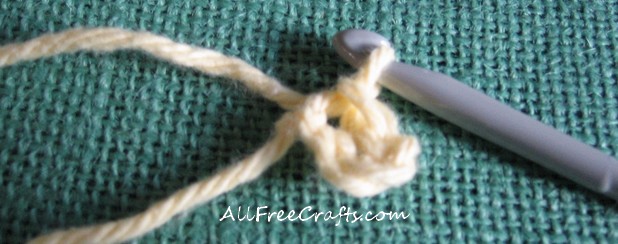
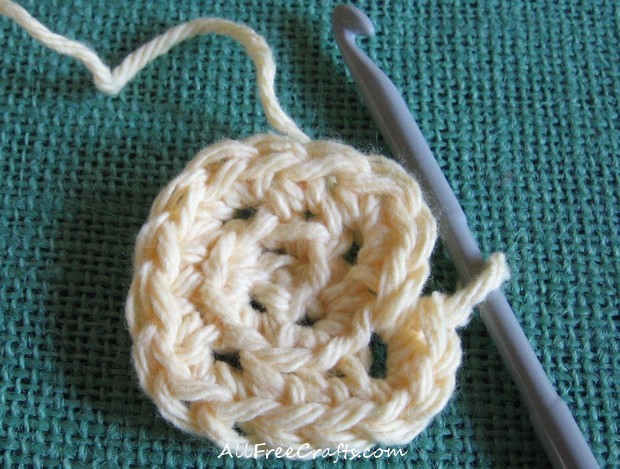
1st row: Start at the center, with a 5mm crochet hook. As shown in the photo below, Ch 4, sl into first ch to form a ring.
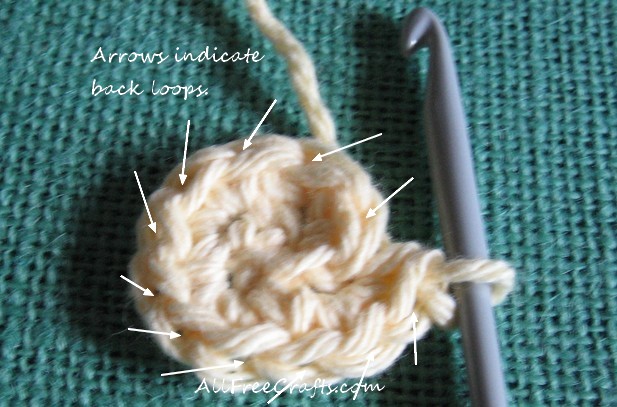
2nd row:From this point forward, pick up the back loop only of each stitch. Leaving the front loops adds texture and visibly underlines each row.
3 sc in each of the four sc around to form the first four corners. Do not join, but tie a little piece of contrasting yarn, or place a stitch marker, in the last st of this row, simply to mark the side where you will make the final row to finish your dishcloth. (12 st)
3rd row: 1 sc in next sc, 3 sc in next sc, * sc in each of the next two sc, 3 sc in next sc (corner made). **
Repeat from * to ** twice more. You won’t need to count stitches in each row from now on, providing you position each corner correctly, centering it over the corner hole of the previous row.
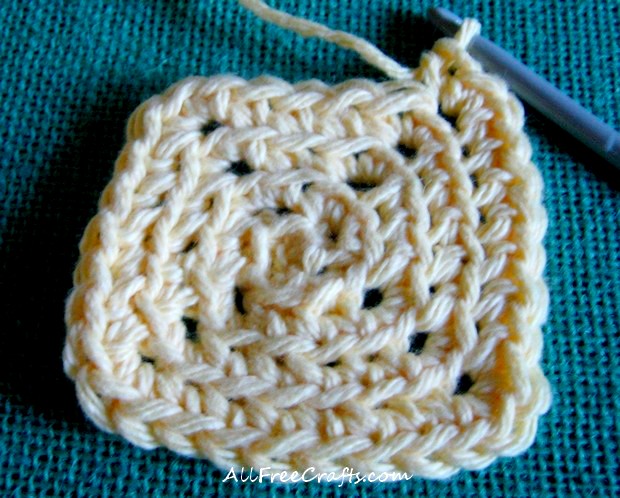
4th row: Sc in each sc around, making 3 sc in center sc of each corner.
Repeat 4th row until dishcloth is the desired size, with the last sc just below the top corner of the right side (the side you marked with a piece of yarn or a stitch marker in Row 2). My dishcloths are about 7½ inches square, with another inch added to the final size of 8½ inches by the borders.
Edging
A border edging is optional, but I find it practical and pretty. The textured weave all around the dishcloth helps sweep up everything in its path; ideal when you’re wiping down counters festooned with crumbs as well as puddles.
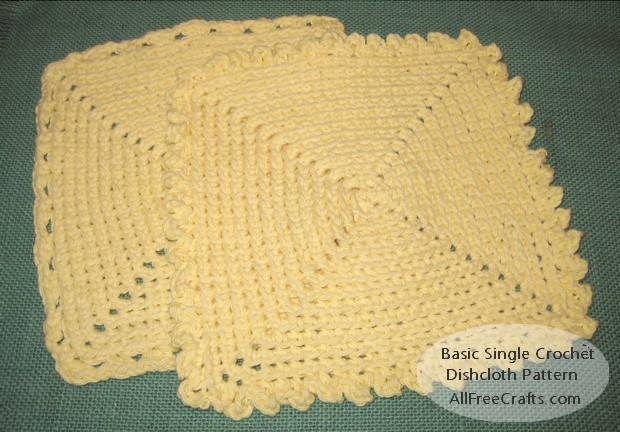
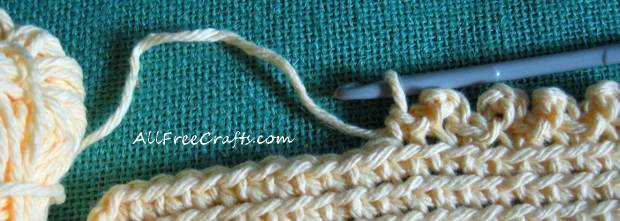
Open Weave Border: I designed this easy, one row border to coordinate with the diagonal corner holes in the dishcloth pattern.
Proceed around the corner, as before, placing 3 sc in the center stitch of the corner. * Ch 2, skip two sc, sc in next st, hdc in next st. ** Repeat from * to ** all the way around until the border is complete. Sl st into the beginning sc of your first corner. Cut yarn and weave in the end.
Picot Border:
Proceed around the corner, as before, with 3 sc in the center stitch of the corner. *Ch 3, sl st in next sc, sc in next sc. ** Repeat from * to ** all the way around, remembering to place 3 sc in the center stitch of each corner.
On last side, sl st into the first sc of the corner. Cut yarn and weave in the end.


Leave a Reply