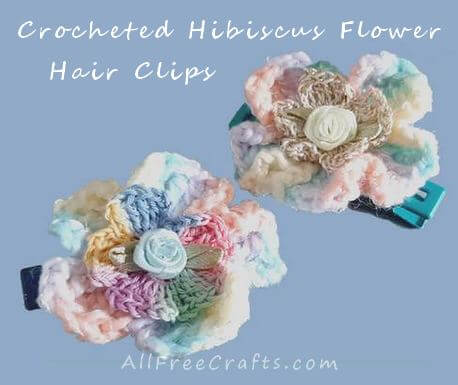
These crocheted hibiscus flower hair clips began as an accessory to a crocheted water bottle carrier.
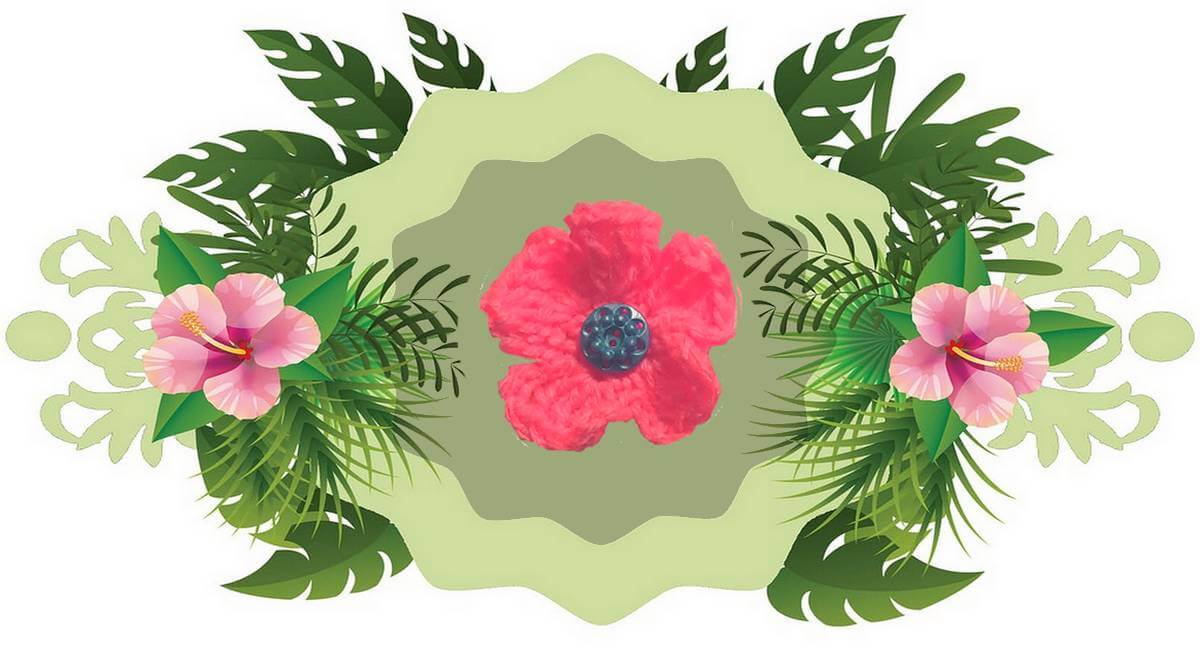
But I was struck by their simplicity and beauty so I added a free crochet pattern for five-petal hibiscus flowers in three sizes.
My granddaughters said they were so pretty that I made them into hair clips for the girls.
How to Make Simple Crocheted Flower Hair Clips
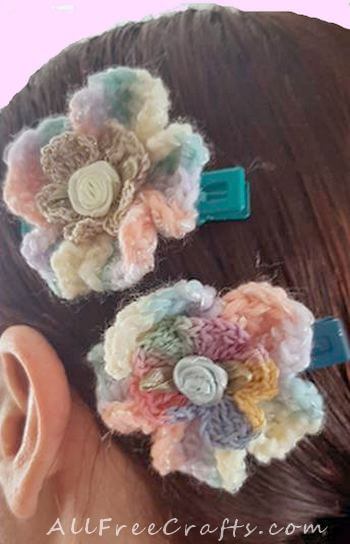
You don’t need much to make these hair clips, just small amounts of yarn or crochet thread, crochet hooks for the size you want, a barette or hair clip for each one, and a tiny silk rose as the centerpiece.
See How to Crochet Hibiscus Flowers for the free pattern and notes on the yarns and hooks used for each size. You will crochet wee flowers in embroidery thread that are just over an inch across and medium flowers in baby weight yarn that turned out two inches across.
Believe me, these flowers work up so quickly, you’ll be amazed. They consist of a starting circle of single crochet and a row of treble crochet clusters with single crochet stitches between each cluster. That’s it!
AllFreeCrafts is reader supported! Many supplies are found at thrift stores so try that first! However, if you buy from an affiliate link on this site, I earn a commission at no extra cost to you. As an Amazon associate, I earn from qualifying purchases. This has kept AllFreeCrafts.com online since 2002. Thank you!
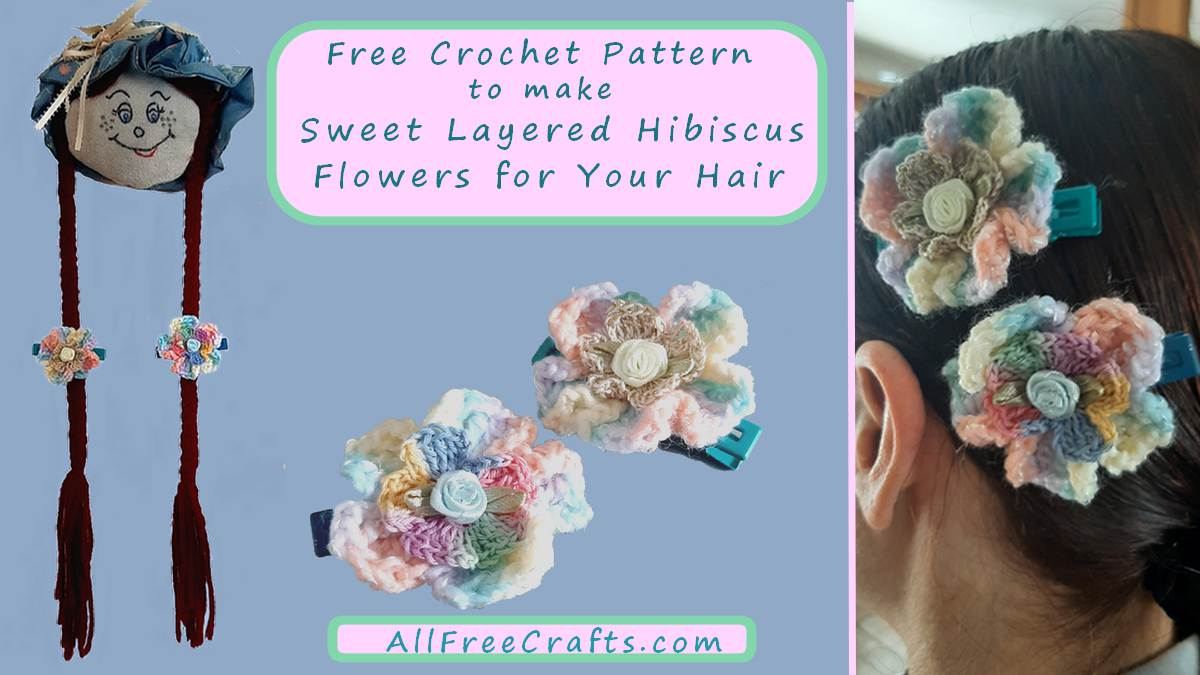
Assemble the Flowers and Glue to Hair Clip
You Will Need:
For each hair clip, you’ll need a barette or hair clip base, one medium crocheted hibiscus flower and one small crocheted hibiscus flower. I used sweet ribbon roses (Amazon link) in the center, but these could also be beads, charms, buttons or gems, chosen and personalized for the person who wears it.
You’ll also need a hot glue gun and glue sticks.
Assemble the Flowers
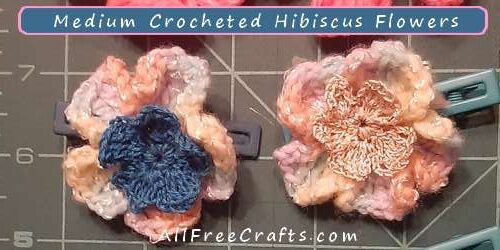
Take a small flower and place in the center of a medium sized flower. If you like it, proceed with the next step. If not, experiment a little. A contrast can be stunning, but complementary flowers are also charming. If the hair clip is for a special event, like a wedding, it’s easy to coordinate this accessory with the wedding theme colors.
Glue or Sew for Final Assembly
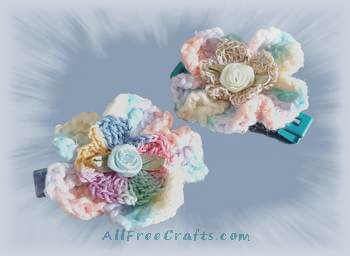
Once you have chosen the best combination of small and medium-sized flowers, go ahead with assembly.
You can sew them together with a few stitches, but I used small amounts of hot glue for each step.
Tip: Be aware of the placement of petals before gluing. You might want the small flower petals to overlap or intersect the flower petals below it and each option gives a different look. Once decided, keep it in mind as you glue things in place.
Add a circle of hot glue to the bottom of the small flower then quickly set it down in the position you have chosen. Pinch the center of the flowers together to spread the glue then wait briefly for the glue to set.
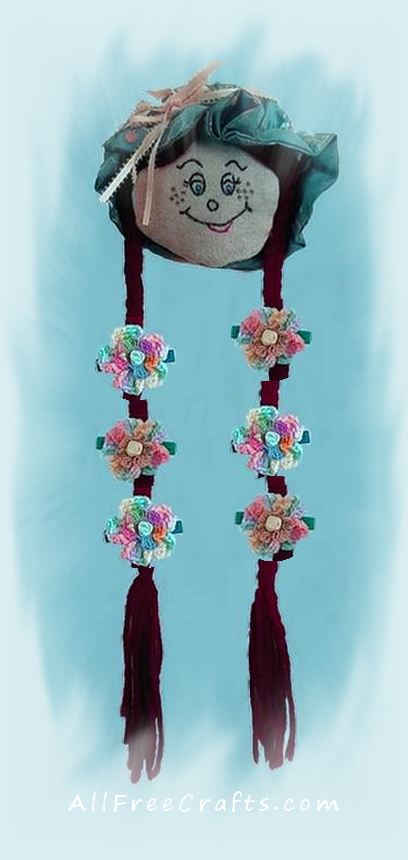
Attach Flowers to the Hair Clip or Barette
Decide the best position for the center of your now layered hibiscus flowers on the hair clip.
Apply hot glue to the bottom center of the flowers and affix it in place.
To my surprise, I needed more glue for stability and security, but it’s easy.
Just lift up part of the flower that it isn’t fastened down, apply glue to the area of the hair clip directly below it (but be careful, see Tip below), then press that part of the flower in place.
Repeat on the other side as needed.
Tip: As you add the final dollops of hot glue be very careful not to glue the hair clip together. I made a mistake the first time and the flower clip looked great…but the two parts of the hair clip was stuck shut as well. Oops. Don’t do this.
Stick a pencil or something in the teeth of the clip to keep them open while you hot glue the hibiscus flowers to the top of the hair clip only.
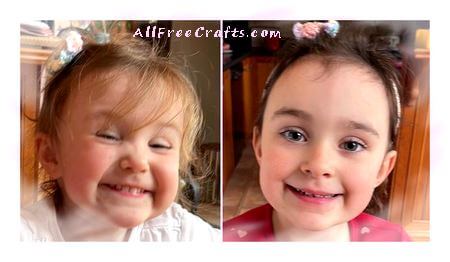
ENJOY! If you know basic crochet, these precious little homemade gifts are pleasing and catch the eye of the little ones, like my 3 and 4-year-old granddaughters. I sent each girl a flower hair clip wrapped in tissue paper and placed in an envelope.
That night, a phone call: “I love my hair clip, Nanny. Thank you!”
Leave a Reply