Last updated on November 28th, 2025 at 04:28 pm
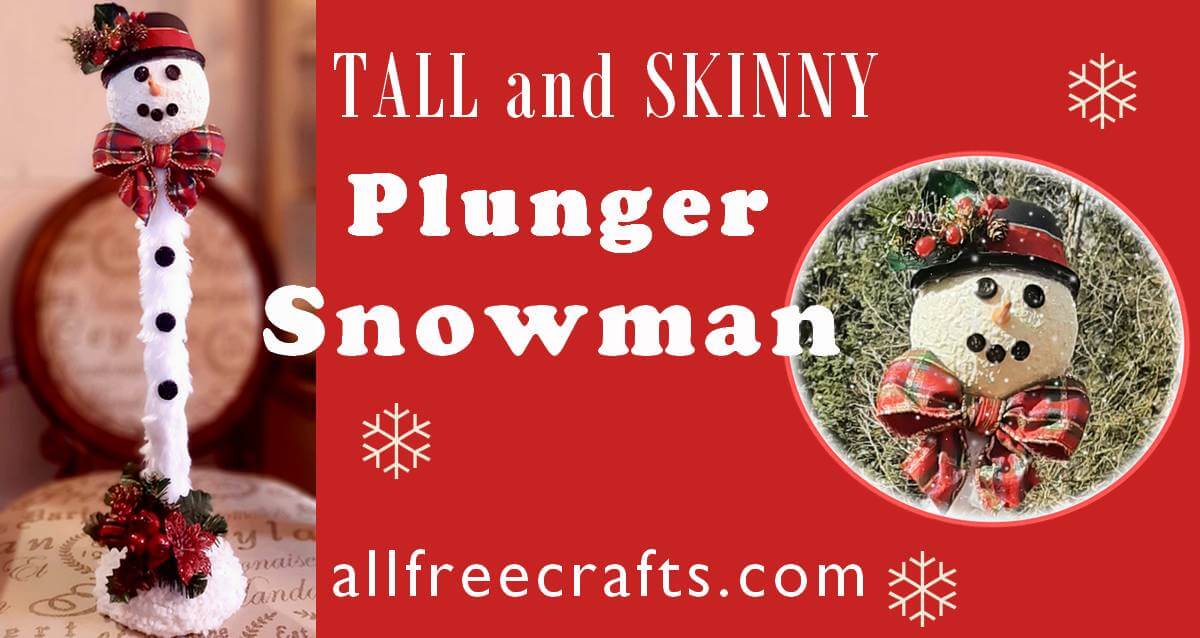
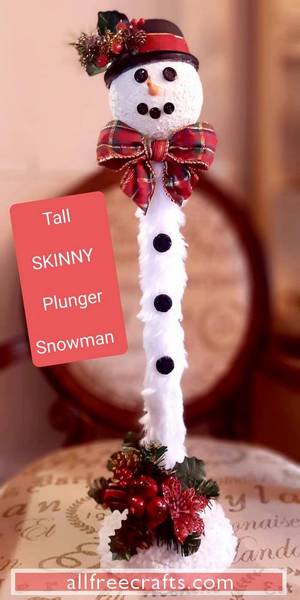
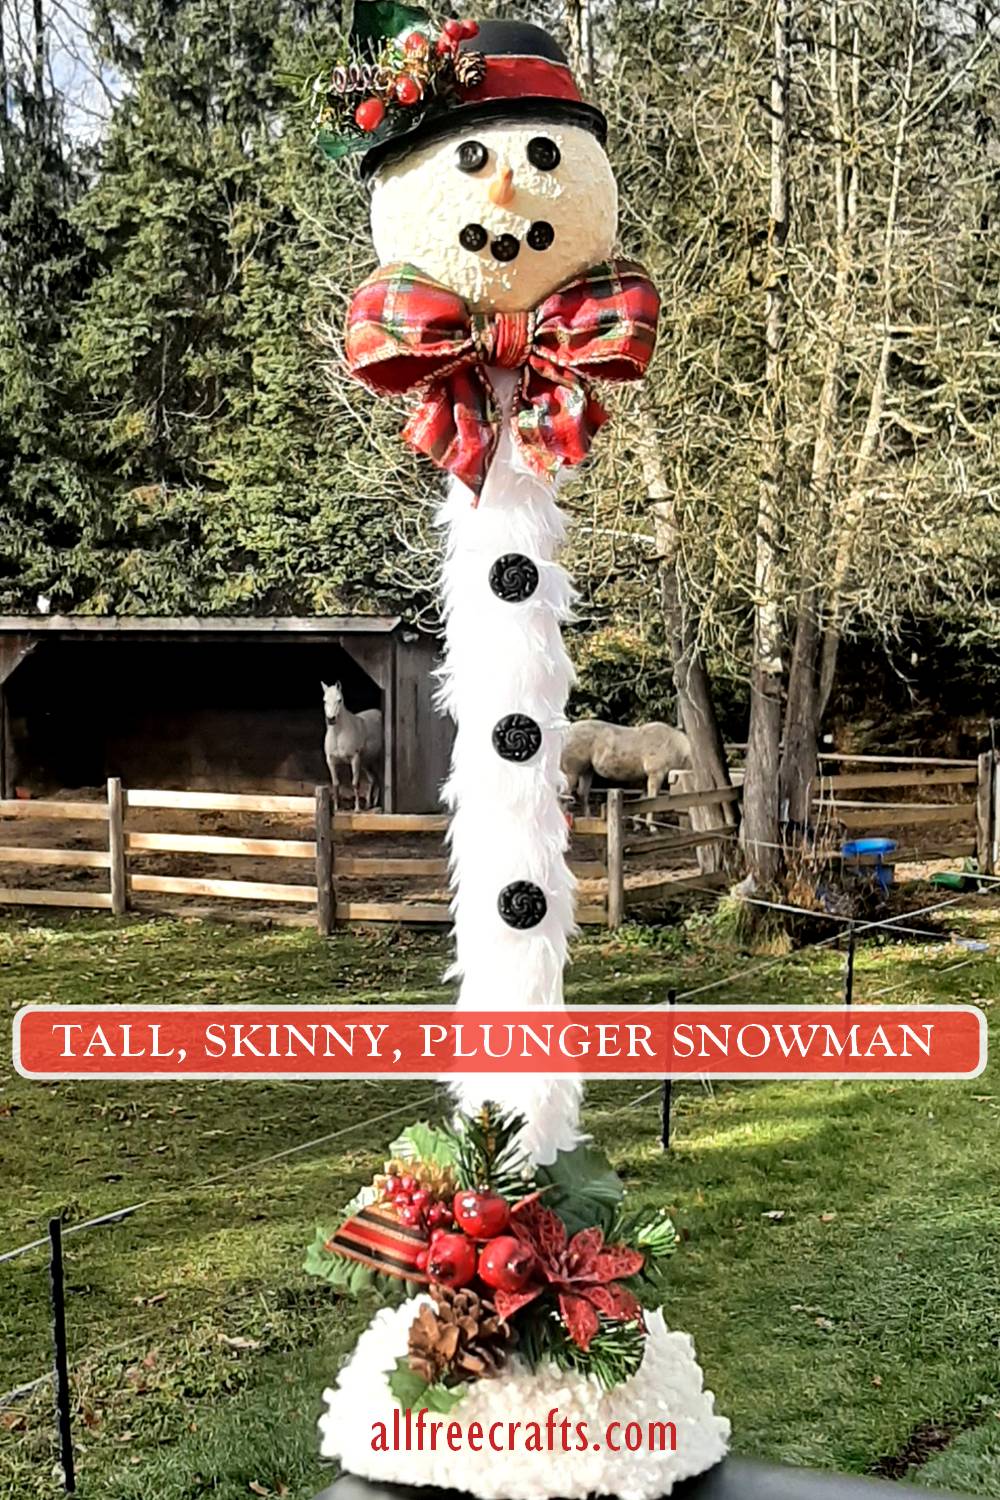
This guy is not your average plunger snowman. He’s a tall and skinny plunger snowman. And totally unapologetic for his lack of toilet paper fashion sense.
You’ll love him because of his individual style. He’s different. It’s not just his stature. It’s that gentlemanly bowler hat. And fuzzy-wuzzy Christmas pizzaz.
He’d also like you to know that he’s an easy keeper. Or, at least, he’s easy to put to together from stuff you can get from around your house or at the dollar store. What’s not to like?
What You Will Need:
Time: An afternoon or evening when you can allow things to dry while finishing other steps.
Difficulty: Easy glue gun project
- plastic tupperware bowl in bowler hat shape to fit foam ball
- sandpaper and black craft paint for the bowler hat
- foam ball about 5″ diameter
- bamboo stick or skewer
- textured snow paint (or yarn)
- cheap toilet plunger
- about 12″ of of 4″ wide fun fur trim or fun fur scraps
- black buttons in assorted sizes
- golf tee painted orange (nose)
- ball of “fur” yarn or fuzzy yarn
- short piece of ribbon and a bow or scarf
- holly leaves and berries or small Christmas embellishments
- Tools: potato peeler or knife; hot glue gun and lots of glue sticks; ruler; scissors
AllFreeCrafts is reader supported! Many supplies are found at thrift stores so try that first! However, if you buy from an affiliate link on this site, I earn a commission at no extra cost to you. As an Amazon associate, I earn from qualifying purchases. This has kept AllFreeCrafts.com online since 2002. Thank you!
PROJECT INSTRUCTIONS
1. Prepare the Foam Ball:
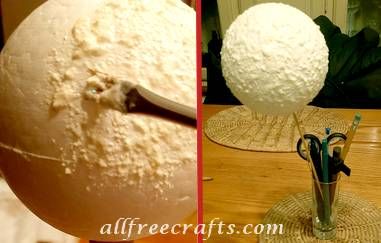
Paint. I began painting the ball while it was on top of the plunger. I quickly realized that’s very awkward for painting the bottom. So I painted only the top then removed the ball, ran a skewer through the hole and part way into the ball, using the skewer as a handle as I finished painting.
Make a Hole. Begin by making a hole in the foam ball so it fits securely on top of the plunger. I used a potato peeler to dig out the hole, about an 1.5″ to 2″ deep, but a small paring knife also works. Start small, test fit, then enlarge as needed until it fits snugly.
Use this handle as you continue coating the foam ball with textured snow paint (Amazon). I just dabbed snow-tex on the ball with a small paint brush until it was completely covered.
Let the snow-painted foam ball dry by planting it by it’s handle in a vase or tall glass.
Alternative cover: Alternatively, you could cover the ball with “fur” yarn or chunky white yarn. Use the same yarn and hot glue method, described below, as you will when winding yarn around the bottom of the plunger.
2. Cover the Plunger Handle in Faux Fur
Here’s where the we get down to the skinny. Our skinny snowman plunger needs a coat. But toilet paper parkas are just so over. Faux fur is it, baby.
Or maybe white cotton twine wrapped around a dowel? Check out Primitive Mountain Quilts and Crafts for this version of a skinny snowman inspired by a thrift store find.

Measure: Take a piece of yarn or string and wind it once around the plunger handle, marking the end of the yarn, then measuring the length. This is the length of the fun fur trim that you’ll need to go exactly once around the plunger handle.
Cut a piece of the 4″ fun fur trim to the length you need for one segment. Cut as many segments as you need. I used four segments, each 2.75″ by 4″.
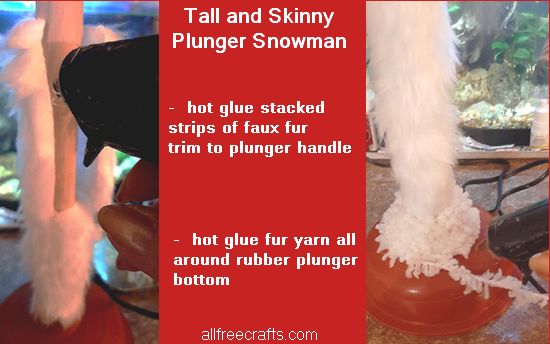
Hot Glue: Heat the glue gun and dab a small amount of hot glue to a point anywhere around the area where the handle meets the rubber plunger. Quickly apply a bottom corner of the faux fur trim to the glue. Straighten up this fur trim and begin applying hot glue to the straight end. Fix it into a straight, even, position on the wooden handle.

Once the fur is anchored, work from the wrong side of the fabric, hot gluing a line only along the top of the plunger where it meets the handle, pressing the bottom edge of the fur trim into place as you go.
When the bottom edge is secured, go back to the beginning and run random lines of glue under the rest of the fabric trim, pressing down as you go, until both ends meet evenly.
Repeat this step three more times, or as many times as you need to get near the top of the plunger handle. Make sure each segment aligns with the one beneath it, creating a single line where the ends meet all the way up the handle. This is the back of your snowman.
Cut to Fit: Cut the last piece to fit, if necessary, while leaving about 1.5″ of the wooden handle clear of any fabric or fur at the top.
3. Create a Snowy Hill on the Rubber Plunger Base
Faux Fur Base: I considered using more faux fur to cover the rubber part of the plunger. I played with some scraps and it looked fine. So that’s one way of doing it. All you’re aiming for is a white, snowy hill for your snowman to stand upon in all his finery.

Fur Yarn Base: However, I ended up using fuzzy fur yarn that I bought for crocheting only to discover that was never going to work for me. Fortunately, it looked very snowy while contrasting nicely with the skinny snowman’s fur body.
Hot Glue: Attach the end of the fur yarn to a spot just below the faux fur covered handle. Run a bead of hot glue around the top of the plunger, pressing in the yarn as you go.
Keep applying the hot glue, along with the yarn, as you twirl the plunger around and around and around. I used far more hot glue sticks than I ever thought possible, losing count after 9 sticks. But my yarn was very thin; chunkier fur yarn would be easier, quicker and need far less hot glue.
4. Make a Bowler Hat
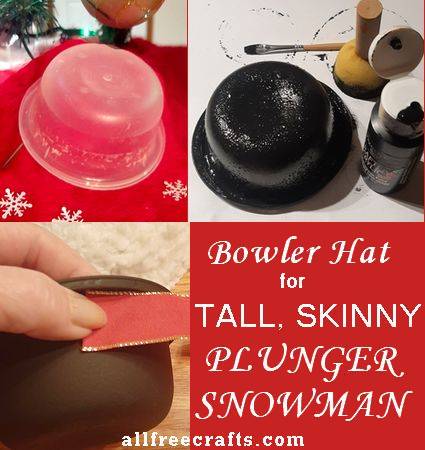
This gentleman snowman sports a bowler hat. Make it from a bowl-shaped tupperware type container that fits the foam ball used for the snowman’s head.
- Sand the bowl, if needed, to help paint adhere.
- Paint the bowl with black craft paint. Dab the paint on with a sponge brush and fill any gaps with a paint brush. You’ll need two coats. Let dry.
- Add a festive ribbon just above the bowl rim with hot glue.
5. Make a Nose and Gather Buttons and Accessories
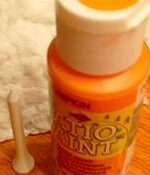
Now comes the fun part. You have everything you need. Almost. You must have a “carrot” nose. And black buttons.
Make a nose: I painted a golf tee in orange, because it’s thin and skinny and matches the snowman. But use what you have. A small plastic carrot from Easter? A triangle of orange craft foam or felt?
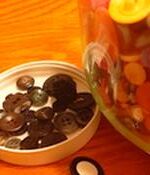
Black Buttons: I inherited my mum’s button jar so this was easy for me. It has buttons from her mum’s button collection. And there’s even bone buttons in there, so who knows?
Bottom line, you need two eye buttons, at least three slightly smaller mouth buttons and three larger coat buttons. Whatever you pick adds charm and personality and makes this skinny snowman project your own.
Embellishments: Muck about with small bunches of fake Christmas greenery, red berries, holly leaves and the like. Assemble a small bunch for the snowman’s hat and a coordinating, larger bunch for the base. Pick a bow or make a scarf for the snowman’s neck. Set aside. But you’ll need them soon.
6. Final Tall and Skinny Plunger Snowman Assembly
Final Assembly:

- Apply hot glue to the hole in the snow-textured foam ball and secure it to the top of the plunger.
- Temporarily place the bowler hat on the foam ball. This helps with placement of the face.
- Hot glue the orange nose in the middle of the face area below the hat.
- Hot glue two black eye buttons above the nose.
- Hot glue three or more smaller black buttons (or black beads) in position as the mouth, starting with the middle button.
- Hot glue three larger buttons, equally spaced along the plunger, to make “coat” buttons.
- Add Christmas holly, berries or embellishments to one side of the bowler hat with hot glue. Run a line of hot glue around the inside rim of the bowler hat and place it on the head at a jaunty angle.
- Glue a Christmas ribbon “bow tie” to the snowman’s neck, directly beneath the foam ball.
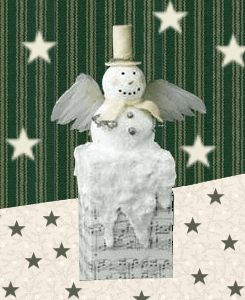
Please let me know in the comments if you try this project. I also have a Chimney Snow Angel Snowman to make from a foam ball and foam block that you might like and a Shimmering Styrofoam Snowman made from three foam balls.

I’d not seen a tall, skinny plunger snowman anywhere until I made this one so I’d love to know if you love yours as much as I love mine. He makes me smile and I hope he makes you smile too. Merry Christmas!


Leave a Reply