Last updated on November 28th, 2024 at 05:53 pm
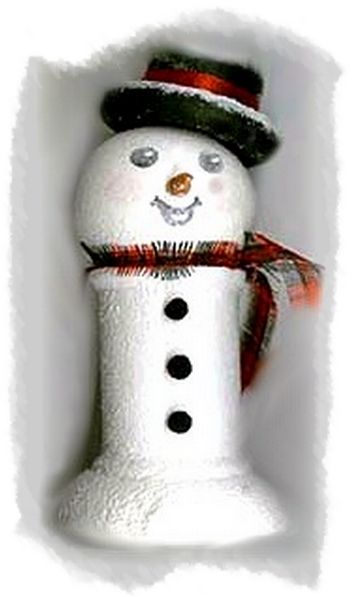
This sweet little snowman makes a great Christmas tree trim or Christmas decoration, and all you need is an empty thread spool and a few other little bits and pieces.
- Wood Pieces: (Shown in order in photo at right)
- Flat Wheel
- Spool
- Round Ball (Flat one side)
- Ring
- Doll Pins (2)
- Wood Plug
- Tacky or Wood Glue and Super Glue
- Acrylic Paint, Black and Red
- Orange Sculpey Clay for Nose
- Fake Snow
- Ribbon for Hat and Fabric Scrap for Scarf
- Black Pompoms (very small)
Project Instructions:

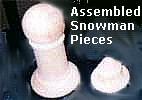
Refer to photos before starting this project. Begin by assembling with glue your wood parts. Refer to top photo, at right, for the order in which these are glued together. The second photo shows how your pieces should look once they are assembled, with the body and the hat as two separate pieces (you will attach the hat to the body later).
Allow the glue to dry on all pieces completely before you continue. To make a carrot nose use Sculpey clay (or another, similar clay of your choice). Roll a tiny piece of clay into a carrot shape. With a toothpick or any sharp object, draw tiny creases along the carrot so that it looks more realistic. Follow the clay manufacturer instructions for preparing the clay. If you don’t have orange clay, use any colour and paint it orange once the clay is cured.
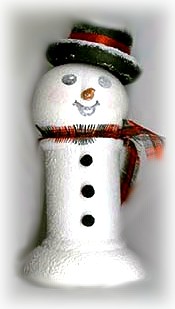
Paint the hat section pieces with black paint and set aside to dry. Paint your body section with fake snow (I used ready made Aleene’s snow) making sure to cover entire wood areas. Add a little snow to the top of the hat as shown in photo. Allow the snow to dry and glue your nose to the centre of the face (I used a super glue, it’s more reliable than craft glues and adheres immediately).
With craft glue attach three tiny pompoms for buttons to the spool centre. Glue a small piece of red ribbon around the brim of the hat and tie a fabric scrap around the neck area for a scarf.
With black paint and referring to the photo, paint on eyes and a mouth. For rosy cheeks, dip your brush in water and dab lightly on paper towel once. Dip your brush in red paint and blend the water and paint together in your brush. Gently add a little circle of diluted paint to the cheek area of the face. You can also use a little real blush makeup instead of paint for this step.
Finally, glue your hat to the head of the snowman. If you’d like to use your snowman as a hanging decoration, add a loop of ribbon or cord under the hat, extending up and glue in place between the hat bottom and the head. Allow the glue to dry several days before lifting by the hanging cord.
Copyright 1999-2024 Susan Spatone All rights reserved.

Leave a Reply