Last updated on March 24th, 2025 at 10:57 pm
Mr and Mrs Snowman Mittens
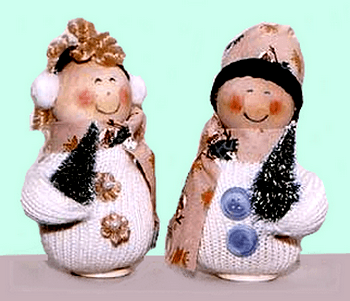
Although this pair of snowman figures was made with a pair of infant mittens (and are therefore small enough to hang from the tree) you could make larger versions, using bigger mittens and wooden balls, for other Christmas decorating.
You Will Need:
- 2 mittens (I used infant size)
- 2 wood balls to fit mitten size (I used 1-1/4 inch)
- Polyfil or other stuffing material
- Fabric scraps
- 2 pompoms
- 4 small buttons
- 2 large buttons
- Ribbon or decorative trim
- Doll hair
- Hot glue gun and sticks
- Pencils for face detail
- Rice or beans (optional)
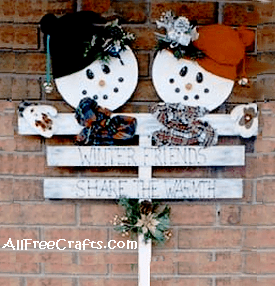
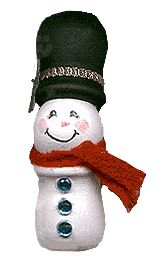
More Projects by Susan Spatone: Candlecup Snowman, Winter Friends Snowman Stakes, Bisque Snowman, Snowman Face Lightbulb.
Craft Project Instructions:
Mr Mitten, as you can see in the photo, is standing very straight, while Mrs. Mitten is a little lop-sided. This is because Mr. Mitten has about half of his mitten filled with rice.
If you plan to hang these ornaments, don’t use rice, but if you want them to stand on their own, fill about half of the bottom of the mitten with rice or beans, then fill the remainder of the mitten with a polyfil, making sure to stuff the thumb of the mittens. Stuff the mittens firmly.
Glue your wooden ball to the top opening of the mitten and hold in place until completely secure. Cut a small piece of fabric to use as a scarf for each mitten and a square of fabric that is large enough to wrap around the wood ball for Mr. Mitten’s hat. His hat is attached by gluing along the edge and attaching to the wood ball, then up the seam of the square to create a funnel. A piece of ribbon is then tied around the top of the funnel to make his hat.
For Mrs. Mitten, attach a few strands of doll hair to the top center of her head, add a band of ribbon across from left to right and attach a pompom at each end of the ribbon to create ear muffs. I used a dark blue shoe lace for the band of her ear muffs and for the band added to Mr. Mittens hat.
Glue buttons to the belly of each mitten. Glue a large button to the bottom of each mitten to help the figures stand on their own.
Draw a face using a black pencil for the eyes and mouth and red pencil to colour the cheeks. Tie your fabric scrap around the neck for a scarf and be sure to tie the ends in the area where the second arm should be. If you do this carefully, no one will ever realize that an arm is missing.
Copyright © 1999-2024 Susan Spatone All rights reserved.


Leave a Reply